Google Camera
How To Install GCam 7.3 on Redmi Note 9 Pro: Best GCam APK For Redmi Note 9 Pro/Pro Max

Xiaomi journey from the last two years is tremendous. Xiaomi launches some great premium, budget centric phones. Who build their empire in the smartphone market and made a huge fan base. Xiaomi made it to the Best Selling smartphones. Xiaomi is just one step from launching its 10th Note Series. Recently Xiaomi launches Xiaomi Redmi Note 9 Pro and Pro Max in India. Xiaomi Redmi Note 9 Pro Max is a mid-range smartphone which is priced at INR 15k for 6+64GB to INR 18k for 8+128GB. Today we are going to talk about How to install GCam 7.3 on Redmi Note 9 Pro/Max. Check out Best GCam APK for Redmi Note 9 Pro/Max.
Best GCam APK for Redmi Note 9 Pro/Max

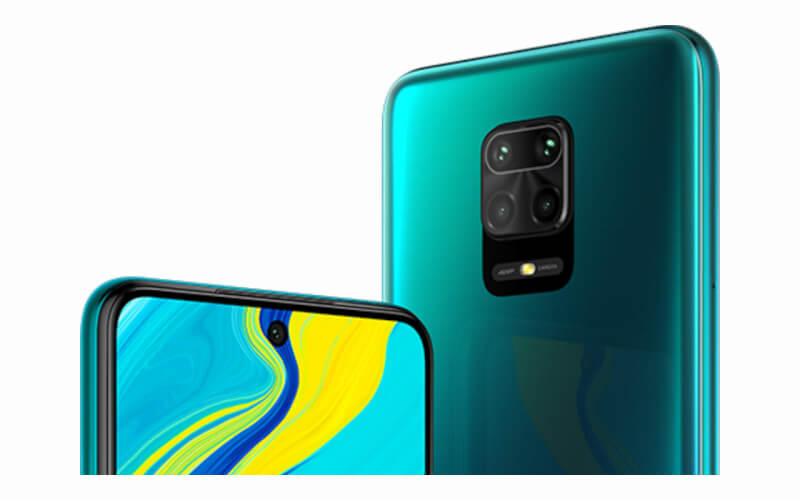
Redmi Note 9 Pro Max comes with the quad-camera setup, which has 64-megapixel primary sensor, 8-megapixel ultrawide-angle 119-degree field-of-view (FoV) lens, 5-megapixel macro lens, and a 2-megapixel depth camera. There is support for RAW photography. The phone has a 32-megapixel selfie camera at the front. This mid-range device comes with the 5,020mAh battery. Snapdragon 720G powers the device. To improve the image quality, you should download GCam on your Note 9 Pro/Max.
How to Install GCam 7.3 on Redmi Note 9 Pro

Step-1
First, you will have to download GCam APK from the below links. You can easily download GCAM for Redmi Note 9 Pro/Max from the links given below.
GCam 7.2 for Redmi Note 9 Pro
Google Camera Apk for Redmi Note 9 Pro Max.
(Note: If the one version GCam does not work properly on your Redmi Note 9 Pro Max, try out the different versions link given below.)
Step-2
After downloading GCAM Apk on Redmi Note 9 Pro/Max, install it like any other regular app.
Step-3
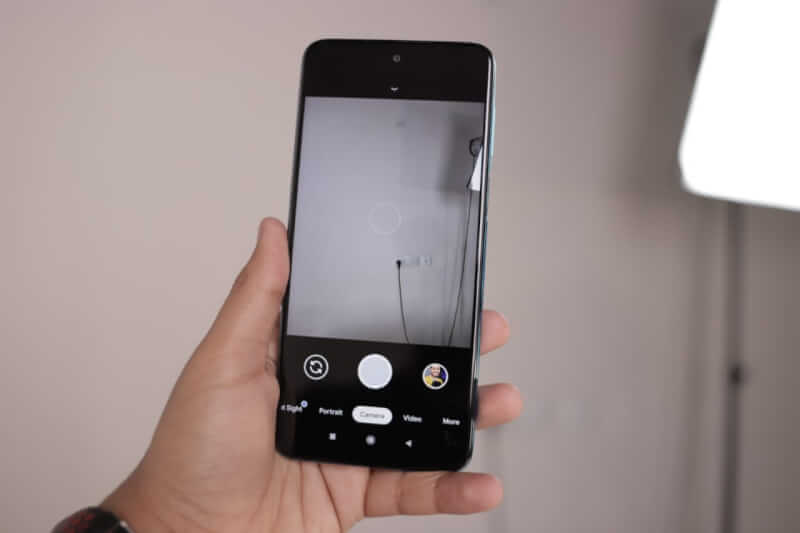
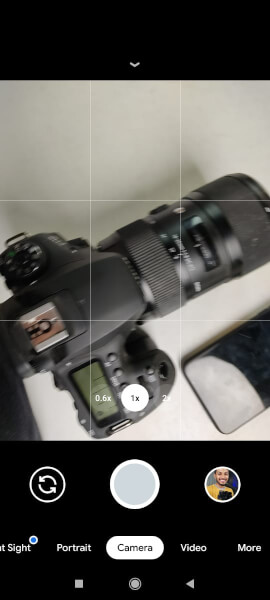
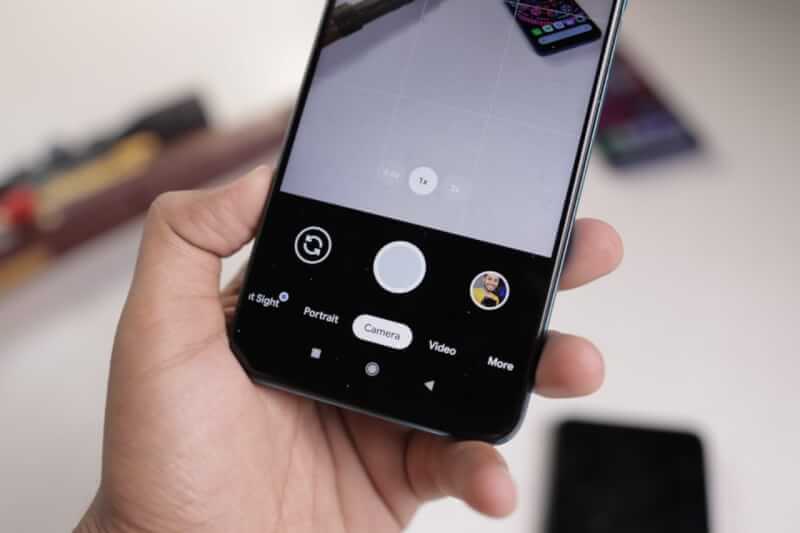
After installing GCam for Redmi Note 9 Pro/Max, open the Google camera app.
Now, download this .xml file from the below link. Follow the simple steps given below.
XML FILE
-
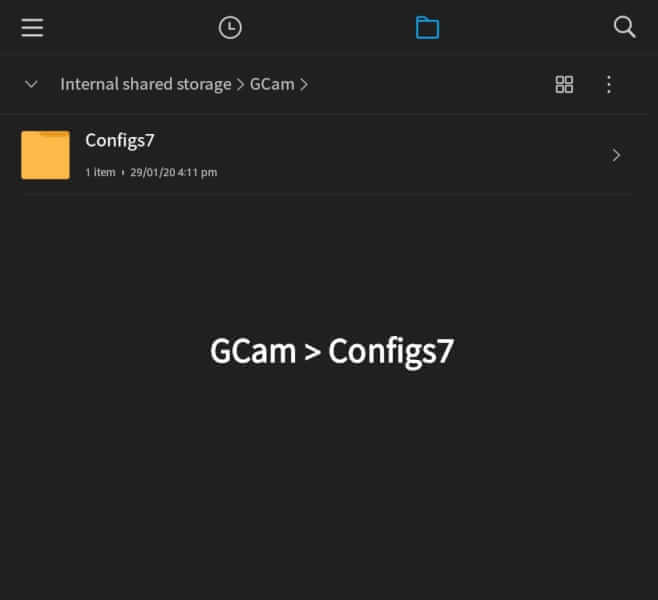
- Go to your file manager and create a new folder named “GCam” and create a new folder “Configs7” inside it.
- Now copy the XML FILE (which we have downloaded) to this Configs7 folder.
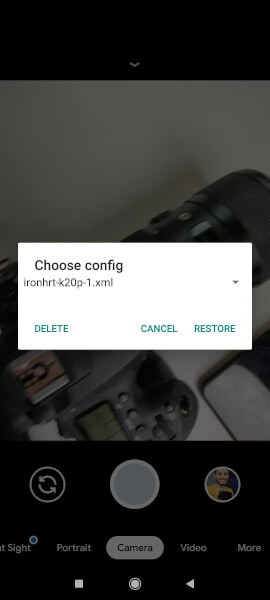
- Open the GCam app and double-tap near the shutter button.
- Select the XML file and click on the Restore button.
- The Google Camera is all set to capture stunning images on your Redmi Note 9 Pro. You can turn on the HDR+ from the settings. Also, by default the Astrophotography mode will turn on in the Night Sight mode, you can disable it from the Settings as well.
Additional Settings
You should do the following settings in the GCam to get the best result.
-
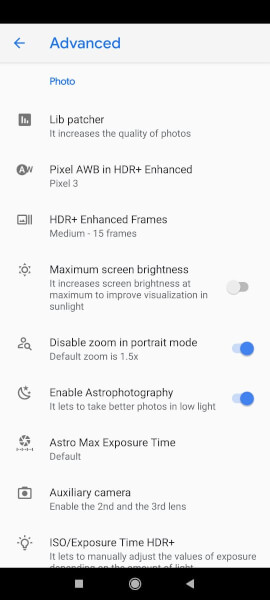
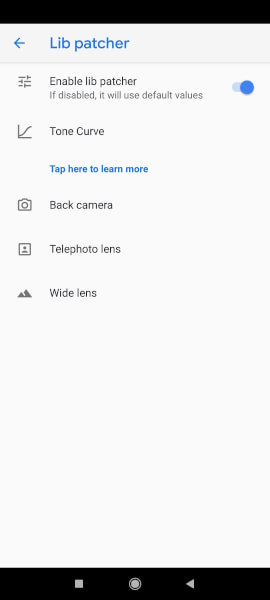
- Turn on the Lib Patcher and HDR+ Control from settings.
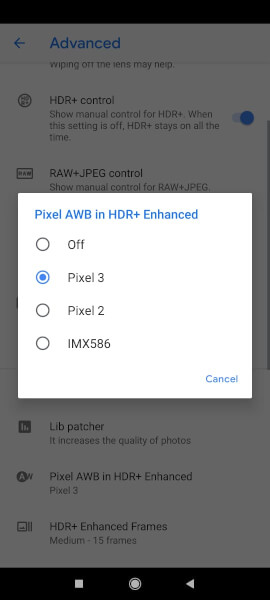
- Go to Settings > Advanced> Select Pixel 3 in the Pixel AWB.
- Turn on Astrophotography toggle if you want to capture the photos of the night sky. You can turn off the Astrophotography toggle in case you want to capture normal Night Sight images.
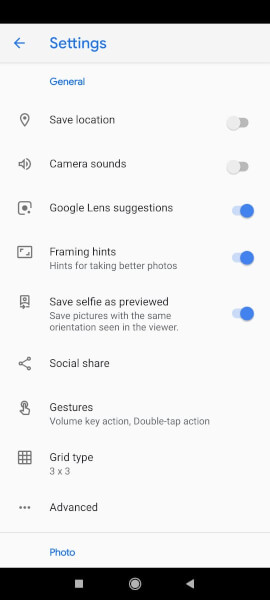

- Turn on Save Selfie as previewed.
- You can also turn on/off other options like sound, Framing hints, Google lens suggestion etc.
Known Issues
The image quality from GCam is noticeable better than the stock app. The exposure is on point and colours turns out really good. But Ultawide and Macro lens are not working on this Mod. Sometimes it struggles in the Portrait shots. Night sight works perfectly. In some scenarios, there is some sort of noise visible in the images, which you should keep in mind. We will update this article, as soon as we find any latest and stable GCam for Redmi Note 9 Pro.
That’s all in this guide on How To Install GCam 7.3 On Redmi Note 9 Pro/Max. Stay Tuned To TechBurner For More Stuff.
