How to
How to Always Show Scrollbars in Windows 11

Windows 11 is packed with many great features that make it look very good. Since it was launched Microsoft has been continuously releasing new features via updates that make it more user friendly. Many people have been shifted to Windows 11 from Windows 10. If you are also Windows 11 user you might have noticed Windows 11 automatically hides the scrollbar for the applications that are not in use. However, it is done to save battery and speed up the device. But there are some users who want to show the scrollbar on Windows 11 always. Then in this article, we are going to tell you how to always show the scrollbar in Windows 11. You just have to follow all the steps and you will be able to set the scrollbar from auto-hide to always show easily. So, doing any further ado let’s get started with the article.
How to Always Show Scrollbar in the Windows 11?
In this article, we have shared a step by step guide on how to always show the scrollbar in Windows 11. Just follow all the below-mentioned steps and you will be able to set Windows 11 scrollbar to show always.
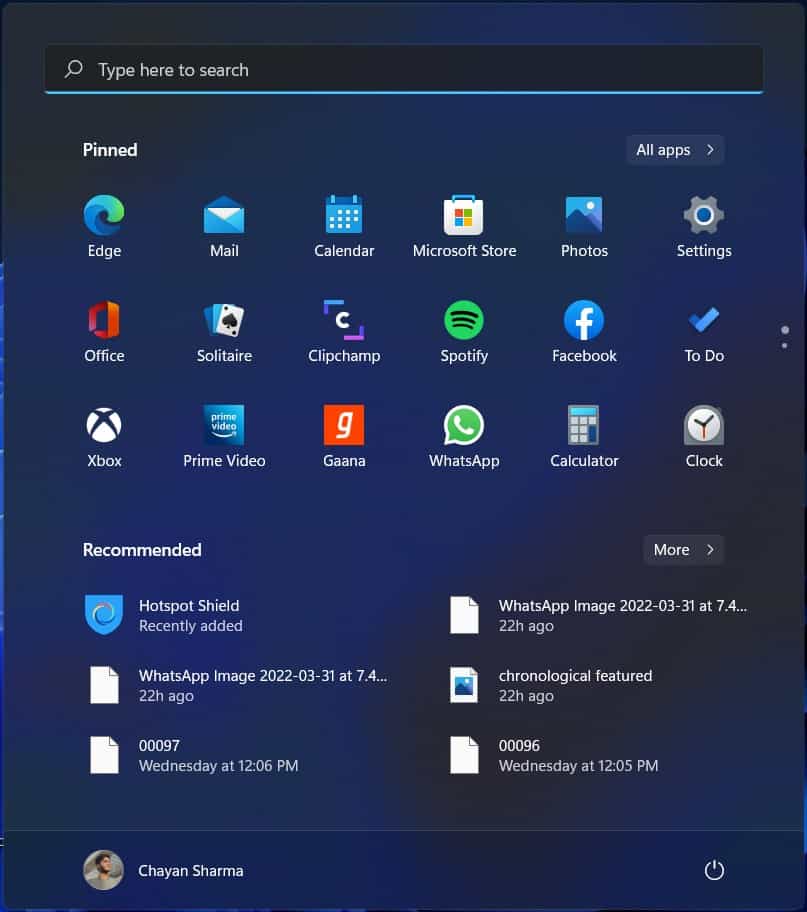
Step 1. First, click on the Start Menu option on your Windows PC or laptop. Now click on the Settings option, or you can press Windows + I key on your keyboard to directly open the settings page.

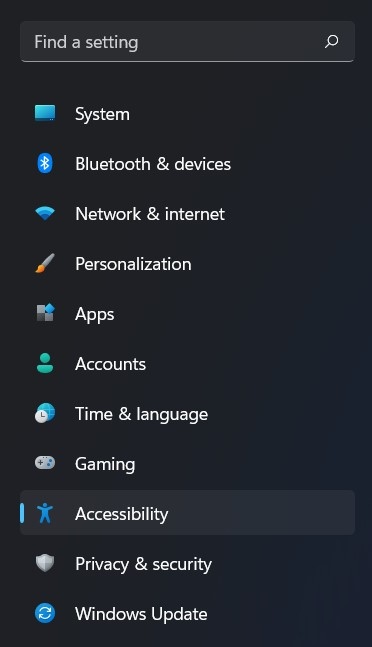
Step 2. In settings on the left pane look for the Accessibility option to open the Accessibility page where you will find the Scrollbar option.

Step 3. Now under Vision click on the Visual Effects option.
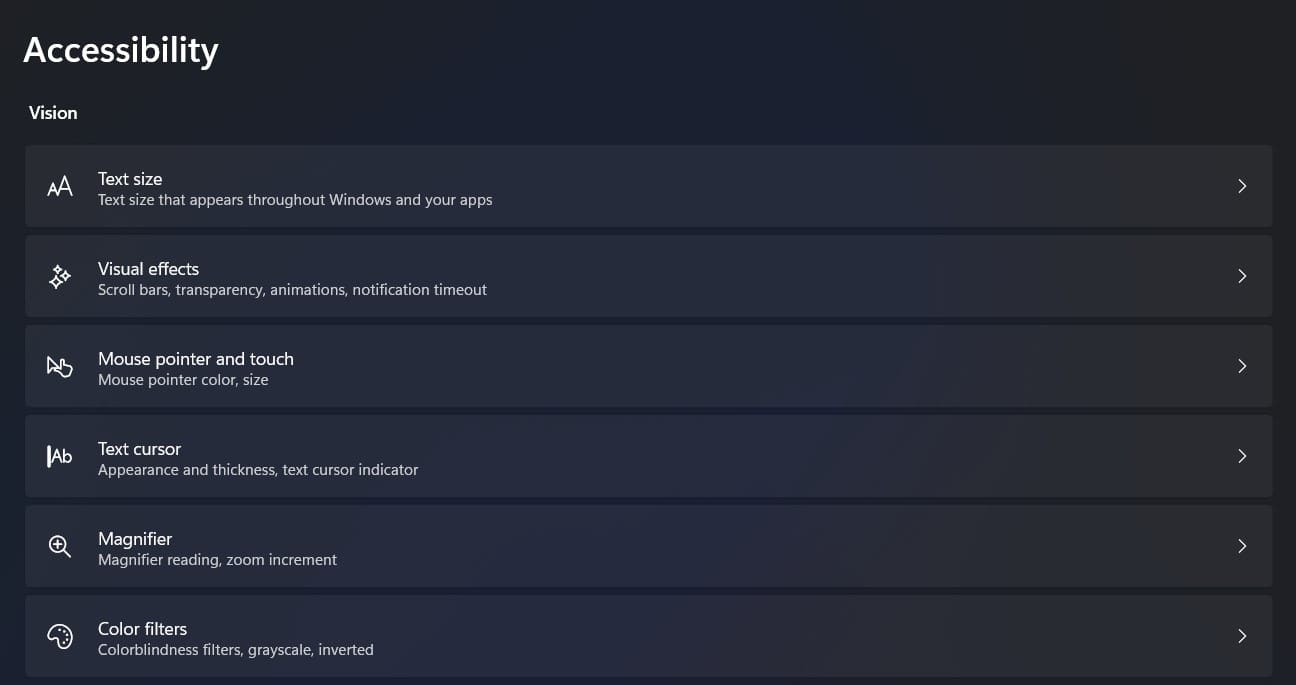

Step 4. On the Visual effects page, you will see the first option Always show scrollbars enable toggle that option. After you have enabled the option you will be able to see scrollbars on your Windows 11 PC.


How to Always Show Scrollbar in Windows 11 via Registry Editor?
This is a second method through which you can always show the scrollbar on your Windows 11 PC or Laptop. Here’s how to always show the scrollbar in Windows 11 via registry editor:
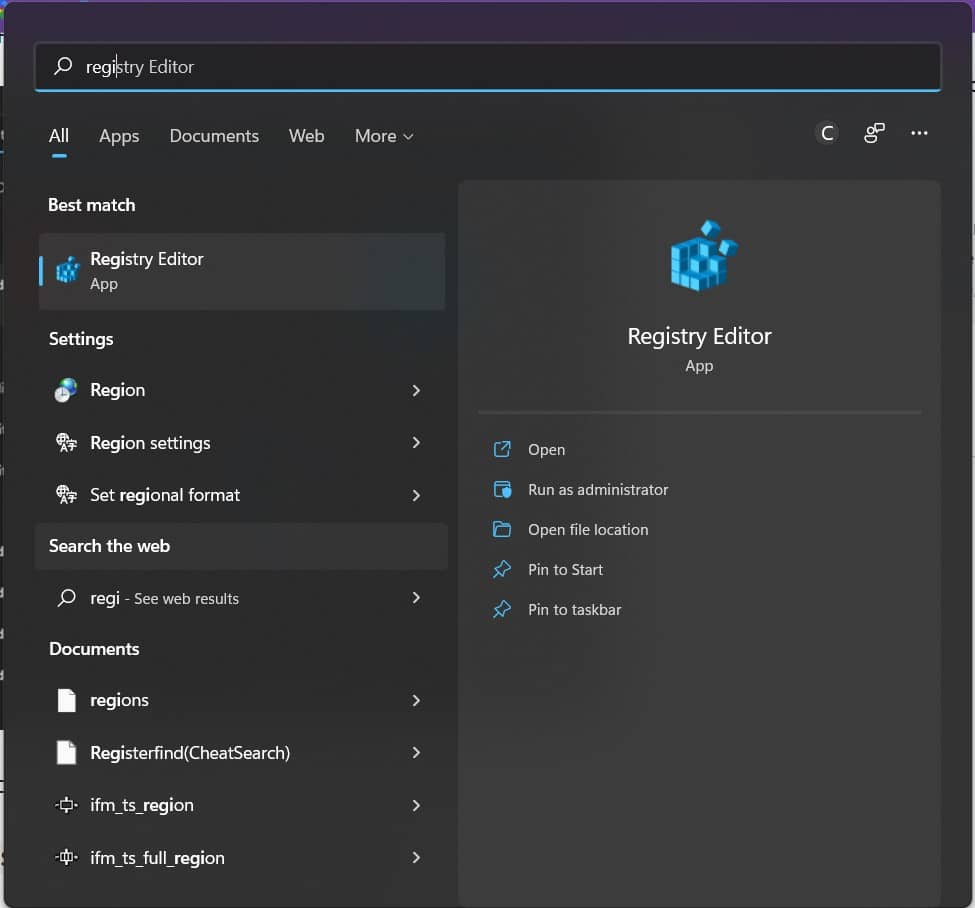
Step 1. Click on the Start Menu option on your Windows 11 PC or Laptop and search for Registry Editor.

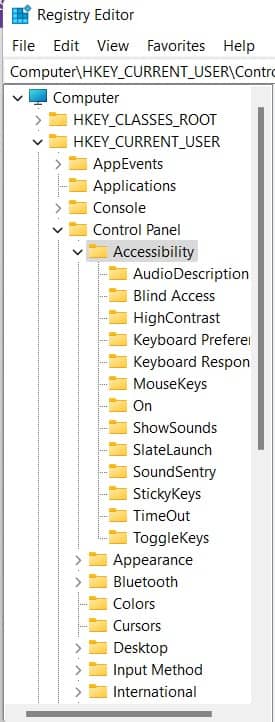
Step 2. Now click on the Registry Editor to open the menu. Now follow the path on the left pane HKEY_CURRENT_USER\Control Panel\ Accessibility.

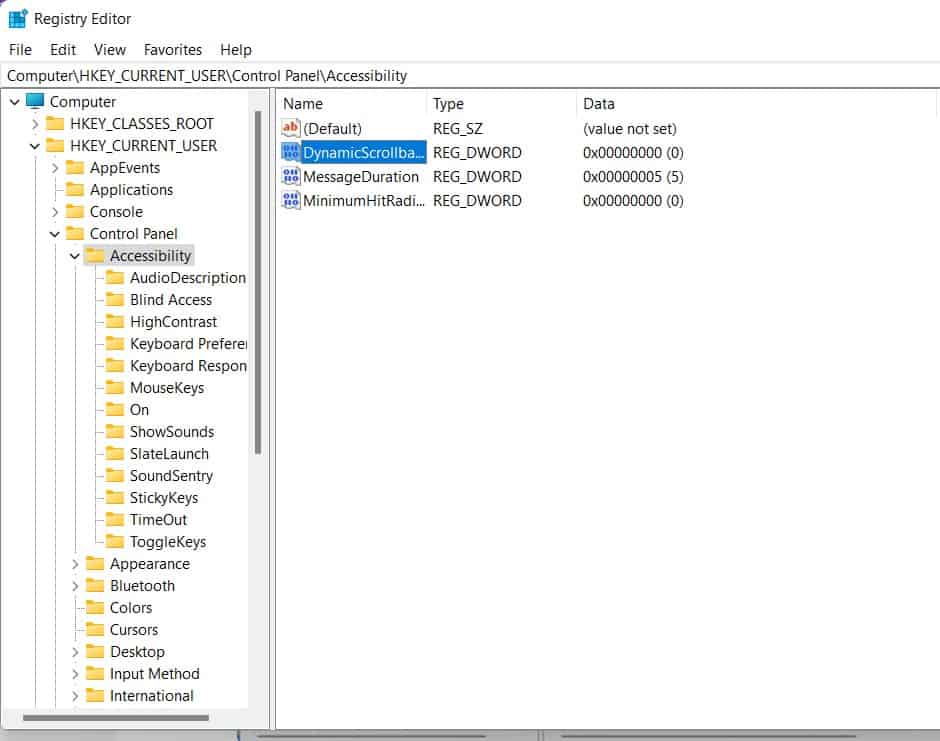
Step 3. On the right double click on the Dynamic Scrollbars option, and a menu will appear.

Step 4. Under the Value data enter 1, after that click on the OK button to apply the changes. Once you are done scrollbar will be set to always show on your Windows 11 PC or Laptop.
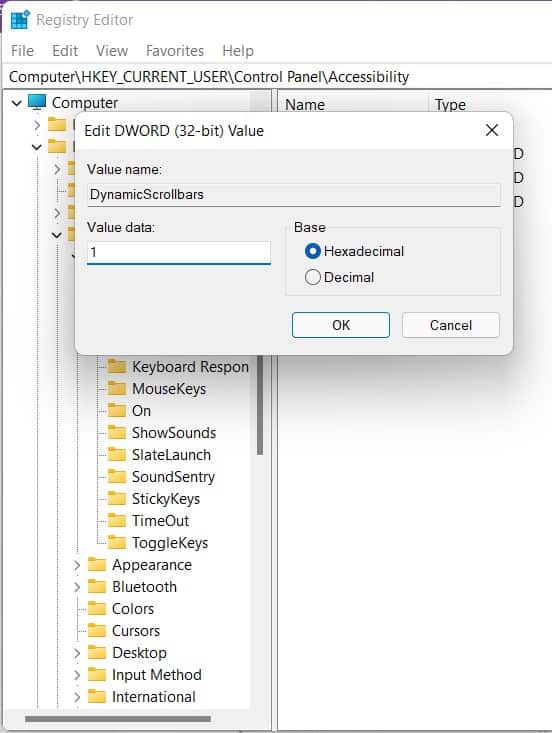

NOTE: If for some reason you want to again hide the scrollbar, you just have to follow all the above steps and instead of 1 under Value data you have to enter 0. After doing this the scrollbar will hide again.
Conclusion
If you were looking for a way to enable always show scrollbars then you just have to follow all the above-mentioned steps and you will be able to enable the option. It is pretty easy to enable the Always show scrollbars option. We have shared two methods through which you can enable the option on your Windows 11 PC or laptop.
That’s All For Today. Stay Tuned To TechBurner For More Stuff.
