How to
How To Install Windows 11 on Unsupported PC [Guide]

Windows 11 is finally out, and you can install Insider Preview on any compatible PC. However, the new Windows has many system requirements. This is very painful for users with older but powerful hardware. If you have a computer that doesn’t meet windows 11 requirements, you can still upgrade it to Windows 11, but not through Windows Update. Instead of update, you have to use a bootable USB drive or ISO file to install Windows 11 on an unsupported PC.
How To Install Windows 11 on Unsupported PC: Is it Safe?
According to Microsoft, installing Windows 11 on an unsupported PC will be an option for users and organizations to test Windows 11. However, anyone can upgrade at their own risk, knowing that there is no guarantee of system stability or driver compatibility. Microsoft has also warned that errors can occur on unsupported computers. And also Microsoft warns that it may stop providing security updates to unsupported PCs which are running Windows 11.

All this just means that if you choose to install Windows 11 on incompatible devices, you can proceed with the manual installation, but you will be told that the update will be in an unsupported state. Microsoft defines an “unsupported state” as a computer that does not meet the minimum system requirements and, as a result, is not eligible to receive updates from Windows Update.
Read More | How To Disable Website Tracking and Save Yourself From Online Tracking!
How To Install Windows 11 on Unsupported PC: Steps
Method 1: Manually install Windows 11 Build
- First, download the Windows 11 Insider Preview build from the internet.
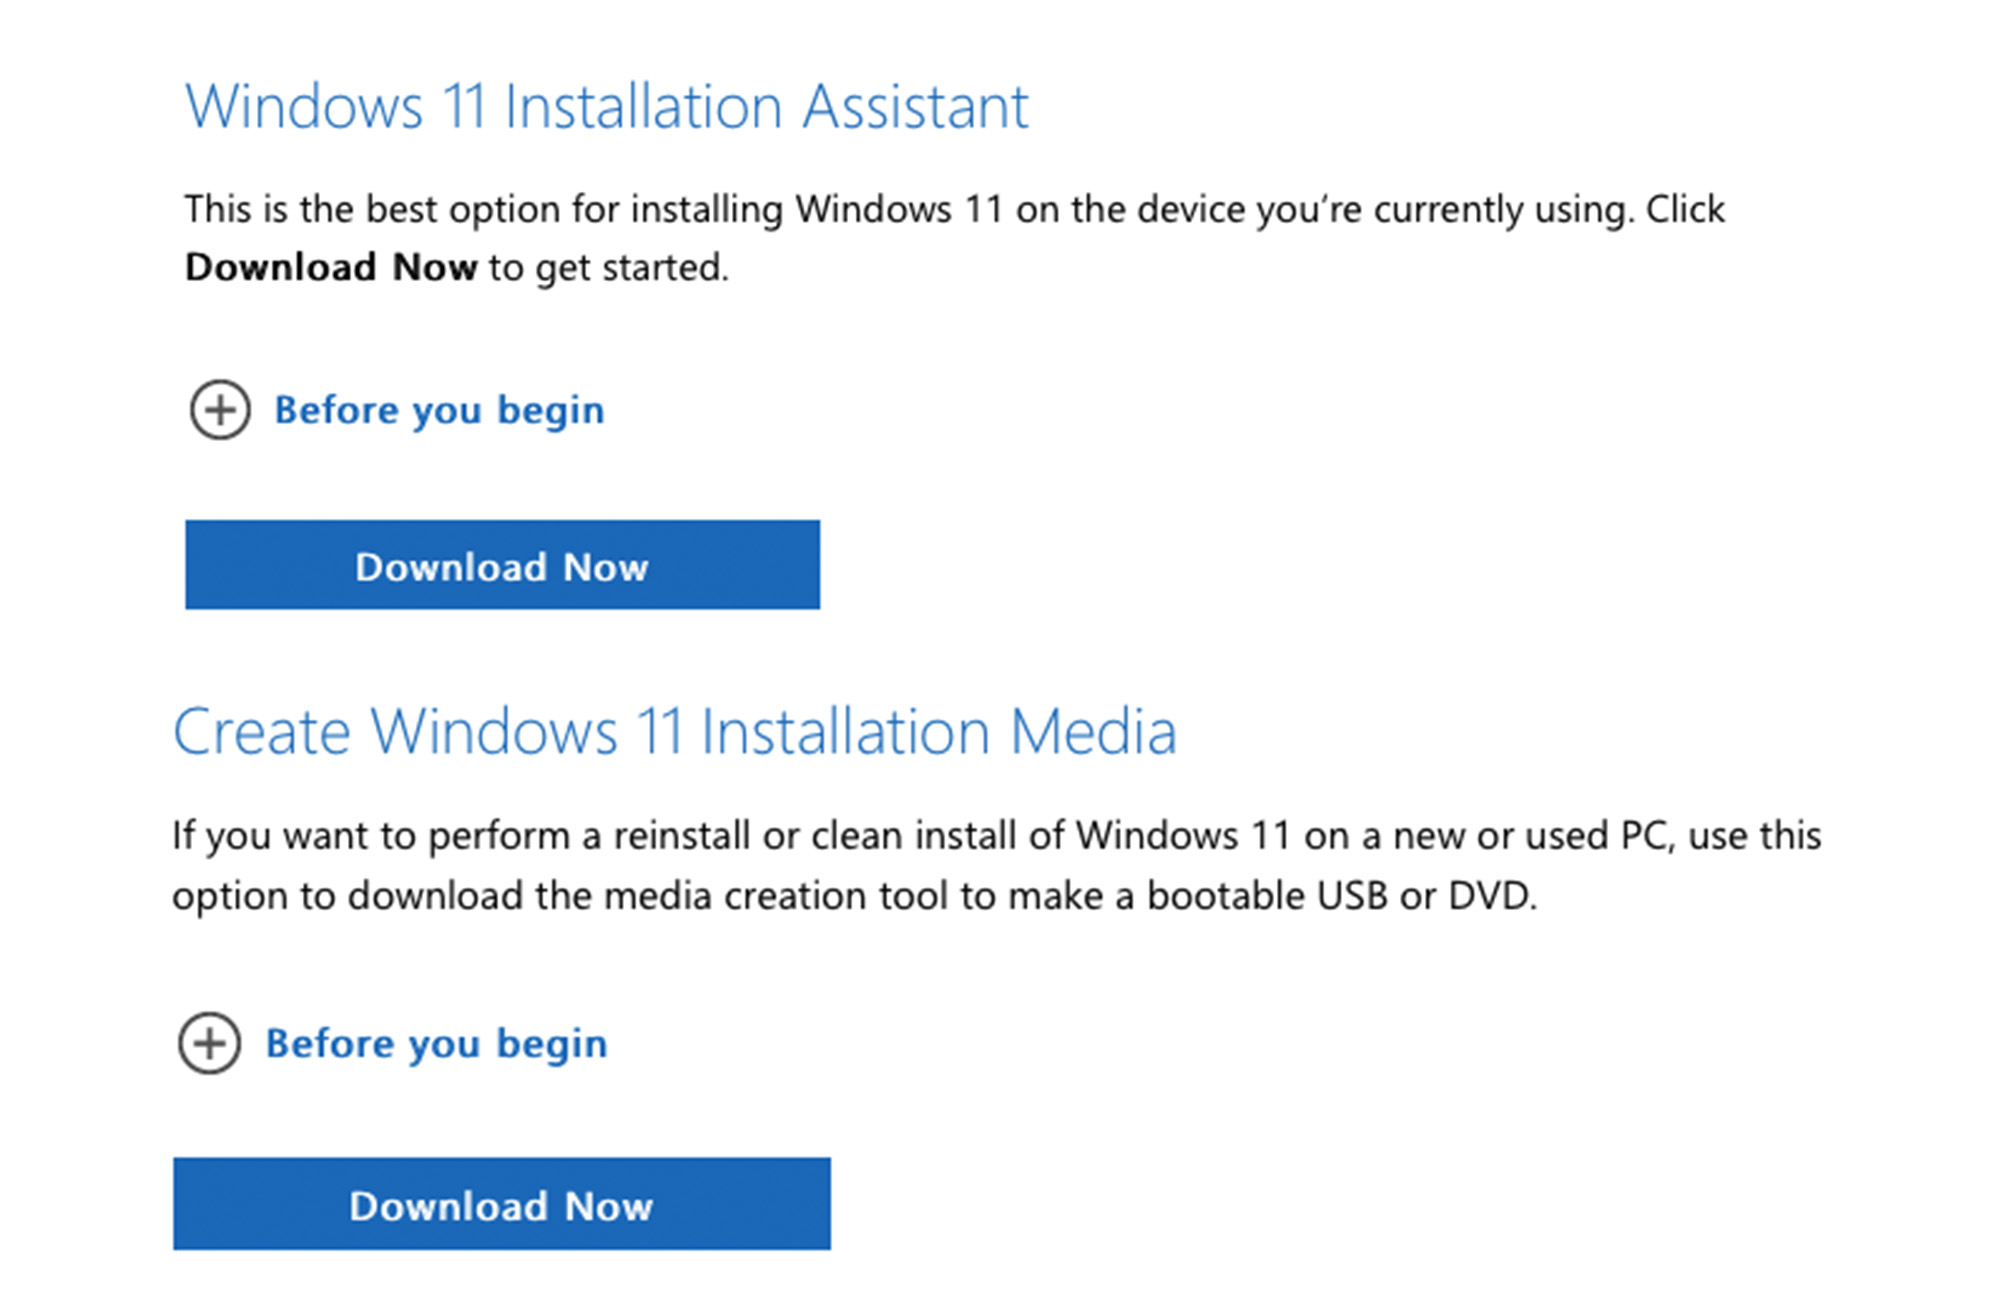

- After downloading, extract it to an accessible folder.
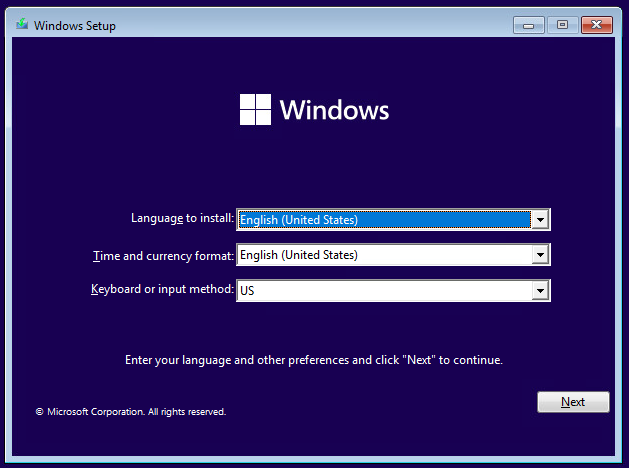
- Now open the folder and click on the setup file to start installing Windows 11.

- Now download the whole installation
- Once you downloaded the installation, accept the license terms.
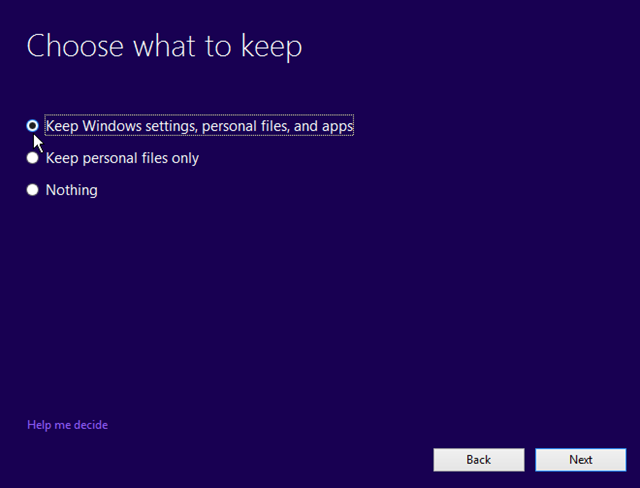
- Then select “Keep personal files and apps” to keep your data safe and click “Next”.

- And finally, click Install to start installing Windows 11.
Update the Microsoft Store
Once Windows 11 is installed, it’s time to download the latest version from Microsoft Store because it is missing from the version. To do this:
- Download the Microsoft Store installer.
- Open the installer and select the update option to install the new preview version from the Store.
- Wait for the installation process to complete and That’s it.
This way, you can use Windows 11 unofficially without going through a compatibility check.
How To Install Windows 11 on Unsupported PC: TPM2.0 Issue
Microsoft has made Secure Boot and TPM 2.0 mandatory for Windows 11. In addition, it supports only modern processors, including Intel 8th Gen chips and newer. This is the reason why many users of older generation processors are facing compatibility issues with Windows 11. Here’s how you can bypass the TPM2.0 Issue.
Read More | How To Download OneUI 4.0 Beta on Samsung Galaxy S21
Bypass TPM 2.0 requirements
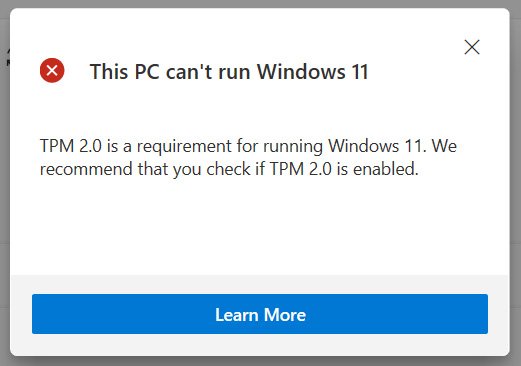
Many people who try to install Windows 11 on an unsupported PC receive the message “This computer cannot start Windows 11” without TPM 2.0.

However, you can bypass the TPM requirement with a simple registry modification by following the steps shown below:
1. Press Win + R to open Run. Type Regedit and hit Enter.
2. Go to the setting folder or Paste HKEY_LOCAL_MACHINE\SYSTEM\Setup in the address bar.
3. Right-click here and create a new key called LabConfig.
4. In the LabConfig key, you need to create two new DWORDs with values of:
* TPMCheck bypass – 00000001
* BypassSecureBootCheck – 00000001
5. Save and close the Registry Editor. Now try to install Windows 11.
Read More | How to Read WhatsApp Messages without opening them?
TPM Bypass Update
You can now also install Windows 11 even with the old TPM 1.2. Microsoft will allow you to modify the Windows registry key to allow updates, provided you acknowledge and understand the risks. Follow these steps for it:
1. Click Start, type Regedit, and Enter to open the Registry Editor.
2. Find HKEY_LOCAL_MACHINE\SYSTEM\Setup\MoSetup in the address bar.
3. Find the AllowUpgradesWithUnsupportedTPMOrCPU key.
4. Set its value to 1.
Another way is to change the actual ISO file. To change this, in the Sources folder you have to overwrite the “appraiserres.dll” file with the same file from the Windows 10 ISO image, and then re-create the image.
That’s All For Today. Stay Tuned To TechBurner For More Stuff.
