How to
How to Make Windows 10 Look Like Windows 11

Microsoft has recently introduced Windows 11 on June 24. After a week, they have even started to roll out the Windows 11 Insider Preview on the developer channel. Many people have even started to use the latest build who have followed our earlier guide on Windows 11 Insider Preview. However, Microsoft has made some confusing requirements due to which many PCs cannot run Windows 11. So if you guys want to experience Windows 11’s look and feel, you can do it on your Windows 10 system. In this article, we will discuss how to make Windows 10 look like Windows 11. Also, if you are bored with the Windows 10 visuals, then also you can try this. This article will give your Windows 10 a full makeover.
Firstly, if you are the one facing the error ‘This PC can’t run Windows 11 error’. Then you can head to our article – How To Fix This PC can’t Run Windows 11 Issue. Anyways, let’s have a closer look on the guide right now.
How to Make Windows 10 Look Like Windows 11
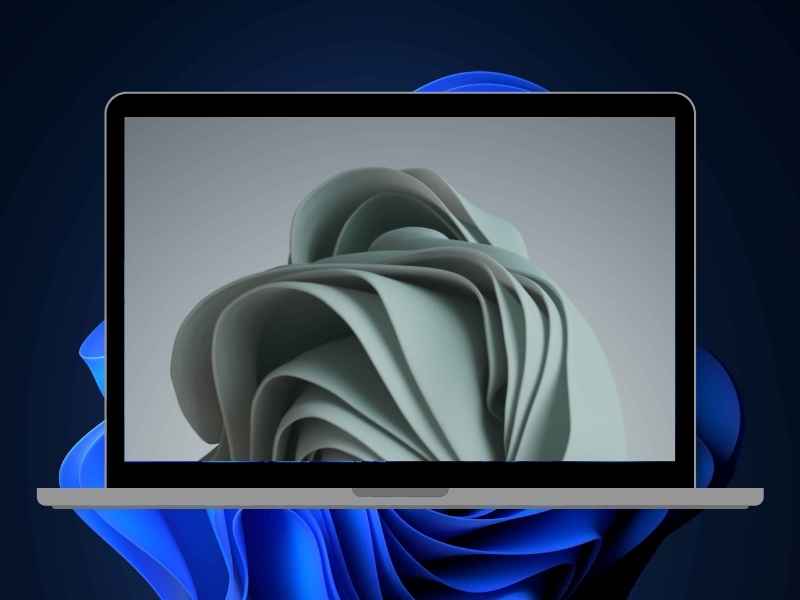

We have divided this article into simple steps to guide you on how to customize your Windows 10 to look like Windows 11. When we want to change the look of our PC, the first thing that comes to our mind is Wallpaper. So let’s get started with Windows 11 wallpaper.
Must Read | How to Use Android Apps on Windows 11
Download Windows 11 Wallpapers


You can download Windows 11 Wallpapers in high resolution from our website by searching. Also,
- You can just go with the hyperlink below and you will be redirected to our page.
Download Windows 11 Wallpapers [High Resolution]
- The wallpapers are provided in a zip file on Google drive to make them easily accessible for all.
- After downloading, you can set your preferred wallpaper. Just right-click on the image.
- Select Set as Desktop Background. Now wallpaper is set, so let’s move ahead.
Download Windows Theme Tool
Firstly, you will need to download the Windows theme tool by following the steps below:
- Head over to https://github.com/namazso/SecureUxTheme.
- Now you head to the Downloads section.
- Click on the Latest release and download the Theme tool to your preferred location.
Download Windows 11 Theme
Now you need to download the Windows 11 skin pack to proceed further by following the below steps:
- Head to https://www.deviantart.com/niivu/art/Windows-11-for-Windows-10-882819383.
- Download the theme by clicking on the download button under preview images on the webpage.
- You might need to signup for the Deviantart before downloading.
- Once downloaded you can proceed further.
Download Windows 11 Icons Pack
As you downloaded the theme, similarly you need to download the icons pack:
- Just head to the https://www.deviantart.com/niivu/art/Windows-11-Icon-Theme-874289797.
- Download the icon pack by clicking on the download button under preview images on the webpage.
- Here you can directly download it as you have already signed up. If not you will need to create an account.
- Now you can proceed further for the next steps.
- Also, head to the https://www.deviantart.com/devillnside/art/7TSP-GUI-2019-Edition-804769422.
- Download the file, similarly, you did with the above files.
How to Customize your Windows 10 as Windows 11
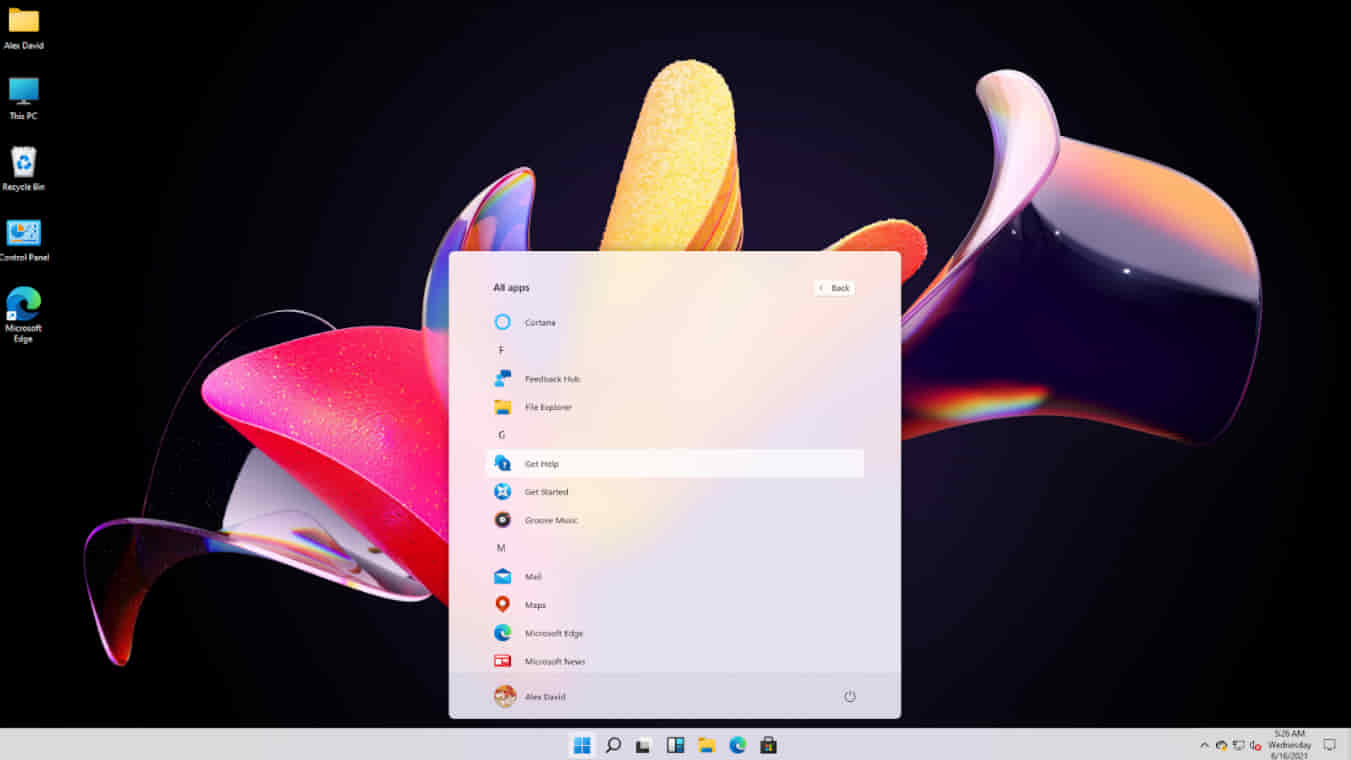

Now you have all the required tools so we are ready to give Windows 11 look to Windows 10. You just need to follow the steps below.
Apply Windows 11 Theme
- Now you need to place both the files in the same folder. So you can move them to any folder of your choice.
- Now extract them to the same folder.
- Next, you need to right-click on the theme tool downloaded in step-1.
- Click on Run as Administrator.
- Open the folder where you have stored the Theme and Icon pack.
- Locate Windows 10 themes sub-folder. Inside it, you will find two more sub-folders for taskbar sizes. You can select the size you prefer, extract it.
- Copy the extracted folder and paste it to C:\Windows\Resources\Themes.
- Now run the Theme tool again.
- This time you will see a new theme on the list. Select the theme and click on the ‘Patch and Apply’ button.
Apply Windows 11 Icons Pack
- Run the 7TSP GUI.
- Under compatibility check, tick the ‘Run this program in compatibility mode for:’ box.
- Click on add a custom pack and select the icon pack you downloaded.
- Click on Start Patching & by default 7TSP will create a restore point & install the contents of the pack.
- Now reboot.
- Once rebooted, you will see all the changes applied.
That’s it guys for this post. Keep an eye out on TechBurner for more such stuff!!
