Bawal News
How To Roll back To Windows 10 From Windows 11 without Losing Data

Microsoft has started rolling out Windows 11 for the insider and soon be available for everyone. If you are an insider and you have installed Windows 11 on your PC then this article is for you. While installing Windows 11 on your PC you have made any mistake and want to roll back to Windows 10. In this article, we are going to tell you how to roll back to Windows 10 from Windows 11 without losing data. You just have to follow some easy steps and you will be able to roll back to Windows 10. If you are worried about losing any data then you don’t av to worry all your data will be safe. If you have made any mistake while the Windows 11 installation or you are down with Windows 11 and want to downgrade to Windows 10 this article will help you. Let’s get started
How To Roll back To Windows 10 From Windows 11 without Losing Data?
Here’s how to roll back to Windows 10 from Windows 11 without losing data. Just follow some easy steps and you will be able to roll back to Windows 10 without losing data.
Step 1. Click on the “Start Menu” and then open “Settings”.
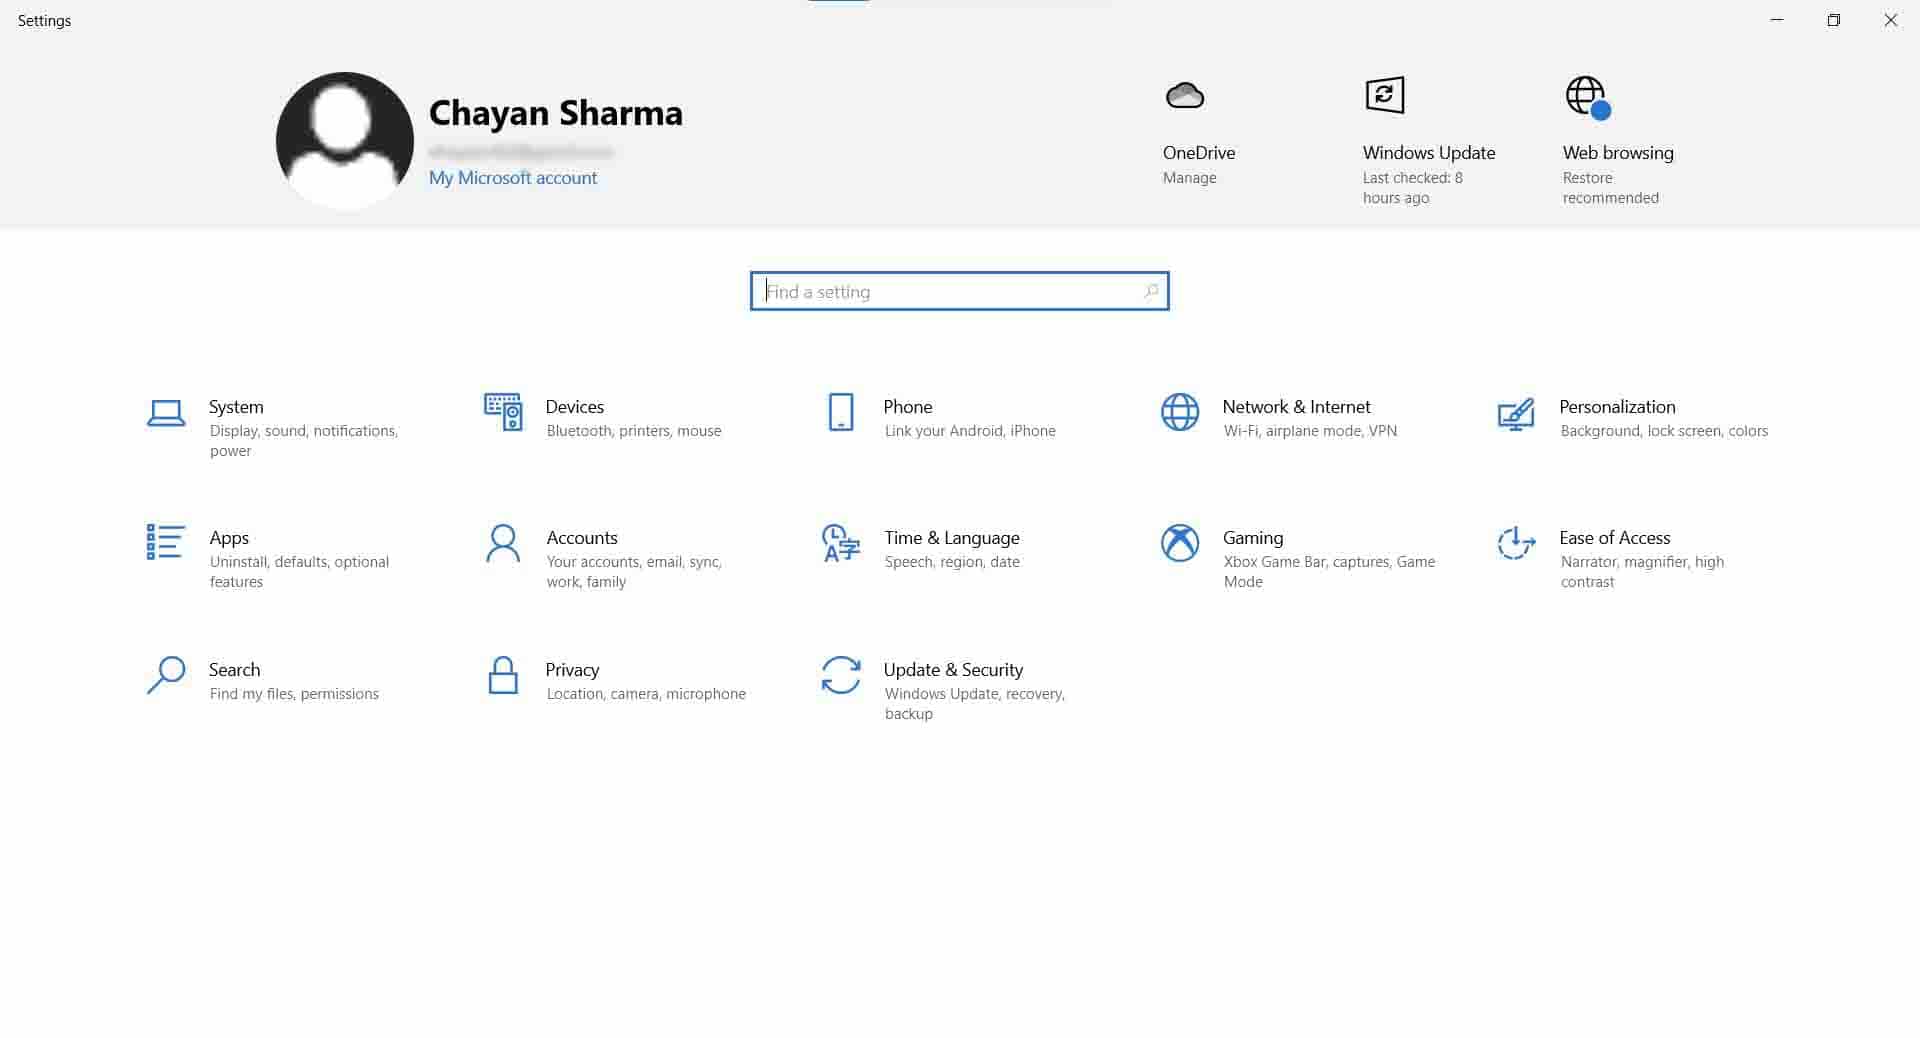

Step 2. Now go to “Updates and Security”.
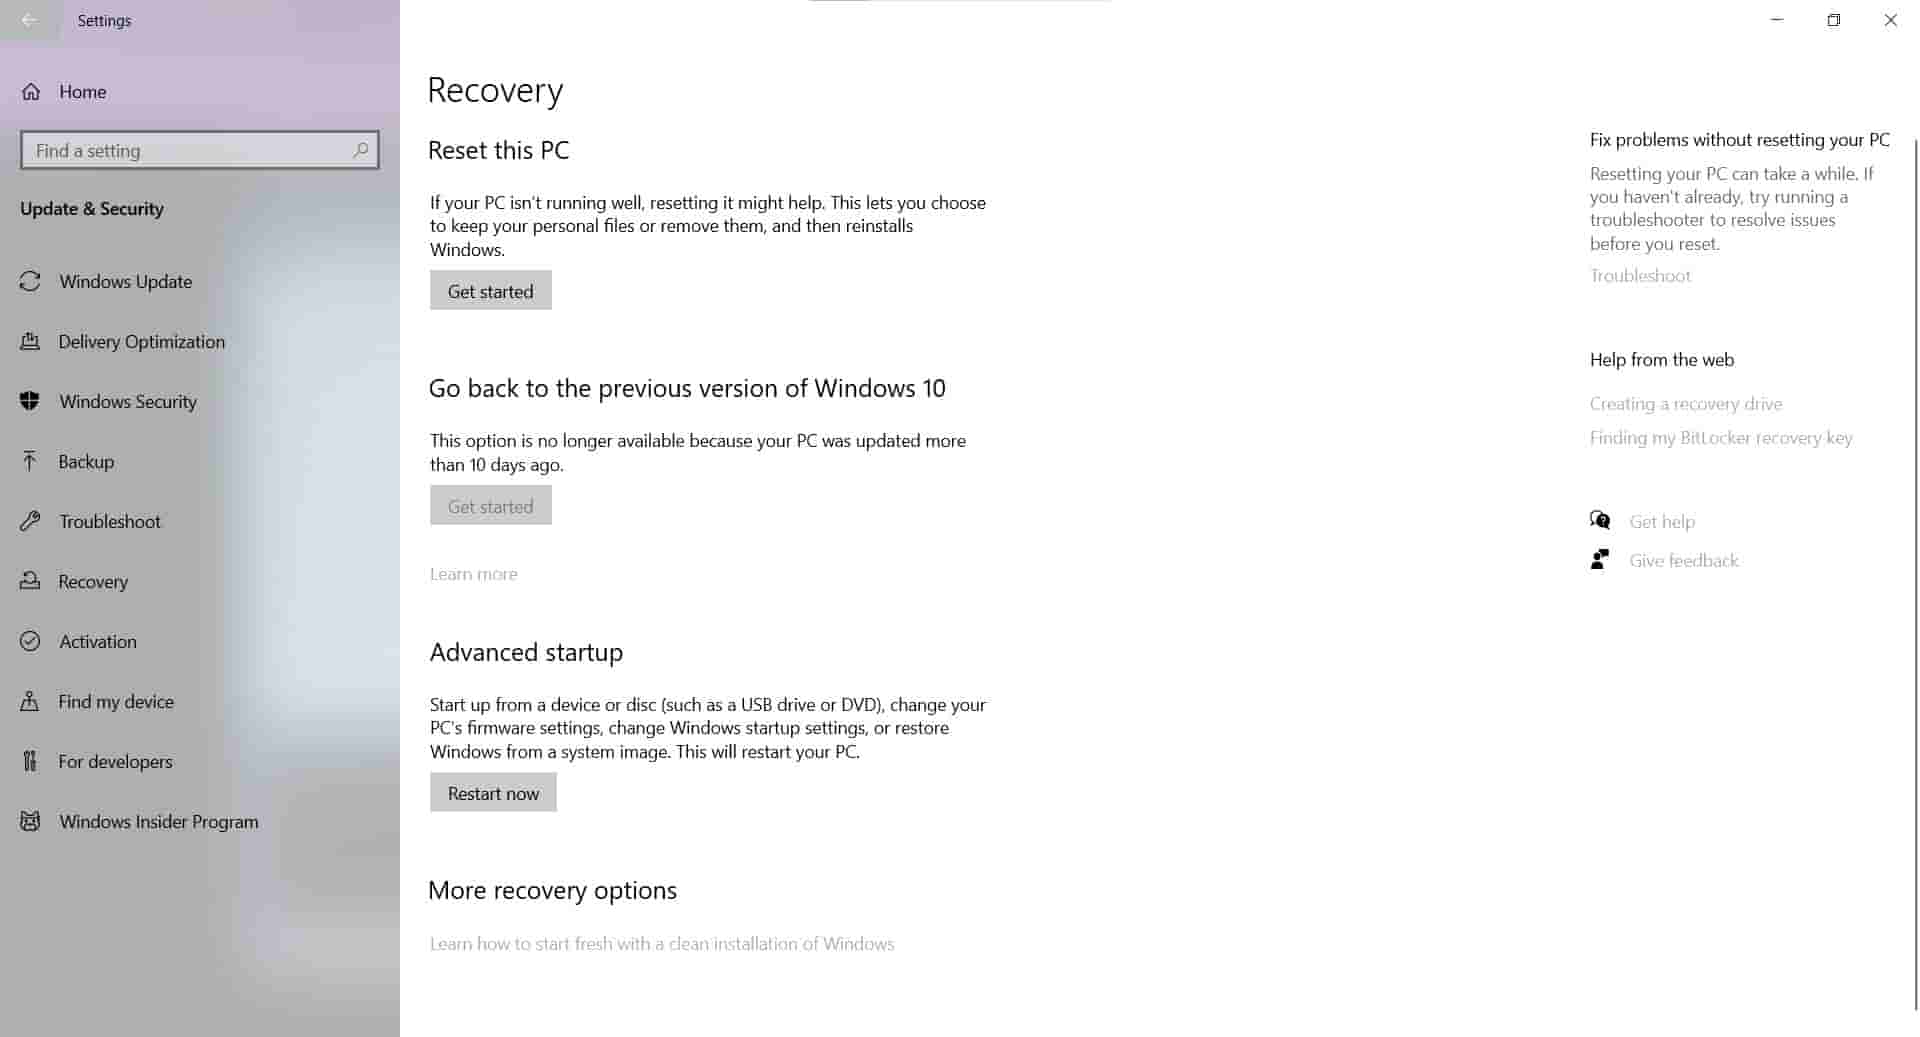
Step 3. On the left pane click on the “Recovery” option.
Step 4. Now click on the Recovery option and there you will find “Go back to the previous version of Windows 10”.
Step 5. Click on the “Go back” option right under “Go back to the previous version of Windows 10”.

Step 6. After you click on the option it will start loading. It will ask you the reason “Why are you going back?”.
Step 7. Click on any reason you find suitable or just check “For another reason” then click next.
Step 8. Now you will see the pop-up which asks you to “Check for Updates” click on “No Thanks”.
Step 9. It will show you another pop up “What you need to Know” then click on next.
Note: In the pop up it will show you some pointers that you must know before going back. “You’ll have to reinstall some apps and programs” and “You’ll lose any changes made to settings after installing the latest build”.
Step 10. Click on the next option again but make sure to remember the password that you used in the previous build or you won’t be able to sign in again without it.
Step 11. Now a pop-up will appear with a thanking message click on the “Go back to earlier build” option.
Step 12. Your PC will restart and automatically start restoring the previous version of Windows.
Step 13. After the restoring is complete your PC will restart and use the previous password from the previous build to log in. You are all done now enjoy Windows 10 without losing data.
That’s All For Today. Stay Tuned To TechBurner For More Stuff.
