Featured
How to Run Windows 11 on Mac: Step-by-Step Guide!

As Windows 11 download is accessible for everyone, you may also want to experience the new Windows 11 OS despite being a Mac user. But, is it possible to install Windows 11 on Mac? The answer is yes! Parallels 17 for Mac can run Windows 11 in a smooth virtual machine on an Intel or M1 Mac. You can simply use your favorite Windows apps alongside Mac software in Coherence mode. But why use Parallels for Windows 11 instead of Boot Camp Assistant? Well, it’s simple as Boot Camp Assistant can not run on M1 Macs and the performance is also not very good on Apple Macs. Also, Boot Camp Assistant needs to install Windows on a separate part on your Mac’s SSD or hard drive. You can only use one OS at a time and moving between them needs a reboot. Being an independent software on the Mac, Parallels make switching more flexible and smooth. So, now let’s check How to Run Windows 11 on Mac.
What Do You Need to Run Windows 11 on Mac?
Parallels 17 is compatible with Windows 11 on Mac OS X Catalina, Big Sur, and Monterey. The app’s home version costs $80. But if you already have an earlier version, you can upgrade to Parallels Version 17 for $50. Alternatively, you can try Parallels for free for a limited time. Search the Parallels website for the version you need.
You’ll also need a Windows 11 license. Get that from Microsoft after installing the OS. With Intel Macs, the Windows 11 ISO may be downloaded for free directly from Microsoft’s website.
To install Windows 11 on M1 Mac as of now, you have to first get Windows 11 on ARM preview version from Microsoft. You must have to register in the Windows Insider Program. Parallels cannot run the Intel (x64) version of Windows 11 on M1 Macs.
How to Install Windows 11 on Mac Using Parallels?
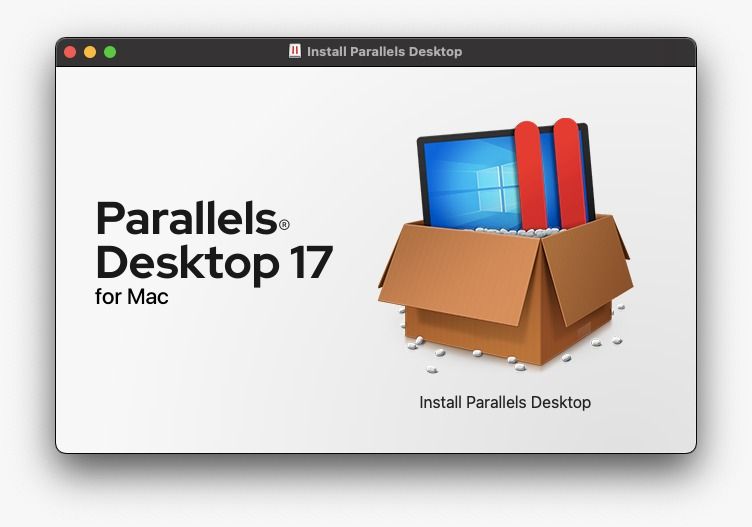
- First, download and install Parallels 17 or above on your Mac. Give permission to Parallels Desktop to access your Mac’s Desktop, Documents, and Downloads folders throughout the installation process.
- Then, if you’re using an Intel Mac, go to the Microsoft website and download the Windows 11 ISO. Locate the Download Windows 11 Disk Image (ISO) section on the download page. Pick Windows 11 from the drop-down menu, and then click Download. For installing Windows 11 ARM for Mac M1, just download a copy of Windows Client ARM64 Insider Preview as a VHDX disk image file.

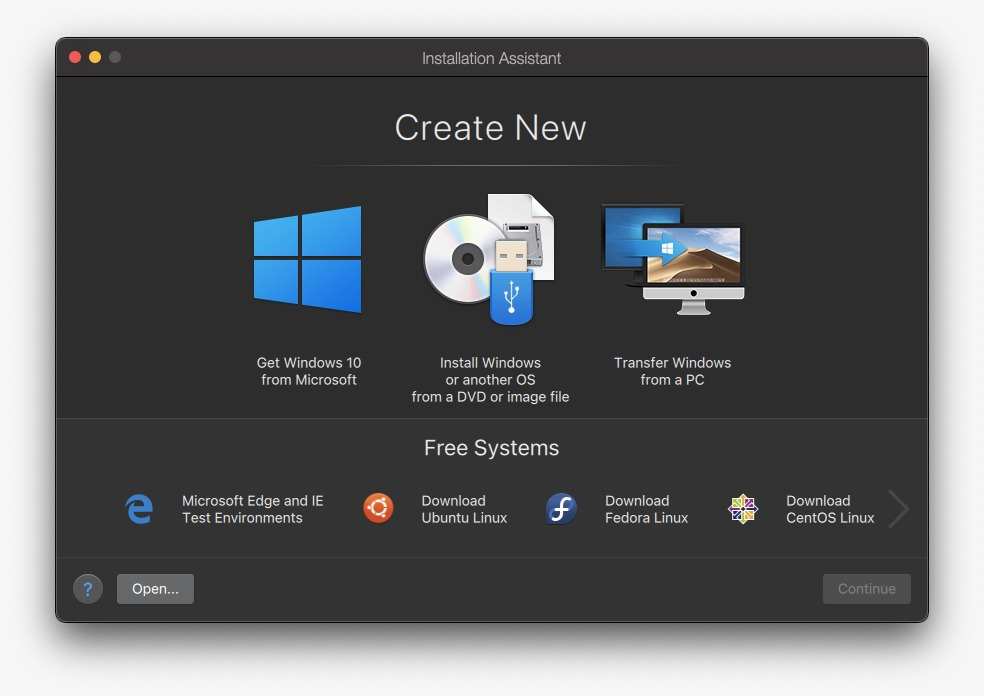
- Then open the Parallels software on your Mac. Open the VHDX file and follow the on-screen steps. Open the Installation Assistant on the Intel Mac and pick Install Windows or another OS from a DVD or image file. Then click Continue.
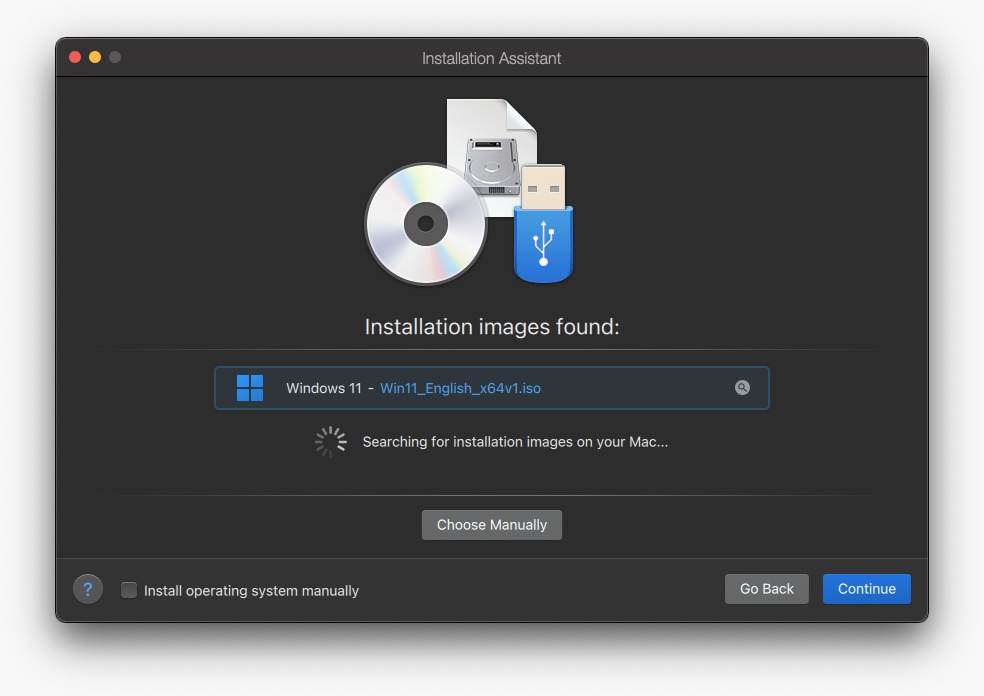
- Parallels will find the Windows 11 ISO on your Mac automatically. Choose it from the list and press the Continue button.
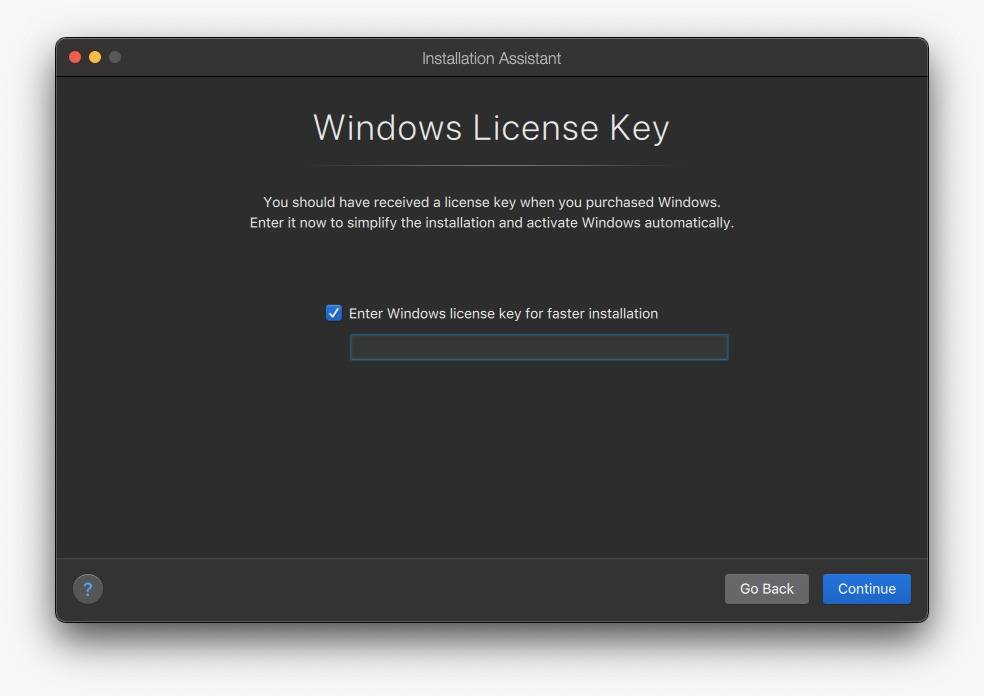
- Give the Windows License Key. If you don’t have one, uncheck the box that says Enter Windows license key for quicker installation. Click Continue.
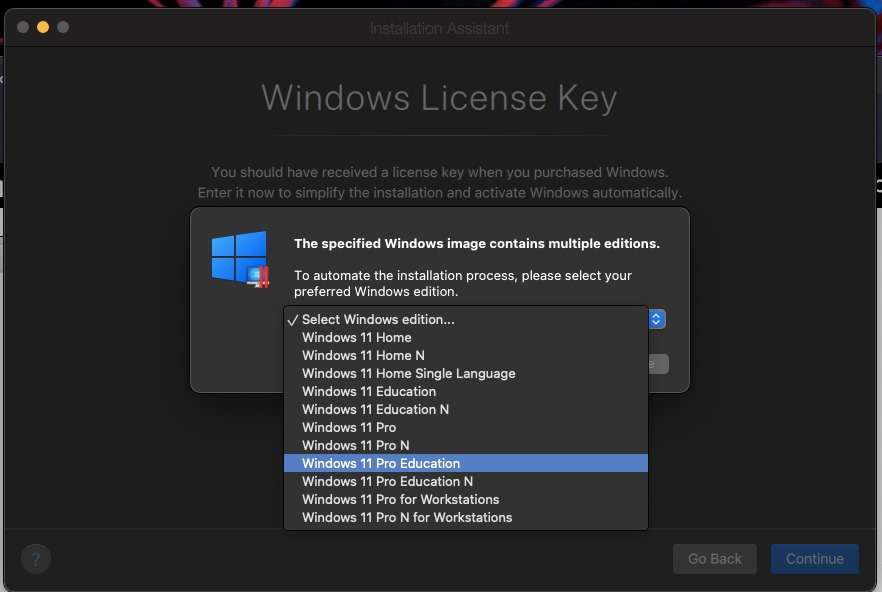
- The standard Windows 11 ISO offers installation instructions for a variety of Windows 11 variants. Select the one you wish to install from the drop-down menu. Tap Continue. Note each edition has its own pricing, which will be reflected when you purchase Windows 11 license later.
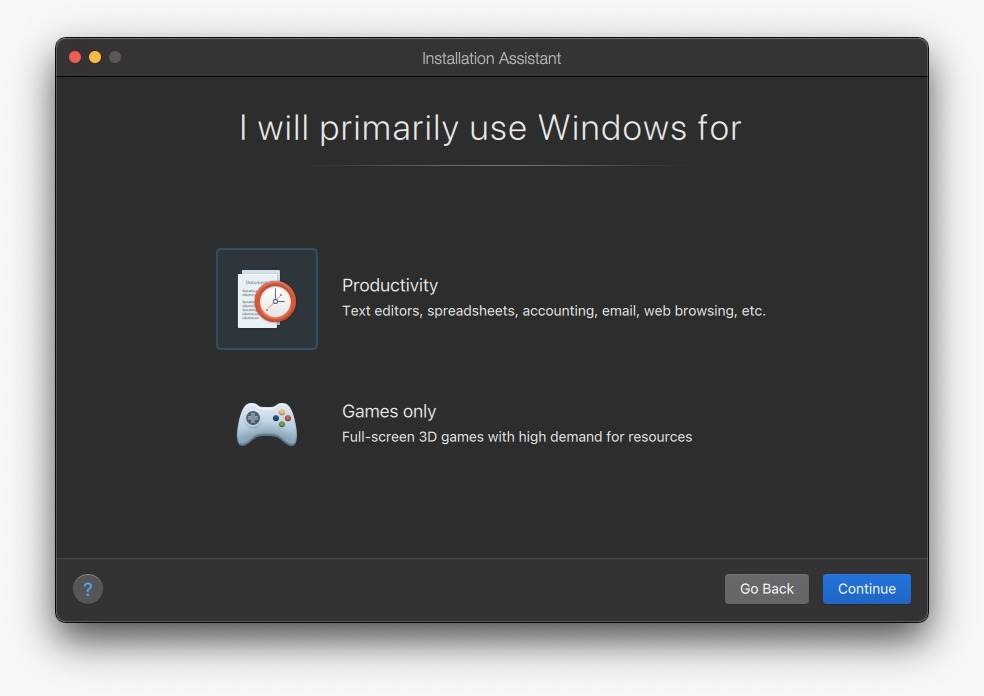
- Parallels will then ask whether you want to use Windows mostly for work or games. Choose according to your requirements and click Continue.
- The installation of Windows 11 will begin. Parallels manage everything automatically. It shows the progress in a little virtual Machine window on your Mac.
- When the installation is finished on both M1 and Intel Macs, you’ll get the message Installation Complete. To proceed, click within the window.
- If you’re using a trial version of Parallels, it will prompt you to create a Parallels account. Otherwise, start running Windows 11 on Mac!
How to use Windows and Mac Together?
- From the Windows 11 window, choose Enter Coherence in the View menu to enter seamless mode. Now you can use Windows and Mac programs side by side. Or press Ctrl+Command+C.
- To exit, click the Windows logo in the Dock and then pick View > Exit Coherence from the menu bar. Or hit Ctrl+Command+C once more.
- To purchase a Windows 11 license, launch the Settings app and choose System from the sidebar. Click Activate Now, then Open Store. Buy a Windows license from the Microsoft Store according to your version.
Note: Intel Mac users can use Oracle virtual machines for free of cost. But unfortunately, this VM does not support the new OS currently as your hardware must meet the requirements to run Windows 11. If there is any future update, we will let you know!
That’s All For Today. Stay Tuned To TechBurner For More Stuff.
