Bawal News
How to Use Live Captions on Windows 11

Since Windows 11 was launched, Microsoft has been continuously improving it to make it more user friendly. In the recently released Microsoft insiders preview, they have released some new features that include touch gestures, app folders and many more. But the one feature that piques our interest is Live Captions. The one feature that every android smartphone has nowadays, is now available on Windows 11. Some of you might not be able to properly find the option to enable Live Captions. In this article, we are going to tell you how to use live captions on Windows 11. We have created an easy guide for you that will help you turn on the live captions on Windows 11. Just follow all the steps till the end and you will be all set to use live captions on Windows 11. This feature works offline too, so you can use it anytime.
How to Use Live Captions on Windows 11?
Here’s how to use live captions on Windows 11:
Step 1. Open Settings on your Windows 11 laptops or PC.
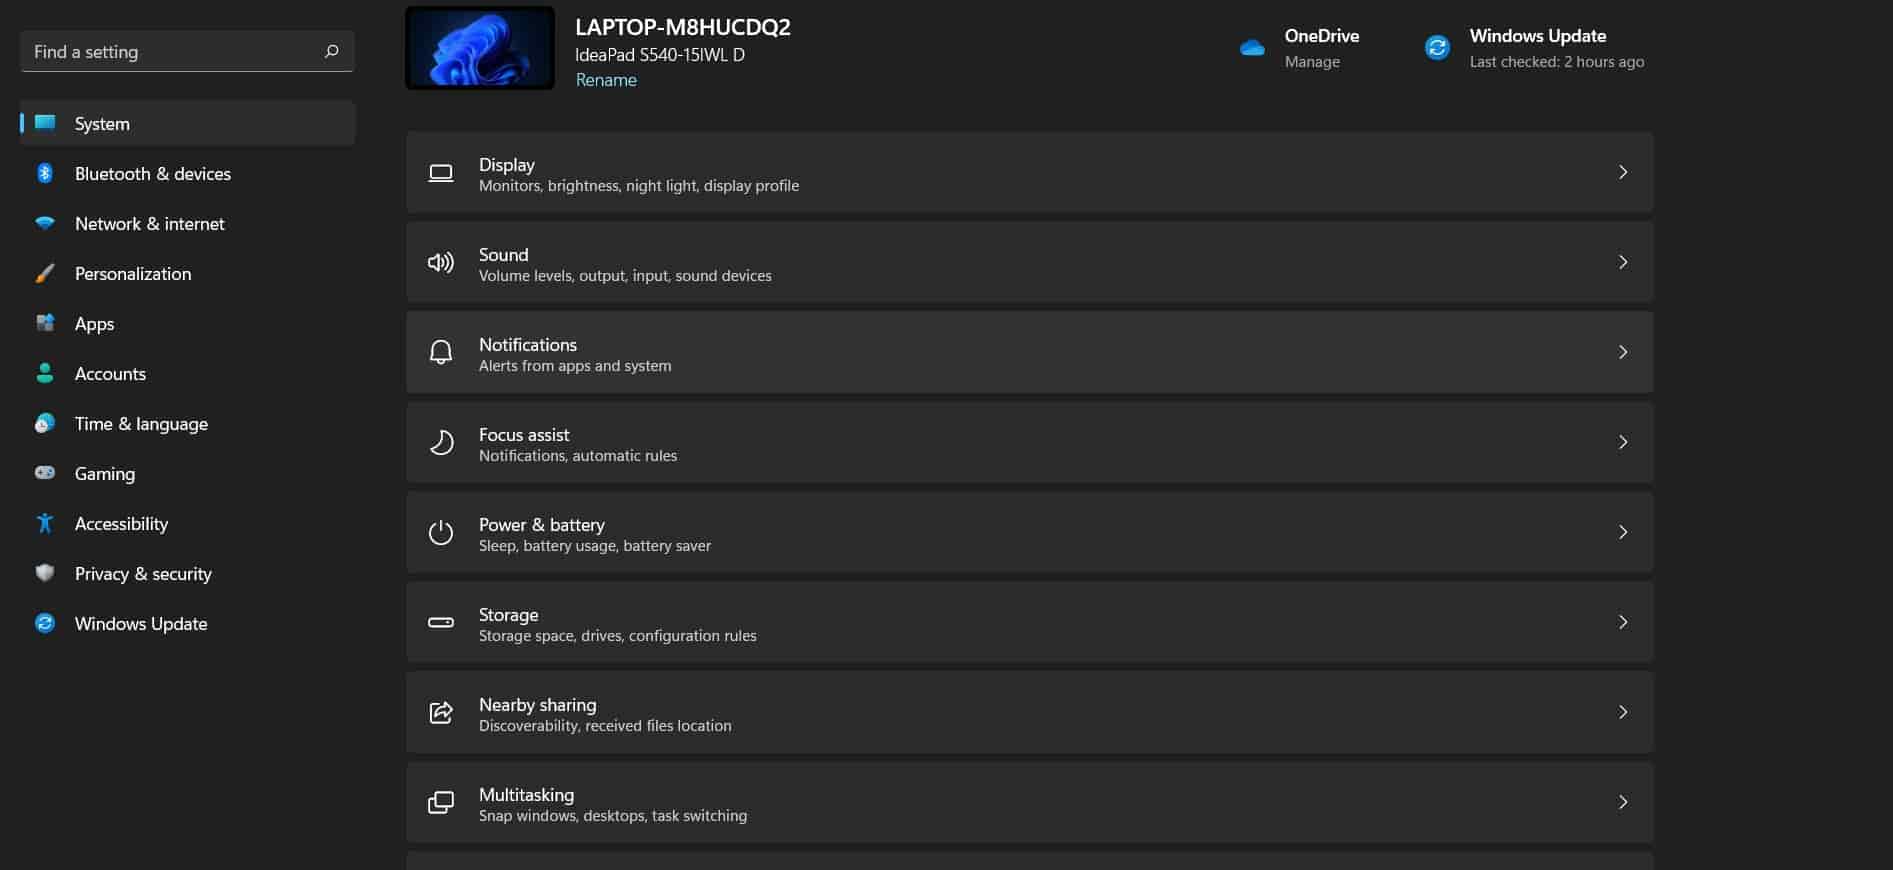

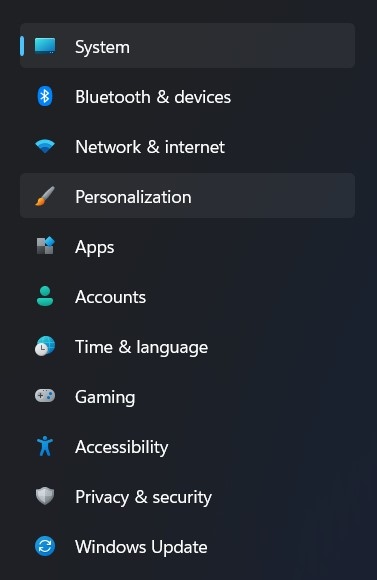
Step 2. Then on the left sidebar open the Accessibility and look for the Captions option under hearing.
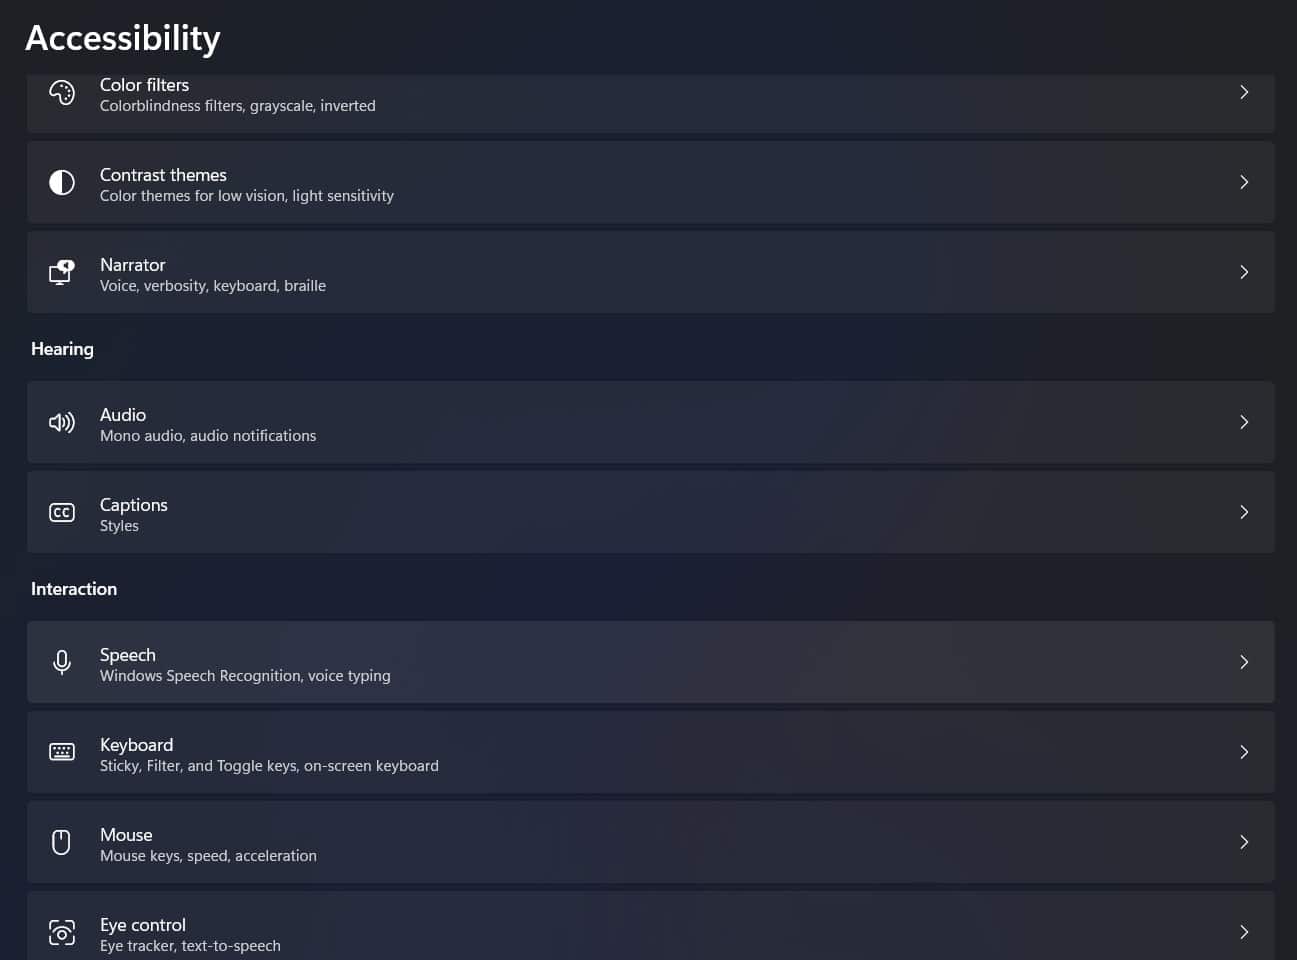

Step 3. Now toggle ON the Live Captions option on your PC or laptop.
NOTE: Microsoft says doesn’t share any of your data to the cloud.
Step 4. After that, a pop up will appear on top of your screen click on I Agree and you are good to go. Now you will be able to see Live captions across all your video content.
NOTE: Currently Live Captions only work in English (United States), but hopefully soon we’ll be able to use many more languages in Live Captions.
How to Register for Windows Insider Program?
Microsoft has started rolling out Live Captions for all its Windows 11 users. If for some reason you didn’t have received it yet we have a solution for you. The best way to use all the latest Windows 11 features is through Windows Insider. After registering in the Windows Insider program, you will be able to use many upcoming features before anyone else. Here’s how to enrol on Windows Insider program:
Step 1. Open Settings on your PC or Laptop.
Step 2. Now click on the Update & Security option.

Step 3. Click on the Windows Insider Program option.
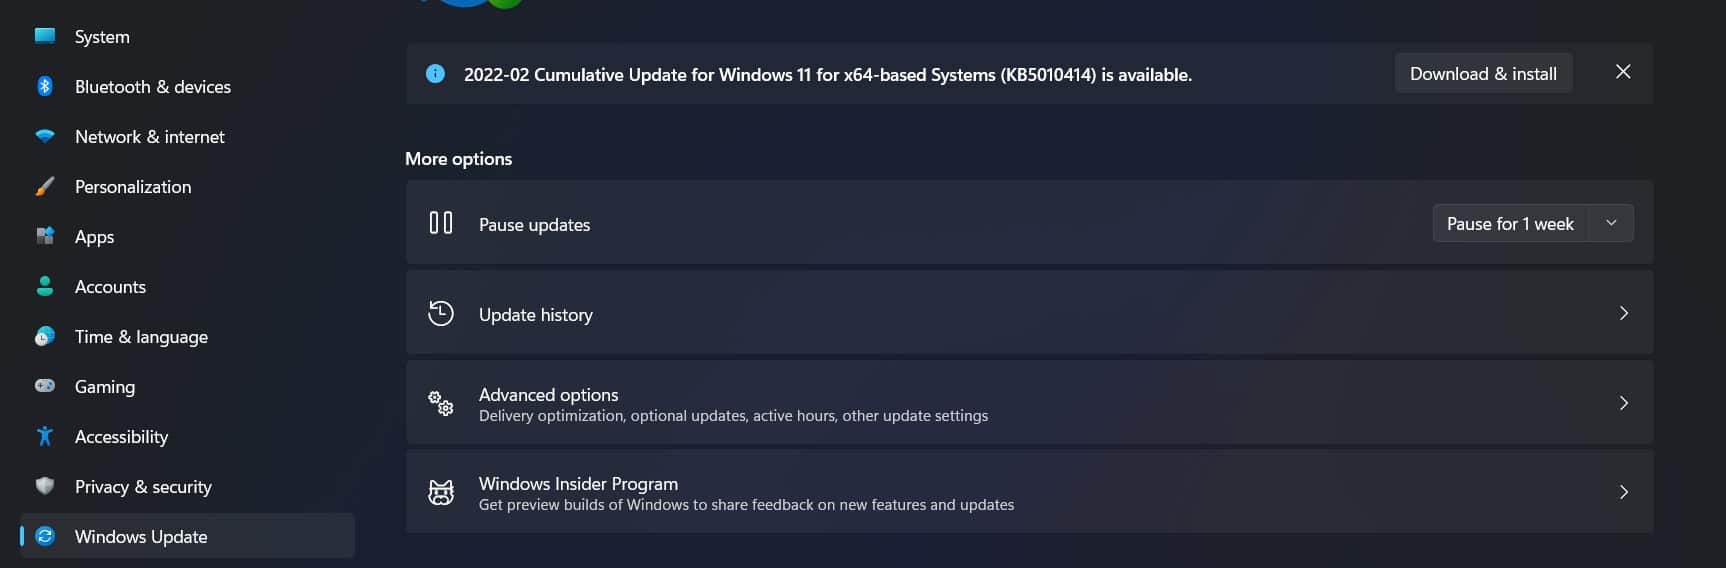

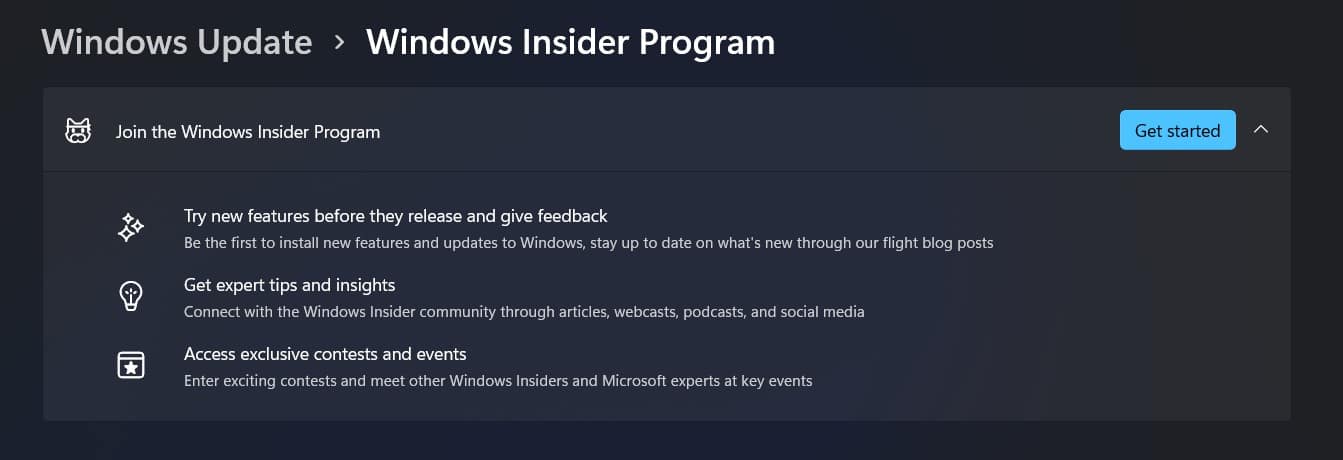
Step 4. Click on the Get Started button right under Windows Insider Program.

Step 5. Now click on the Link an Account option. A menu will appear where you have to choose the Microsoft Account option then click on the Continue button.
Step 6. A menu will appear What kind of content would you like to receive? Use the drop-down menu to choose the preferred option from the following:
- Just Fixes, Apps and Drivers
- Active development of Windows
NOTE: We would recommend you to choose the second option if you regularly want to use the preview builds on your device and use upcoming features before anybody else.
Step 7. Click on the Confirm button after making your selection. Now select the option at what pace you want to receive the preview builds. Choose Slow if you want to come across minimal bugs and glitches. Choose Fast if you want to enjoy the latest features before anybody else but you are more likely to come across bugs and errors.
Step 8. Now click on the Confirm button, then again click on the Confirm button to agree to the terms. Now click on the Restart button and you are done with the process.
NOTE: After you have completed all the steps you will be able to receive preview builds. However, it takes 24 hours before you will be able to download the builds.
Conclusion
If you want to use the Live Captions feature in Windows 11 then follow all the above steps and you will be able to turn On Live Captions without any issues. However, there are many more features that you can use to improve your Windows 11 experience, but let’s leave some for next time.
That’s All For Today. Stay Tuned To TechBurner For More Stuff.
