Featured
How to Install Android 13 Beta on Pixel and Non Pixel Devices [GUIDE]

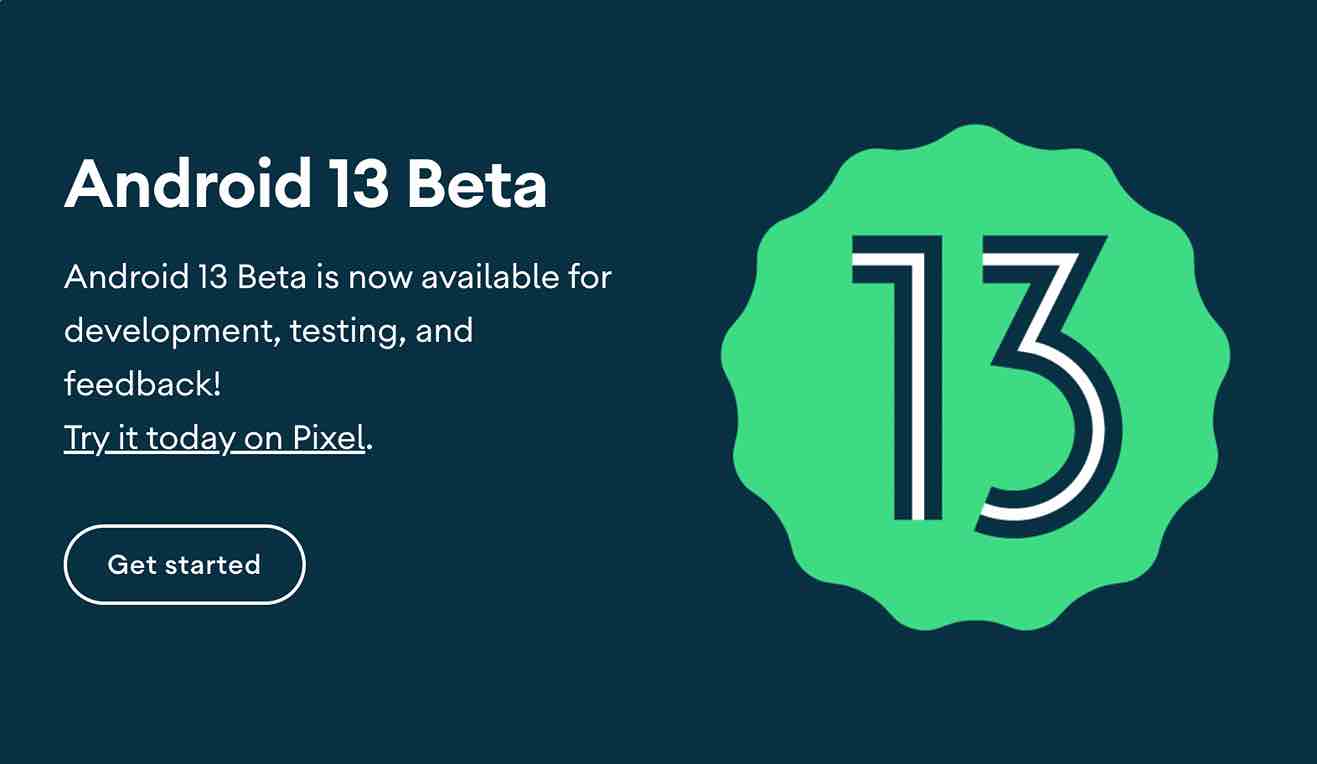
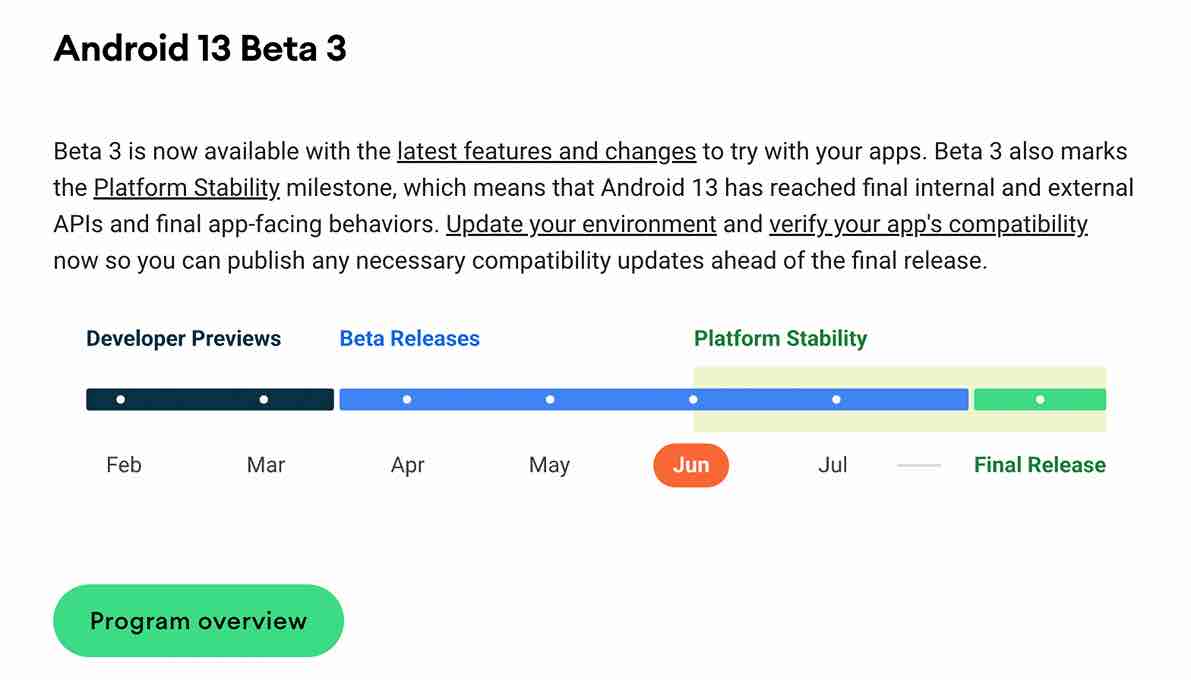
Google has finally released the third beta version of Android 13. Android 13 is the latest version of the Android OS after Android 12. Android 12 is currently a stable Android operating system and works on many devices around the world. On the other hand, the Android 13 is officially available for Pixel, hence other device owners may not be able to use it without some alternatives. But thank god, we have an alternative called GSI, Generic System Images. And if you want to install Android 13 beta on a non-Pixel phone, you can install GSI. Now, if you want to easily download and install the Android 13 beta on any Project Treble device, then you can follow this step-by-step guide.
GSI in Android

This is a system image file for Android devices with modified configurations. It’s compatible with Project Treble support, and its main purpose is to provide testing features for the latest version of Android on any Android phone, even if it’s not a Pixel phone. It is an open-source project used by developers to create custom ROMs and more. Google has made it possible for all non-Pixel Android device users to flash the GSI file according to the architecture and enjoy the latest Android OS version.
Download Android 13 Beta 3 GSI

Just like the Android 13 factory image and the Android 13 OTA image, Google has also provided Android 13 GSI versions. So anyone can download and enjoy the latest Android 13 beta, which is useful for developers, but tech enthusiasts can also use it to learn about the upcoming Android 13.
Initial requirements:
- Your device’s bootloader must be unlocked.
- Be sure to check if your device supports Project Treble as a GSI file and the guide only applies to devices that support Project Treble.
- Turn on USB Debugging on your device.
- Download and install Android USB Drivers on PC/Laptop.
Install Android 13 Beta

In Pixel Phones
To install Android 13 beta, you need to download the appropriate OTA package for your device from Recovery via ADB. Also, the unlocked bootloader is not necessary for this method.
1. Download the updated ZIP file to your computer from the official Android website.
2. Place the file in the directory where ADB is located on your computer.
3. Enable USB debugging on your phone. Go to Settings > About phone > tap Build number 7 times to enable developer options, then go to Settings > Developer options > Enable USB debugging.
4. Connect your phone to your computer. Allow connection to the computer on your phone when prompted on your phone if this is the first time you have connected to this computer’s ADB instance.
5. On your computer, run the command: adb reboot Recovery
6. “No command” message should appear on the phone screen.
7. Now press and hold the power button of your phone. While holding the Power button, press the Volume Up button and quickly release both buttons and you will enter the Android recovery menu.
8. Select the “Apply Update from ADB” option from the recovery menu.
9. On your computer, run the command: adb devices
This should return the device serial number with the words “Unpublished Download” next to its name, to indicate that your device is connected to the computer in an unpublished download.
10. On your computer, run the command: adb sideload “filename” zip
The “filename” part should be replaced with the name of the file you downloaded in step 1.
11. The update must be installed on your phone. Once the installation is complete, select “Reboot system now” on your phone to restart Android 13.
In Non-Pixel Phones (Project Treble-compatible Phones)
To install Android 13 beta on Non-Pixel Phones, you have to install the official Google GSI binaries to test Android 13 if your device is compatible with Project Treble. You also need an unlocked bootloader.
And the most important thing to note is that you have to backup your mobile from the device because flashing the GSI will require you to reset your device so make sure you are prepared to lose the app data before proceeding with that.
Install the official Google GSI binaries to test Android 13 if your device is compatible with Project Treble. You also need an unlocked bootloader.
And the most important thing to note is that you have to backup your mobile from the device because flashing the GSI will require you to reset your device so make sure you are prepared to lose the app data before proceeding with that.
1: If you have unlocked the bootloader, you already know how to access the developer options. To enable USB debugging in developer options.
But if you don’t remember this process, go to “Settings” > “About phone” and tap on “Build number” 7 times.
2: An important criterion is that the device you want to install the GSI on must be Treble compatible. Most modern devices have a triangular design, but you can still check this by running the given command.
To run the command, you need to enable USB debugging on your phone, which I think you already know from the above method. So after enabling USB debugging, enter the following command.
adb shell getprop ro.treble.enabled
The answer must be correct. And if it is an error, it means that your phone is not compatible with Android 13 Beta GSI.
3: Now copy the GSI or Generic System Image to your computer. The file format will be compressed, so extract the file. Copy system.img from the extracted folder and paste it into C:/adb folder (if you have adb and fastboot driver installed) or platform-tools folder (if you are using platform-tools).
Also, copy the downloaded vbmeta.img file to the same location as system.img.
4: USB debugging must be enabled for this (skip if you know keyboard shortcuts to boot your phone into bootloader mode).
Connect your phone to your computer with a USB cable and make sure it is authorized on your device if it asks for debugging permission. It won’t ask you if you’ve given permission before. Now open CMD on your computer and enter the given command: adb reboot bootloader
Your phone will boot into Bootloader / Fastboot mode.
5: To flash the GSI first, you have to disable the boot using Android Verification to avoid booting issues. Open a CMD / Command window from the C: / adb folder or the platform-tools folder where the system.img file is located. You can just type cmd into the path in explorer to open CMD at any given location.
- Enter the command below to disable booting with Android AVB scan: fastboot flash vbmeta vbmeta.img
- Now wipe all data for a clean install with the given command (it will delete all data): fastboot erase system
- Then install Android 13 Beta GSI on your phone with this command: fastboot flash system system.img
- Now wipe the user data partition after the installation is complete: fastboot -w
- That’s it, now you can reboot and enjoy Android 13 on your phone. fastboot reboot

images
June 15, 2022 at 10:15 pm
Awesome post.