Guides
Android 13 Beta 2 GSI on Any Smartphone: Download and Install [With Links]
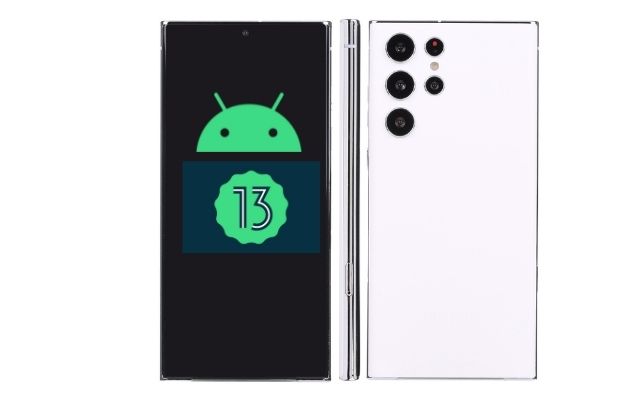
Google has rolled out the second Android 13 Beta program, and it is officially available only for Pixel devices. Users with other Android devices will not be able to use it without any other way. Good news for the users, Google has an alternative for users with devices other than Pixel. This alternative is called GSI or “Generic System Images”. For users who want to experience the newest developments in Android 13 without a Pixel device, installing the GSI is a good option. This guide will take you through every step to install the Android 13 Beta 2 GSI on any Android phone.
What is GSI or Generic System Image
Google first introduced GSI or Generic System Image a few versions back with the Android 8.1. The company has been rolling this out with every major update since then. It is an attempt to provide a chance to test the new features and functionalities for all the tech enthusiasts even without a Pixel device. Developers can use it for testing apps, functionality, and other development work on a Treble compliant device.
Google’s Android GSI is an open source project that gives developers an opportunity to create mods and experience the true stock Android even on non Pixel devices. The following steps will help you download and Install the Android 13 Beta 2.
Steps to Download Android 13 Beta 2 GSI
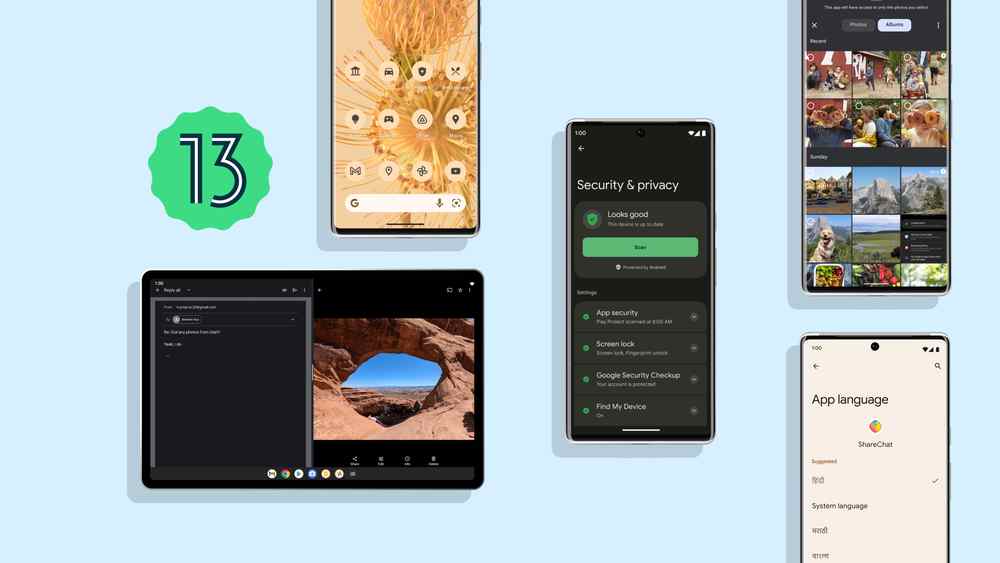
Google has rolled out the Android 13 Beta 2 GSI along with the Android 13 factory image, and Android 13 OTA image. Anyone who is interested in downloading the latest Android 13 version, can refer to the following links. This update will also allow the developers to experience the upcoming Android update.
Android Beta 2 GSI Download Links
| Type | Link |
| ARM64 + GMS | Download |
| ARM64 | Download |
| X86_64 + GMS | Download |
| X86_64 | Download |
The mentioned links are based on the device hardware architecture, and it is important to download the correct image file matching the architecture of your device. If you are not aware about your device’s architecture, then you can easily check that on any third party device or on the company website for system information. There are two kinds of files in the list, GMS and non-GMS files. GMS includes all the Google services and apps. Since Google services are not available in every region, you can choose to download the files based on the region you are from and your usage. After the download is successfully completed, you can go ahead with the following steps.
Minimum Requirements for Android 13 Beta 2 GSI
-Android version 9 or above
-Install ADB and fastboot driver on your PC or laptop.
-Unlock the bootloader of your device
-Check if your phone supports project treble
-Backup All the Data in Your Phone
-Download the GSI for your Device
-Download vbmeta.img
*Make sure you are downloading this at your own risk.
*Some phones may have different processes for installing GSI (it mostly remains the same)
Steps for Installation
Step 1: Enable USB Debugging
USB Debugging can be enabled by going into the Developer Option. Different smartphone models have different ways of accessing the options. The process is fairly simple. You need to go to your Settings -> About Phone-> Tap 7 times on the Build Number. For OnePlus users, the option can be accessed by tapping on the OxygenOS version, and for Xiaomi users, the option can be toggled by tapping on the MIUI version. After enabling the developer options, go and find the USB Debugging option.
Step 2: Ensure Project Treble Support
The device that you are installing GSI in should be Treble Compliant. To make sure of that, you can run the following command. To run the command, enable USB Debugging on your phone and run the following command:
adb shell getprop ro.treble.enabled
The response of this command should be True. If it says False, then your smartphone is not compatible with Android 13 Beta GSI.
Step 3: Extract the Android 13 Beta 2 GSI
Copy the downloaded GSI to your computer. The file format will be the zip format, and users need to extract the contents out. Copy system.img from the extracted folder and paste it to the C:/adb folder (if you have installed adb and fastboot drivers) or in the platform tools folder (if you are using platform tools). Finally, copy the downloaded vbmeta.img file to the same location as system.img.
Step 4: Boot Your Smartphone into Fastboot Mode
To enable this mode, connect your phone to the PC using a USB cable and make sure to authorize it on your device. If it is not asking for permission, then the option is already enabled. Open CMD on your PC and enter the mentioned command.
adb reboot bootloader
This will boot your phone into bootloader/Fastboot mode.
Step 5: Flash GSI to Install Android 13 Beta 2
To start with the process, you need to disable Android verified boot to avoid any bootloop issues. Open the CMD/Command window from the C:/adb folder where the system.img file is located.
-Enter the following command to disable AVB Android Verified Boot:
fastboot flash vbmeta vbmeta.img
-Remove all the data by using the following command:
fastboot erase system
-Install the Android 13 Beta GSI on your smartphone with this command:
fastboot flash system system.img
-Wipe the userdata partition after the installation is done:
fastboot -w
-This ends the process, now you can access Android 13 in your smartphone
fastboot reboot
After the reboot is done, you can experience and enjoy Android 13 on your smartphone. With GSI you can enjoy the Android 13 features before the official launch. It is really helpful if you are a developer to make Android 13 compatible apps. You can also report bugs to Google.
This was all about Android 13 Beta 2. For more such articles, follow Techburner.