Last year PUBG Mobile got banned in India because they were sending our data to Chinese servers. Nobody was happy after the ban and they didn’t want to replace PUBG Mobile with any other game. But we all were excited for the launch of Battlegrounds Mobile India. The game is still in the “Early Access” stage but there are rumors that suggest that soon it will be available for everyone. Many players were facing matchmaking and map downloading issues in Battlegrounds Mobile India. In this article, we are going to tell you how to fix the BGMI matchmaking and maps downloading issue. You just have to follow some easy steps and you will be able to fix the matchmaking and map downloading issue. The game is still in the testing stages so there are some issues being faced by players. Now without any further ado let’s get started.
Battlegrounds Mobile India

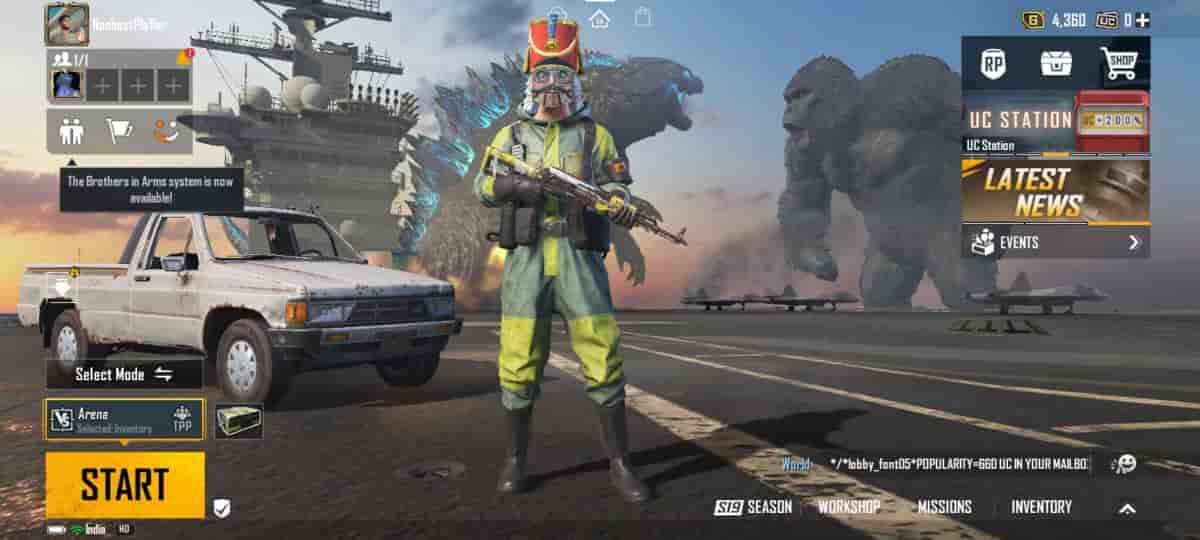
Finally, after a long wait, we have got our hands-on Battlegrounds Mobile India. The gameplay is pretty similar to PUBG Mobile, however, there are few changes that you will notice. When you get to hit the color of the blood is not red anymore, you will get an audio warning at the start of every game saying that remember to take a break and the game does not relate to real life. Moreover, there are slight changes that you will see in the game while playing it. After you have downloaded the game you are able to recover your old ID. But some things might be lost like your old sensitivity, controls, synergy, and friends list. However, the game is only available on Android. There is no official news on when the game will be available for iOS users, but we will let you know the moment we get anything.
How To Fix BGMI Matchmaking and Maps Downloading issue?
Here’s how to fix the BGMI matchmaking and map downloading issue. Just follow some easy steps and you are good to go.
Step 1. Launch the game on your smartphone.

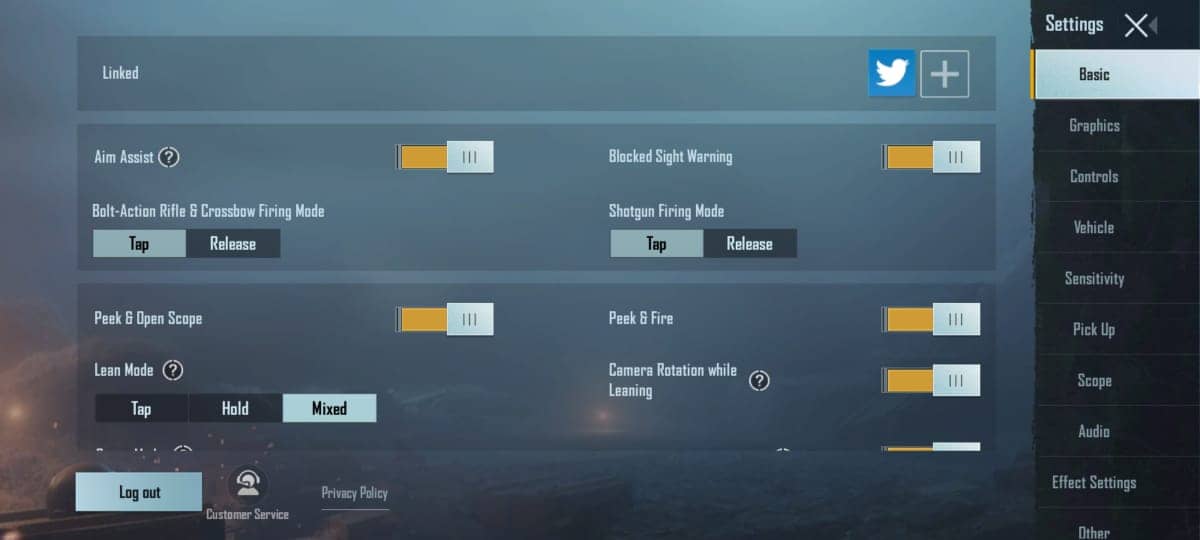
Step 2. Now open the settings in the game.
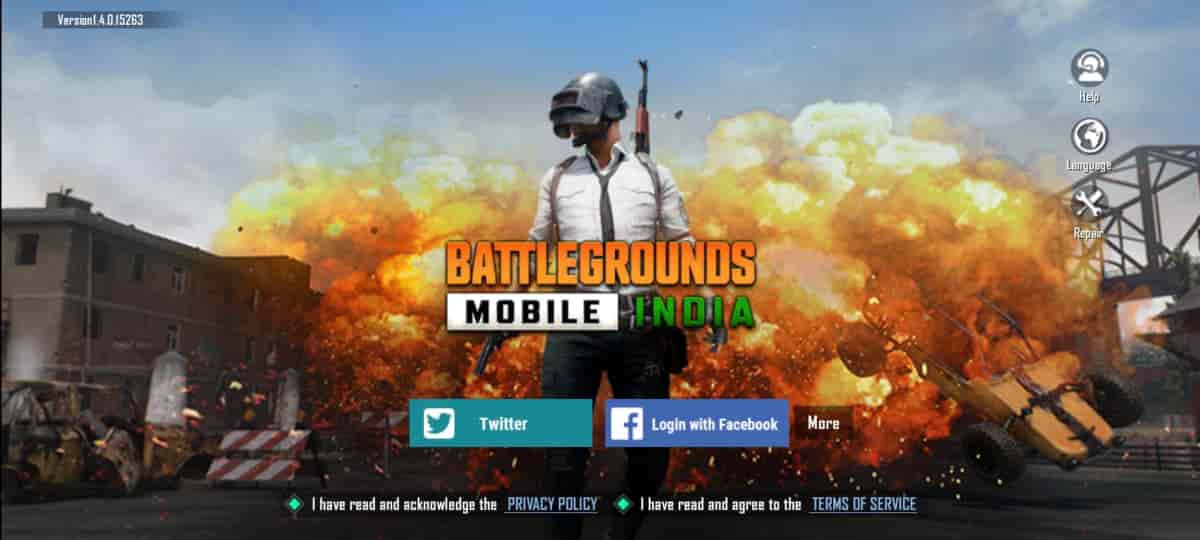
Step 3. On the bottom left corner, you will see the log-out option. Click on the log out button.

Step 4. Now you will see the “Repair” button on the right-hand side of the display.
Step 5. Click on the “Repair” button the “OK”.

Note: Make sure to check the “Routine Repair” option.
Step 6. The patch will start installing automatically.
Step 7. After it’s done installing close the game and restart.
Step 8. Now log into your account and you are ready to play without any issues.
That’s All For Today. Stay Tuned To TechBurner For More Stuff.