We have all heard about one of the most famous titles GTA 5, it is one of the best-selling games of all time. But many of us are unable to enjoy the game ’cause we don’t own a high-end pc. Today we are going to tell you how to play GTA 5 on a low-end PC or laptop. You just have to follow some easy steps and you will be able to play the game on your PC. In this article, we are going to tell you some ways by which you can run GTA 5. You might even get good FPS to play the game. There are many ways by which you can run GTA 5 on your PC but not all ways might work for you. We are going to tell you the ways that we found more work. Now let’s get started without any delay.
How To Play GTA V on a Low-end PC or Laptop?

Credit: iGTA5
GTA 5 was released on 17 September 2013 and from till now, it is one of the most popular games among players. There are many ways through which you can enjoy GTA 5 but not all might work for you. You can try using Nvidia GeForce Now to play GTA 5 but the service is not available in India so you have to use VPN to use the service. There are many different services that allow you to play GTA 5 but it’s the same as GeForce Now. You have to use VPN to use the service and you might face lag while playing. We are going to tell you some ways by which you can increase your system speed and you might be able to play GTA 5. It might increase your PC or laptop’s speed and allows you to use your system without any issues.
The Ways to Increase System Speed
Here are the ways that you can use to increase your system speed.
Limit startup tasks and programs
When you turn your PC or Laptop on there is some software that automatically opens and starts running. These programs running in the background can drain your CPU usage and slow your startup time. By taking few minutes and stoping these programs from running in the background can eventually increase your PC or Laptop performance.
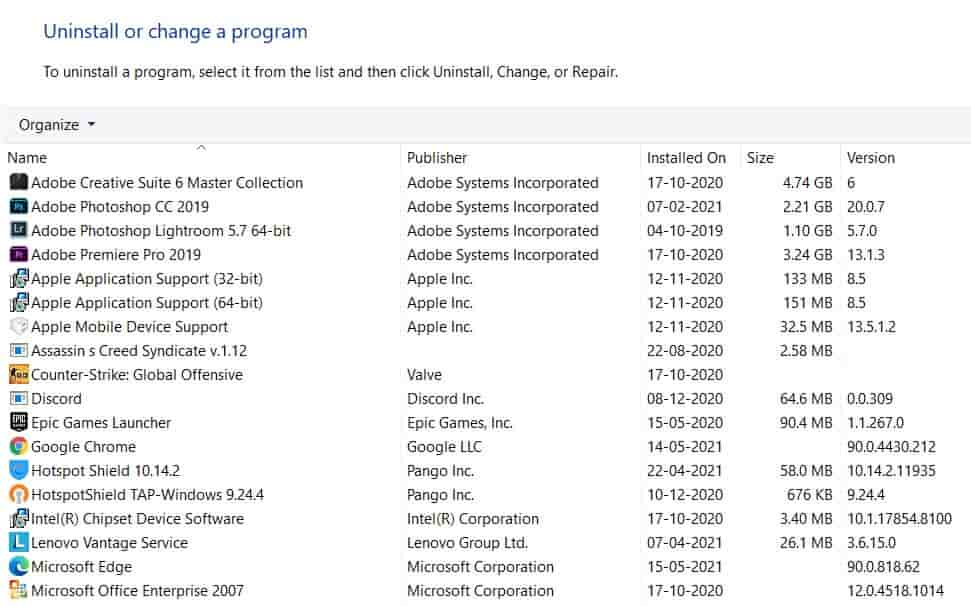
Uninstall unused apps

There are many apps that we think we use but they take storage that we don’t have to spare. The one way to do it by opening each app file location and then uninstalling it. But the faster way to do it will be.
Step 1. Click on the start menu
Step 2. Open Control Panel.
Step 3. Select Uninstall a Programs option under Programs.
Step 4. There you will find every program that you have installed on your system.
Step 5. Take the cursor on the program that you want to uninstall. Then right-click on the program and select uninstall. And you are done.
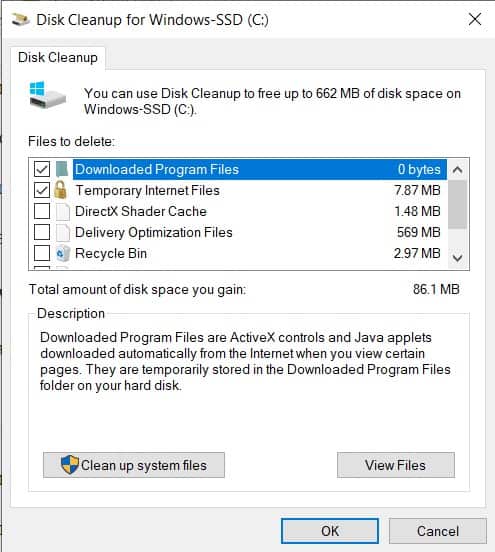
Clean Unwanted Files

There are many files on our system that we don’t need, we get them for a limited time and after the work is done we forgot to delete them. The one way is to select and delete files one by one. The other and the fastest way to do it is by using a disk cleanup utility app.
Step 1. Go on the search bar and search Disk Cleanup.
Step 2. Open the app. A dropdown menu will appear which allows you to select the drive you want to scan.
Step 3. After the scan is done it will show you all the unwanted files. Now select the files that you want to clean and you are done.
Clear all your internet cache
There may be some space taken on your disk by internet cache. The easiest way is to open the browsers one by one and going to the settings and finding Clear History, Clear Data, and Clear Cache which will take only a few minutes. Once that’s done you have freed more space on your disk, increasing your laptop’s performance.
That’s All For Today. Stay Tuned To TechBurner For More Stuff.