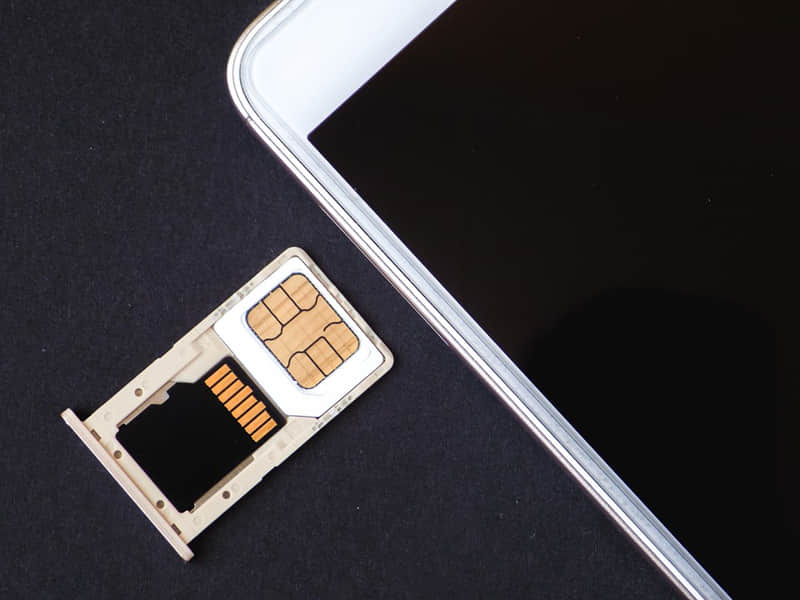
eSIM is the new edge of the telecom industry. Embedded SIM is the abbreviation for eSIM. When Apple released the LTE version of the Apple Watch Series 3 in India in 2018, the eSIM was launched. It debuted alongside the iPhone XR, XS, and XS Max. The eSIM is supported by India’s three major network providers or cellular carriers, Jio, Airtel, and Vi. Like a conventional physical SIM, the eSIM covers all the usual networks, including 4G and 5G. The eSIM is permanently attached to the device and cannot be removed like a physical SIM card. Manufacturers include a micro SIM card within the phone. It eliminates the need to swap between actual SIM cards when changing service providers. Now you’re wondering how to convert physical SIM to eSIM or how to do the eSIM activation. Or maybe you want to switch eSIM to physical SIM.
How to Convert Physical SIM to eSIM: Steps & eSIM Activation

Therefore, To change your physical SIM to an eSIM, follow these steps:
- Send a text message eSIM <space> registered email address to 121.
- After then, you’ll get an SMS from 121 verifying the start of the procedure. Within 60 seconds, you must reply with “1” to confirm the eSIM modification request.
- You will now get another SMS from 121, requesting you to confirm your agreement over the call. After giving your permission over the call, you will receive a final SMS from 121 with a QR code that will be delivered to your registered email address.
- You will get a QR Code at your registered email address. Scan the QR code to get your eSIM.
Note: The eSIM activation will take approximately 2 hours; please scan the QR Code as soon as possible after receiving it. During this time, your previous SIM will continue to work. The QR code is one-of-a-kind and can only be used once on one device. Please make sure you finish the procedure of adding the Carrier once you’ve scanned it.
To stay up to date on all the latest tech trends, check out our website.