How to
How To Fix 100% Disk Usage Issue In Windows 11 [GUIDE]
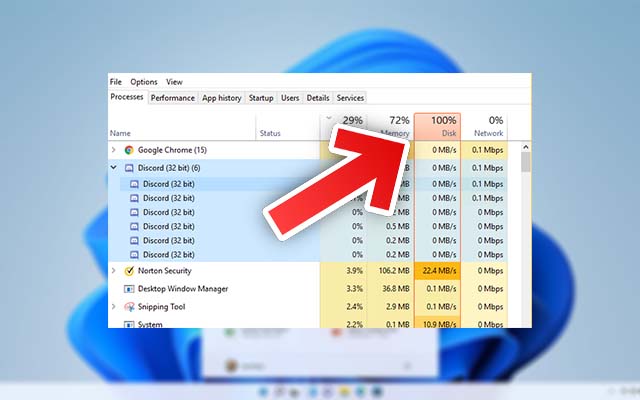
If you have upgraded to Windows 11 and find that your computer is slow to respond, you can check the Task Manager to find out what problem is causing to your PC. One of the common reasons why a computer or laptop is particularly slow is that disk usage appears to be at 100%. 100% disk usage (or heavy disk usage) always makes Windows 11 difficult to use. If the Windows 11 task manager shows 100% disk usage, something is causing an overload on your hard drive. In general, disk usage should not be exceeded to the maximum. But if that is the case, you can be sure that something is wrong with your computer. Here are the most effective fixes that can help you solve Windows 11 100% Disk Usage Issue.
How to Fix 100% Disk Usage Issue In Windows 11: Steps
Clean Boot Windows 11
100% disk usage issues can also occur due to some problematic applications or services. A clean boot starts Windows 11 with only the necessary software and drivers, which helps determine why the disk is being used at 100%. A clean boot will allow you to boot your system without the interference of any third-party applications. Here are the clean boot steps for Windows 11:
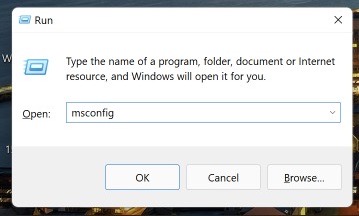
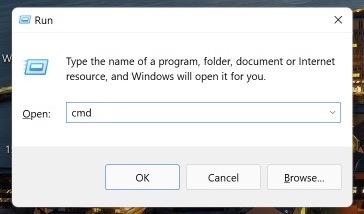
- First, right-click on the Windows key and click Run.
- Type MSConfig and press Enter to open the system configuration window.
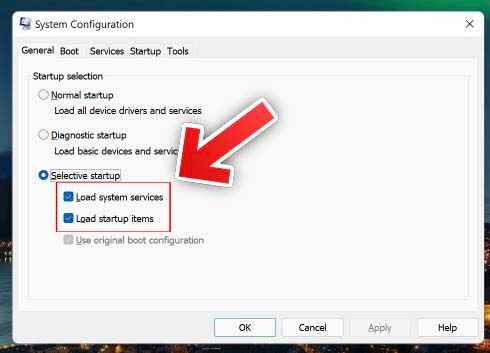
- Just click on the “General” tab.
- Then check the “Selective startup” box and check the “Load system services” box.
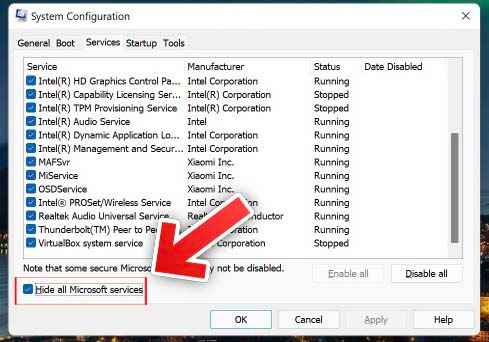
- Click the Services tab, select the Hide all Microsoft services check box, and then click Disable all.
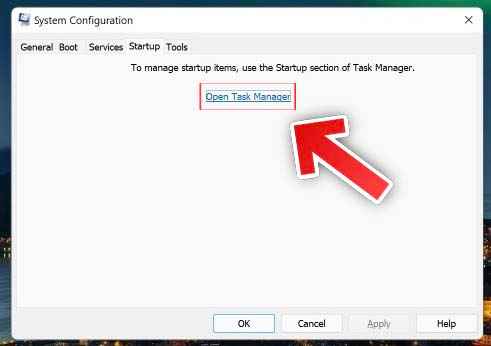
- You need to go to the “Startup” section.
- Then click on “Open Task Manager”.
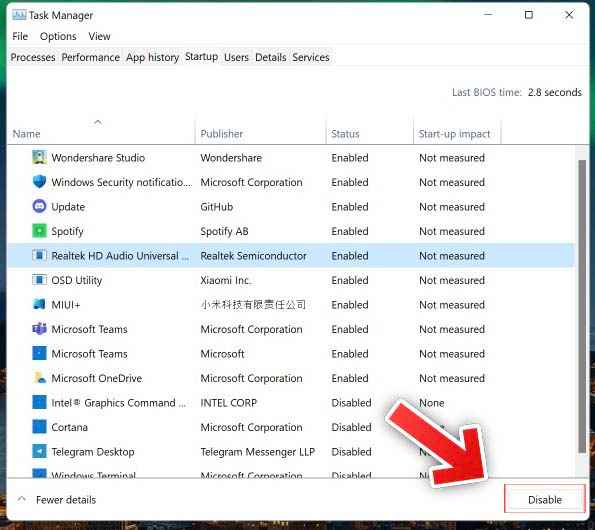
- Disable the programs that you think are causing the 100% disk usage problem. After that, close the task manager.
- Once you save your settings, a prompt will appear.
- Simply click on Reboot to restart your system with these changes applied.
Delete And Rebuild Search Index
One of the common reasons for such high disk usage is the Windows search index. This helps you find files and folders quickly by scanning the drive and converting it to an index for fast results. But for most users, Windows Search running in the background consumes a lot of hard drive processing power, which leads to high disk usage issues in Windows 11. Here are the steps to stop the Windows Search service:
- First, right-click on the Windows key and click Run.
- Then type “services.msc” and hit Enter.
- Windows Service Console will open, scroll down and find Windows Search Service.
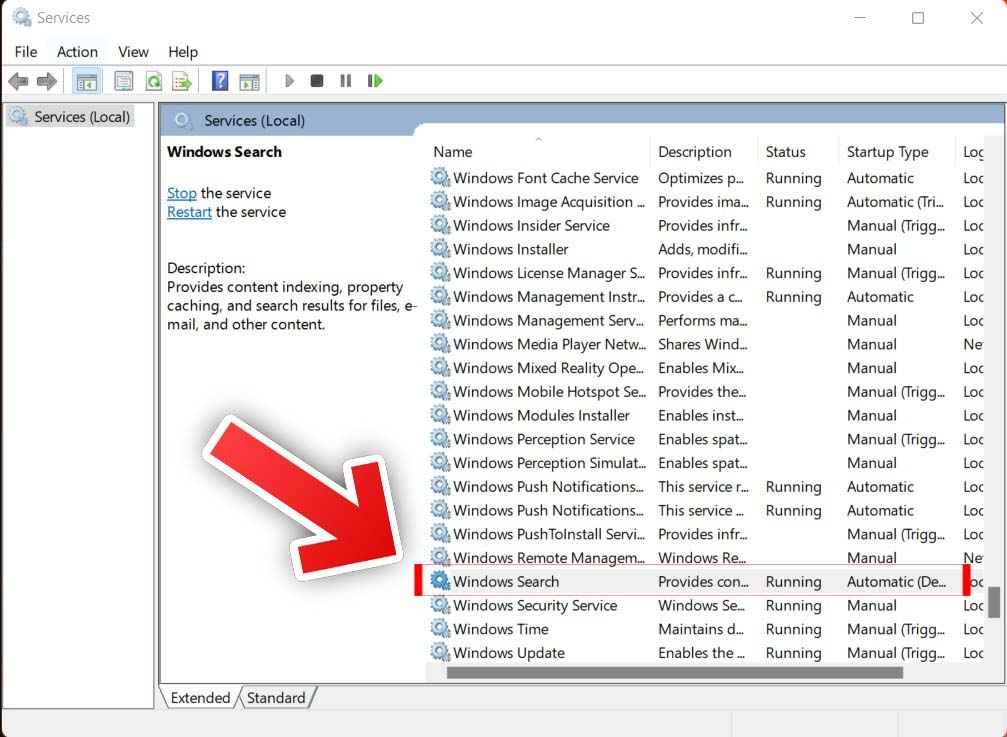
- Right-click on it, then select Properties.
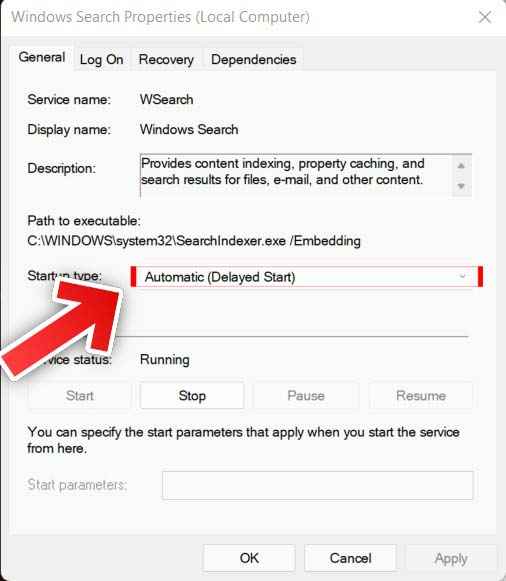
- Next, next to Startup type, click to display the dropdown options. and select Disabled.
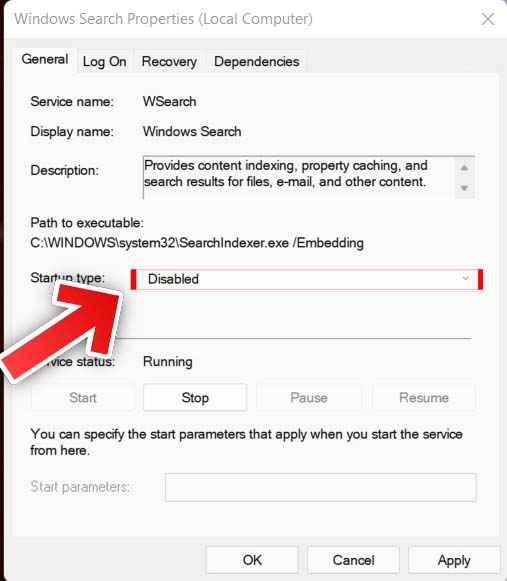
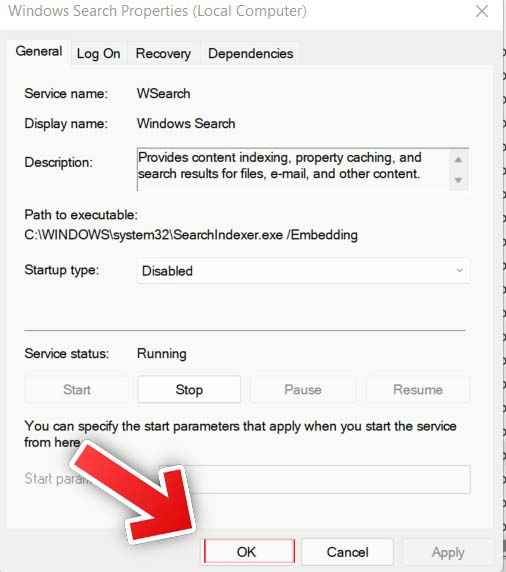
- Finally, click Apply and OK to apply this change.
Reset Virtual Memory
Windows has a great solution for the virtual expansion of your memory when you are short of RAM. It’s “default” because your computer uses your hard drive to supplement RAM for processes that require a lot of memory.
Virtual memory is one of the most useful features that use hard disk space and allows you to instantly free up storage space in RAM. There is a possibility that incorrectly configured virtual memory settings are causing this problem. Here are the steps to reset the default memory to the default settings:
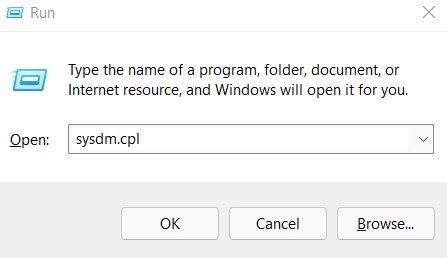
- First, right-click on the Windows key and click Run.
- Then type “sysdm.cpl” and hit Enter.
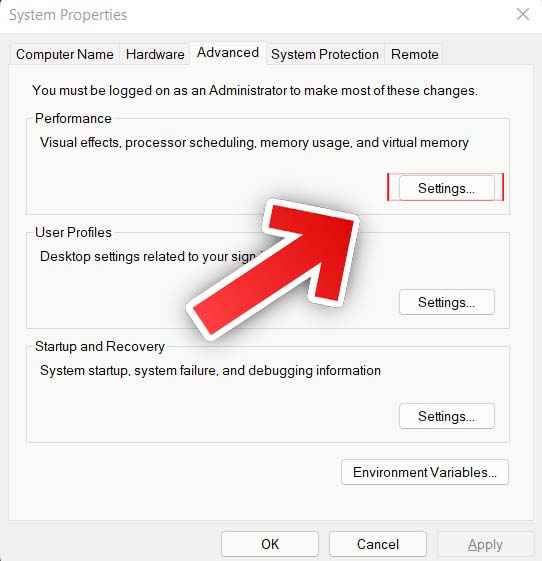
- The system properties window will open, go to the “Advanced” tab.
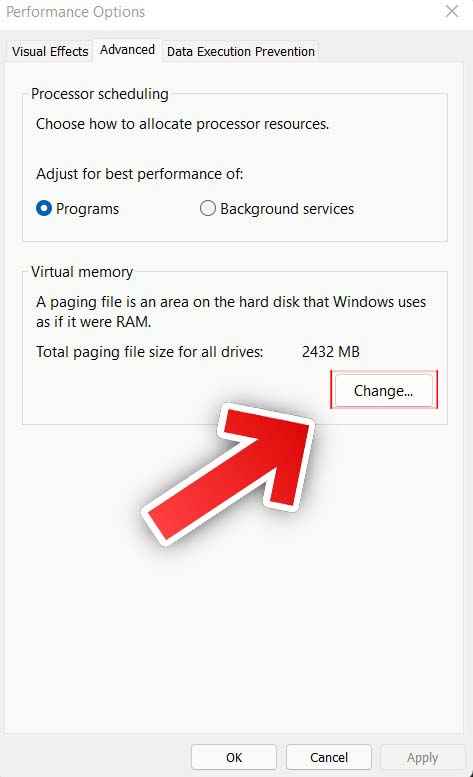
- Then click on the “Settings” button located in the “Performance” section.
- The “Performance Options” window will open. To do this, go to the Advanced tab and click Change under Virtual Memory.
- Uncheck “Automatically manage paging file sizes for all drives”.
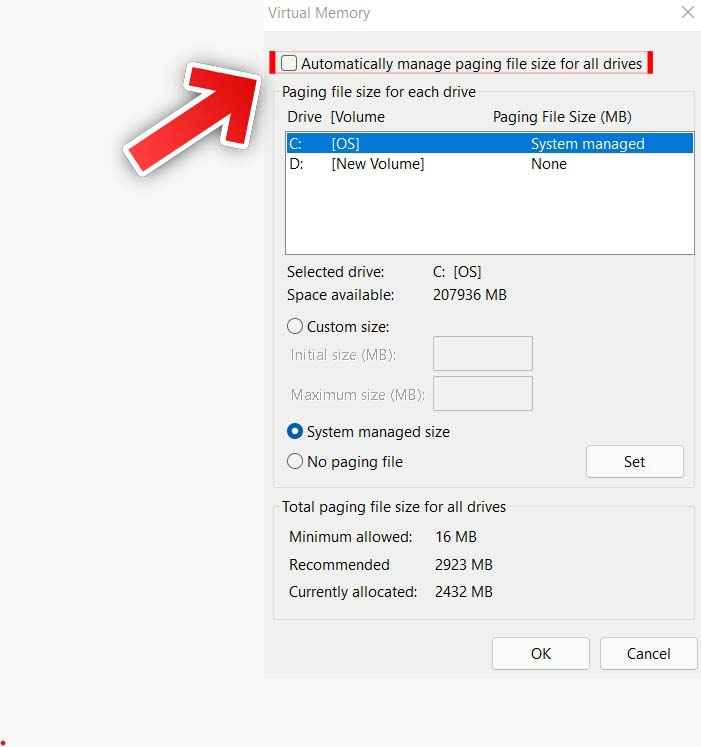
- Select the partition where Windows is installed (C: by default) and then select Custom Size.
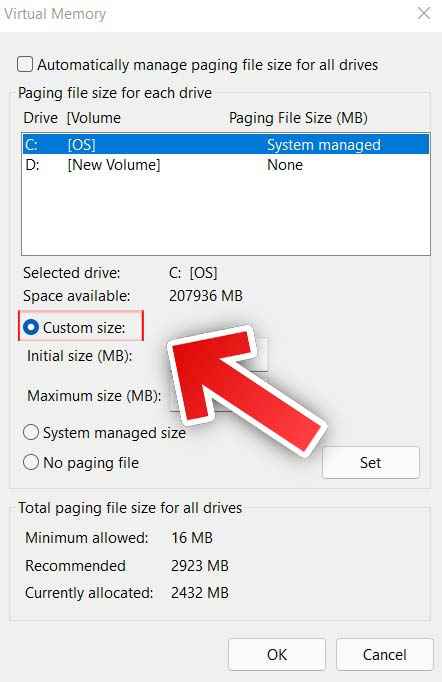
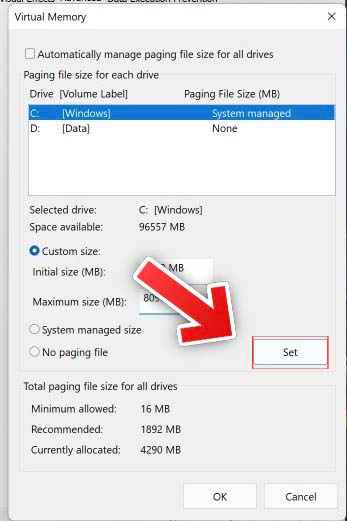
- Here enter the initial and maximum size (both in megabytes) for the swap. This may vary depending on your computer. But in most cases, the initial swap file size may be exactly what is recommended.
- However, the maximum size should not exceed 1.5 times the size of the RAM.
- Don’t make this number too high because we are trying to prevent disk overload.
- After setting the values, press “Set” and then “OK”.
Update And Fix Device Drivers
Windows services are not always to blame for disk overheating. Some PCI-Express Advanced Host Controller Interface models also cause this problem, especially with the StorAHCI.sys driver. Here are the steps to fix it:
- First, right-click on the Windows key and click Run.
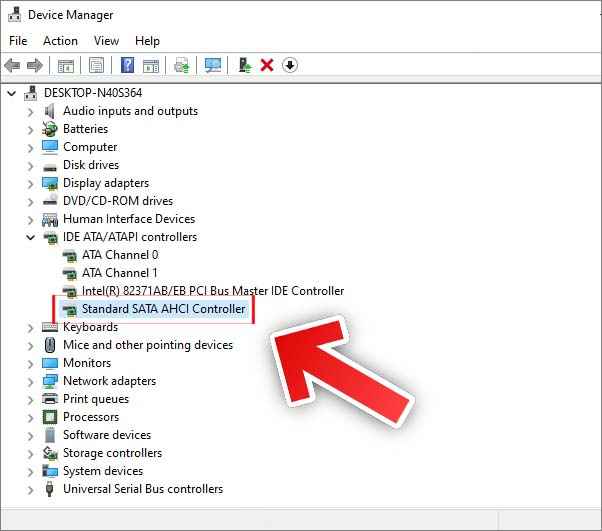
- Type “devmgmt.msc” and hit Enter to open Device Manager.
- Here, expand “IDE ATA / ATAPI Controllers”, then right-click on “Standard SATA AHCI Controllers” and select “Properties”.
- In the driver properties window, click the “Driver” tab, then click the “Driver Details” button.
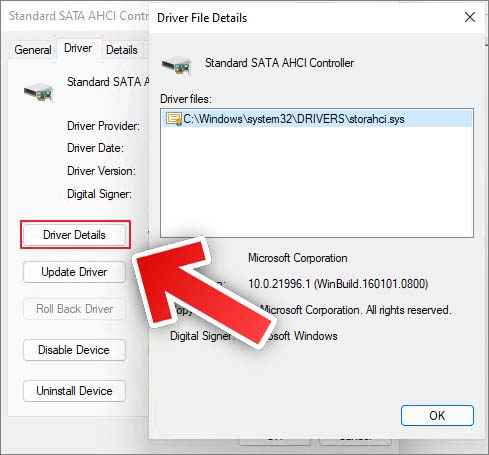
- If you find “storahci.sys” in the driver files, you will have to disable it from the registry.
- Click OK and close this window.
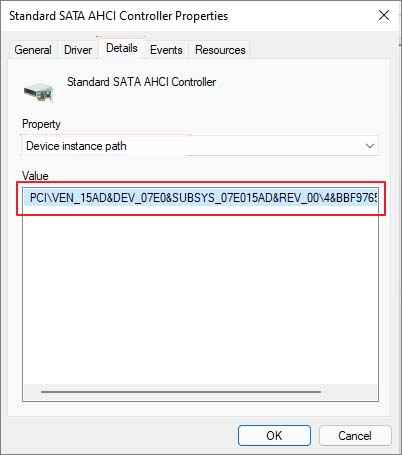
- Return to the “Standard SATA AHCI Controller” properties window and go to the “Details” tab.
- Select Driver Path Instance and then copy the location path listed in the Value section.
- Now type “Regedit” in the Run box and hit Enter.
- Go to the following address: HKEY_LOCAL_MACHINE\System\CurrentControlSet\Enum\PCI\(AHCI controller)\Device Parameters\InterruptManagement\MessageSignaledInterruptProperties
- Replace “(AHCI Controller)” with the value you copied earlier.
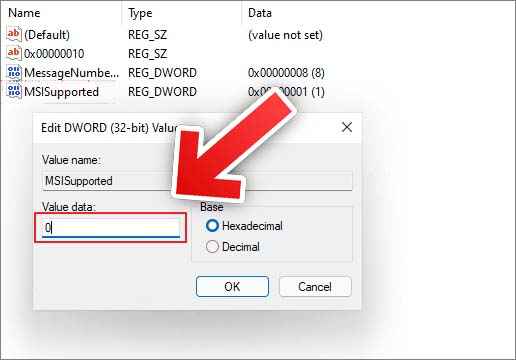
- Double-click on a file named by MSISupported. Enter “0” in the “Value” field. Click the OK button.
After following the above set of steps, restart your computer, now open Task Manager, and check if you still see high disk usage in Windows 11.
Run Disk Check
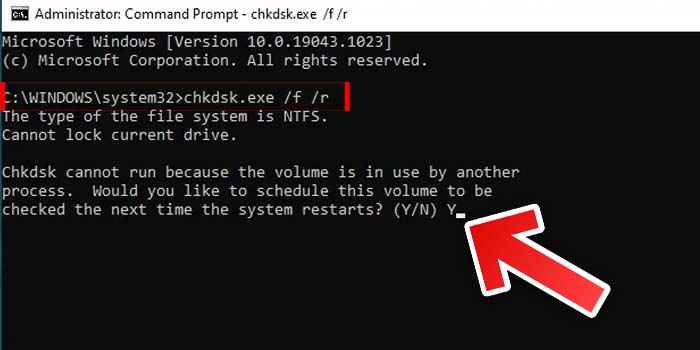
If none of the above solutions work for you, check the disk for errors as the last resort. You can run chkdsk on the Command Prompt to check and try to fix the problem. Here are the steps to do that:
- Open Command Prompt as Administrator
- Type: chkdsdk.exe /f /r and press Enter
- When prompted, type Y and press Enter to schedule a disk check at the next startup.
- That’s it, close the command prompt and restart your computer.
- The disk check will start after restarting the computer.
That’s it for this one. For more amazing tech content, stay tuned to TechBurner!