Gaming
Surviving Sanhok: BGMI Guide to Level Up Performance in Sanhok
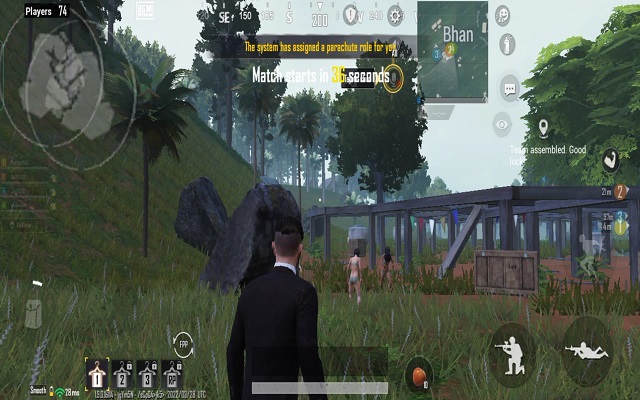
Maps are an integral part of the BGMI gameplay experience. Every map in the game brings in different challenges, settings, and terrains. Maps also dictate the style of your gameplay, a plain map with a lot of open areas motivates players to move around and rush. Whereas, a map with multiple buildings, structures, ridges, drive players towards a more toned-down style of play, and sometimes even camping. Sanhok is not the usual BGMI map. It is a small map that has a lot of vegetation and multiple things to explore, and this can be challenging. This BGMI guide will help you know how to get through the challenges of Sanhok.
Understanding the Map
Sanhok is not a very famous map, and due to this reason, you might encounter a number of bots on this map if you are a beginner. However, if you are someone who wants to make a career in esports, then it is important to understand all the maps. Sanhok is not as big as the Erangel or the Miramar map. It is relatively smaller, and this makes it more challenging for a number of players. However, the size of the map does not compromise on the places that it has, or the supplies that it provides to the players.
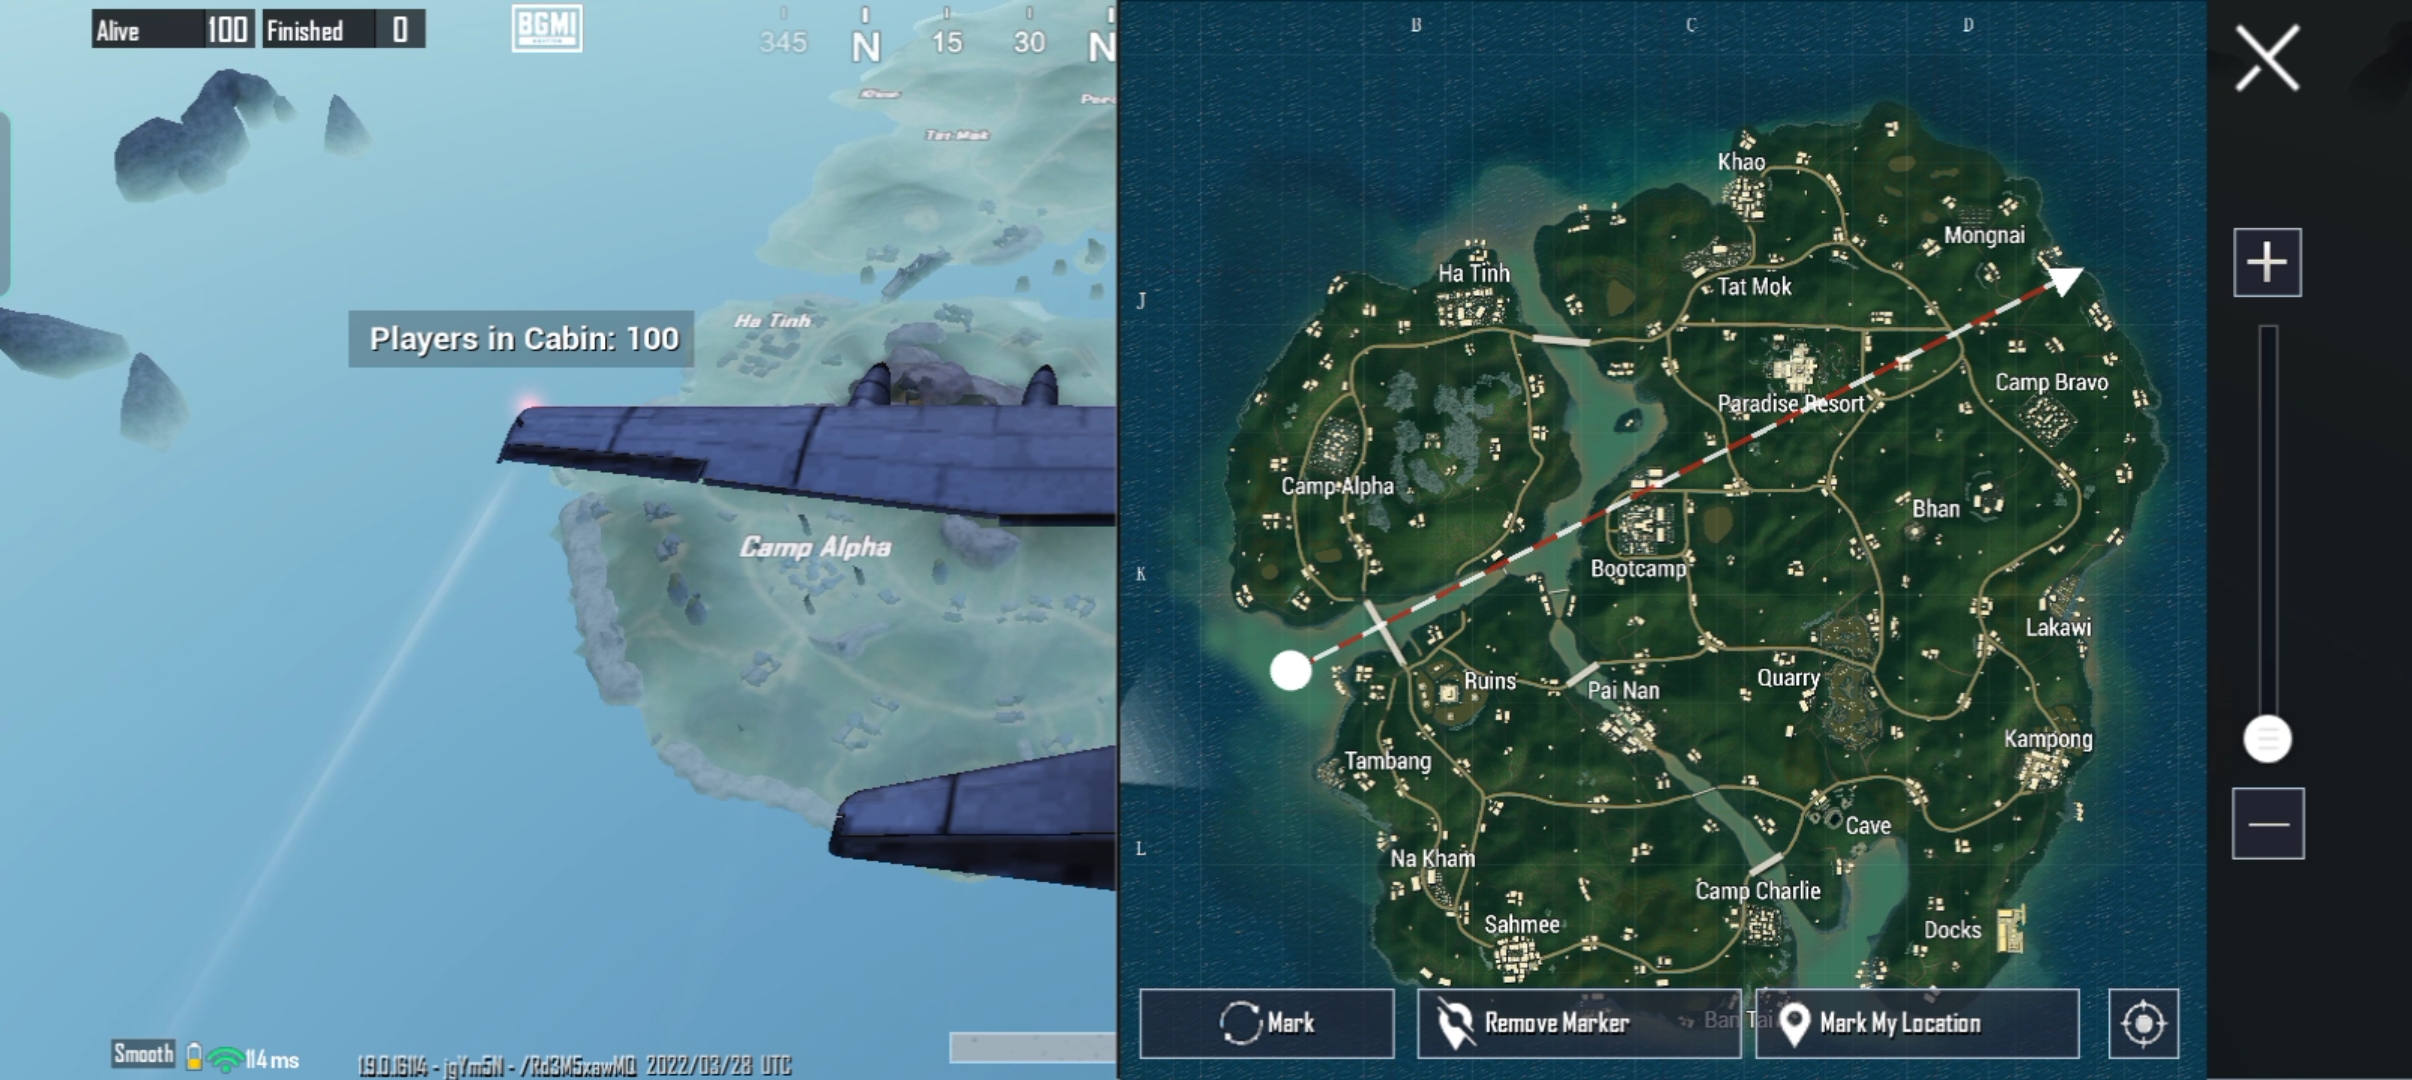
Some players also believe that the frequency of the loot and supplies available is higher than a lot of other maps. The map consists of 49% water and 51% land. Vehicles of all classes hold equal importance on this map because you never know where the zone might be, and not depending on water vehicles can be a novice decision.
The water bodies on the map do not cut the land much apart from each other, and there are bridges to commute. However, since it is a smaller map, and the number of players is 100, some matches can get extremely intense. Therefore, it is best to not stick to any one form of gameplay.
Location for Rush Players on Sanhok
There are several locations on the Sanhok map, and if you are a rush player then some locations are of high advantage:
Paradise Resort
A resort located in the northern corner of the Sanhok map, Paradise resort has a lot of options to offer for players. Being a resort, the area has a number of rooms and open areas along with alleys and hallways. The loot in this area is good enough for 2 squads. The combination of the good loot and a big area is what makes the Paradise Resort a hot drop.

Sanhok is a small map, and landing in Paradise Resort can be a good idea because it gives you a number of options of rotation. The location is open from multiple sides, making it easier for players to move around during a rush situation. The Paradise Resort is located on a hilltop, and being on the higher ground gives players an advantage.
Camp Alpha
One of the most underrated locations on the Sanhok map, Camp Alpha is a military camp that is located a little far from the mainland Sanhok map. There are two water bodies that connect the area to the mainland. Loot in this area is decent for two squads, but it is scattered. Players need to spend some finding enough loot, but it is available. Since Camp Alpha is on the edge of the map, it can be a good landing spot for campers in the game, however, if you are a rush player, this is a good area as there is a lot of cover for you to rush.
Rotating from this area is challenging as one needs to cross water bodies to reach the mainland of the map. Swimming through the water or taking aquatic vehicles can be risky, as players do not get knocked out in the water, they directly die. The best way to move around is by taking the bridge and travelling on a territorial vehicle.
Boot Camp
Boot camp is one of the famous spots on the Sanhok map. Looking at the map, it is easy to notice that the Boot Camp is located in the middle of the map. This makes it a popular location for a number of players. It mostly falls on the path of the plane, and a number of players land in this area. It is a military base camp that has multiple big and small buildings. This allows the players to land and takes cover before engaging in any fight.
If you are conflicted about landing in Boot Camp, you can always take the compound next to Boot Camp, the loot is scarce, and can only cater to one full squad. However, this location is safer, and you can also keep an eye on the action in Boot Camp.
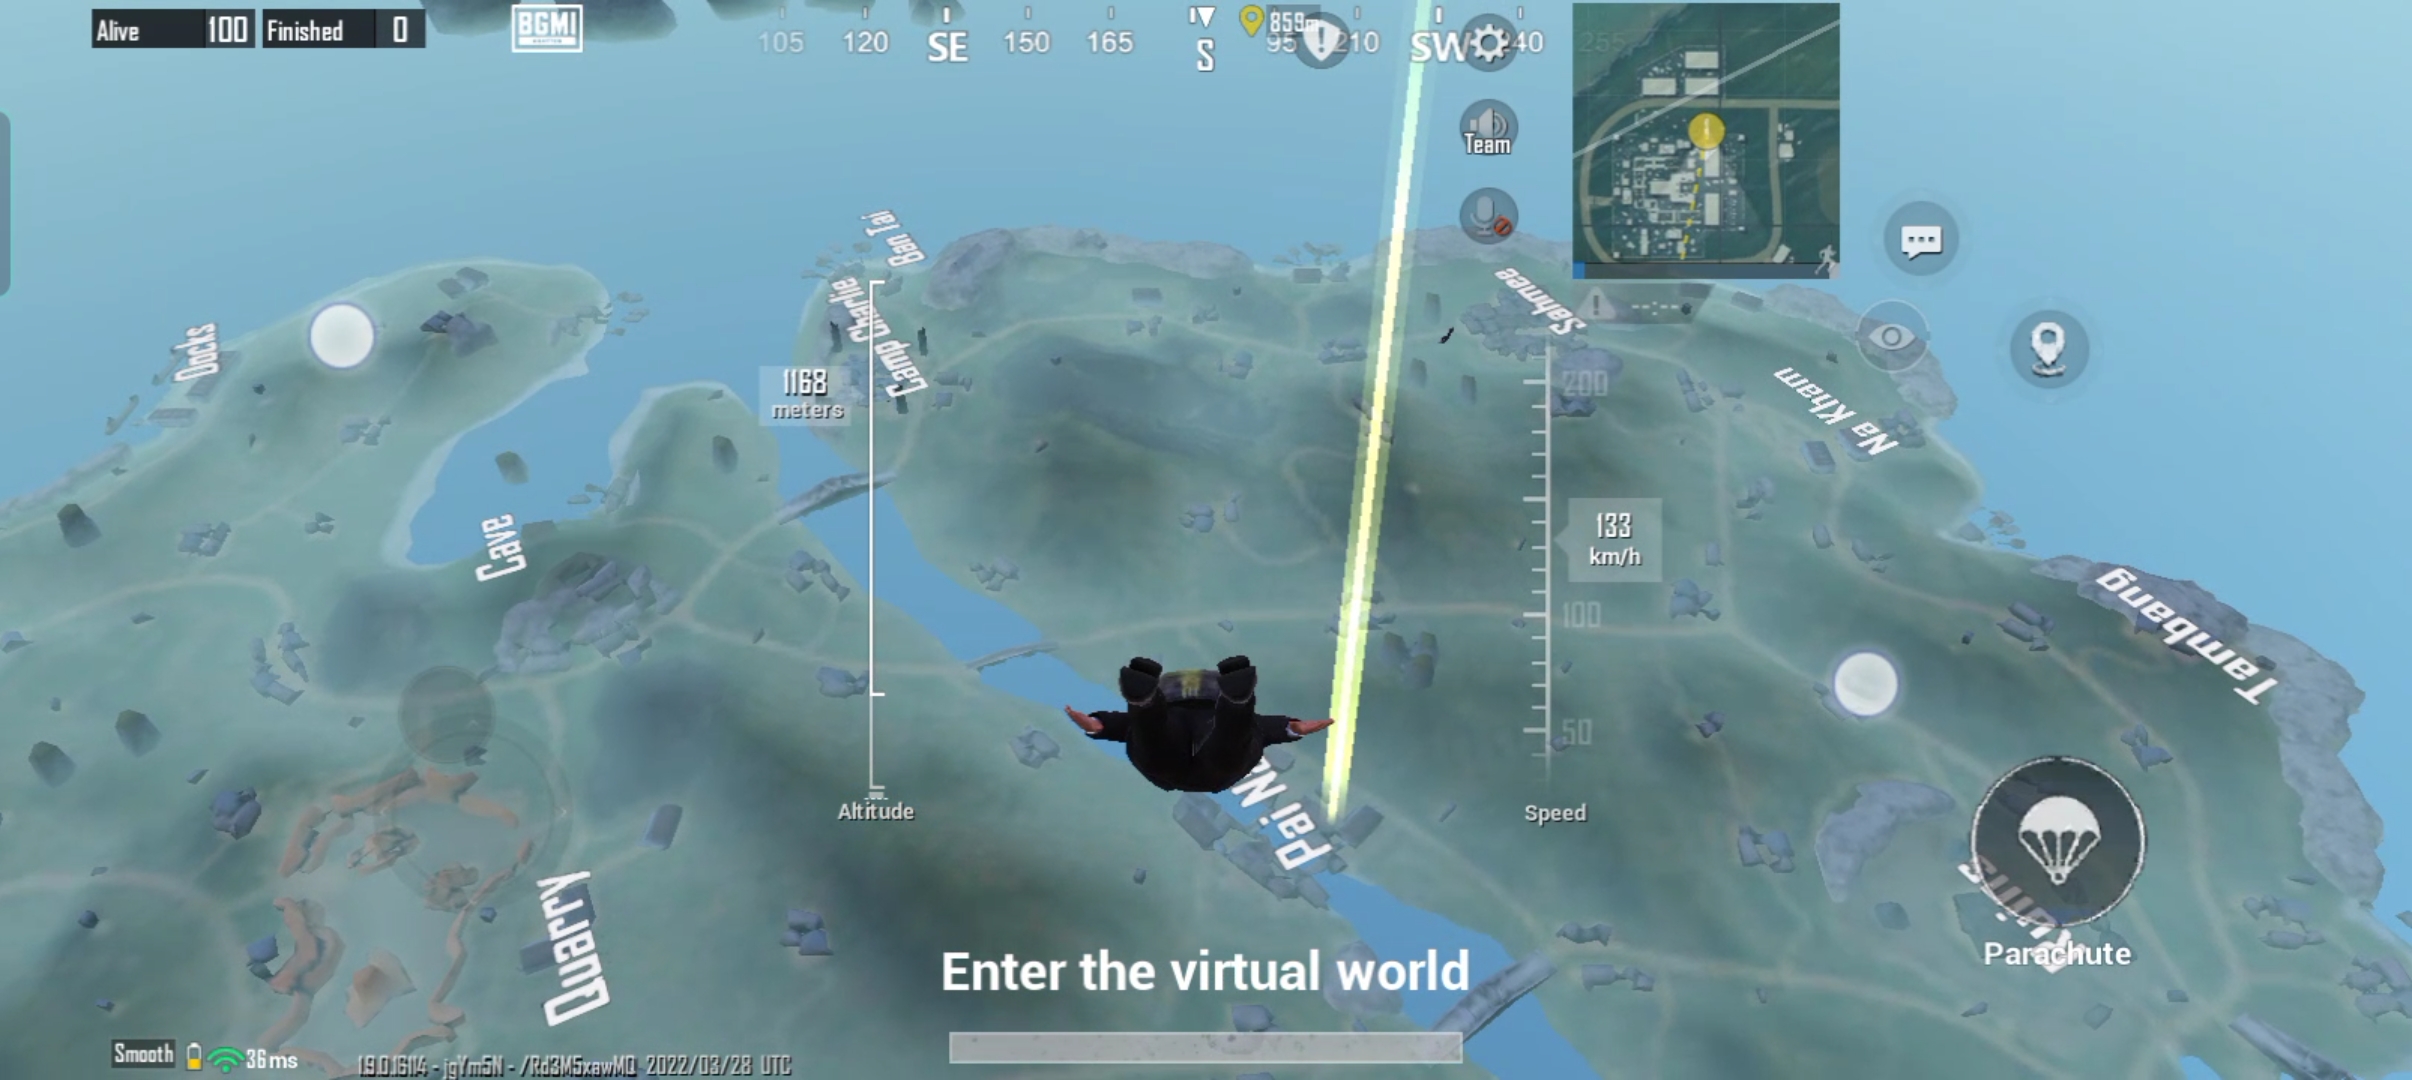
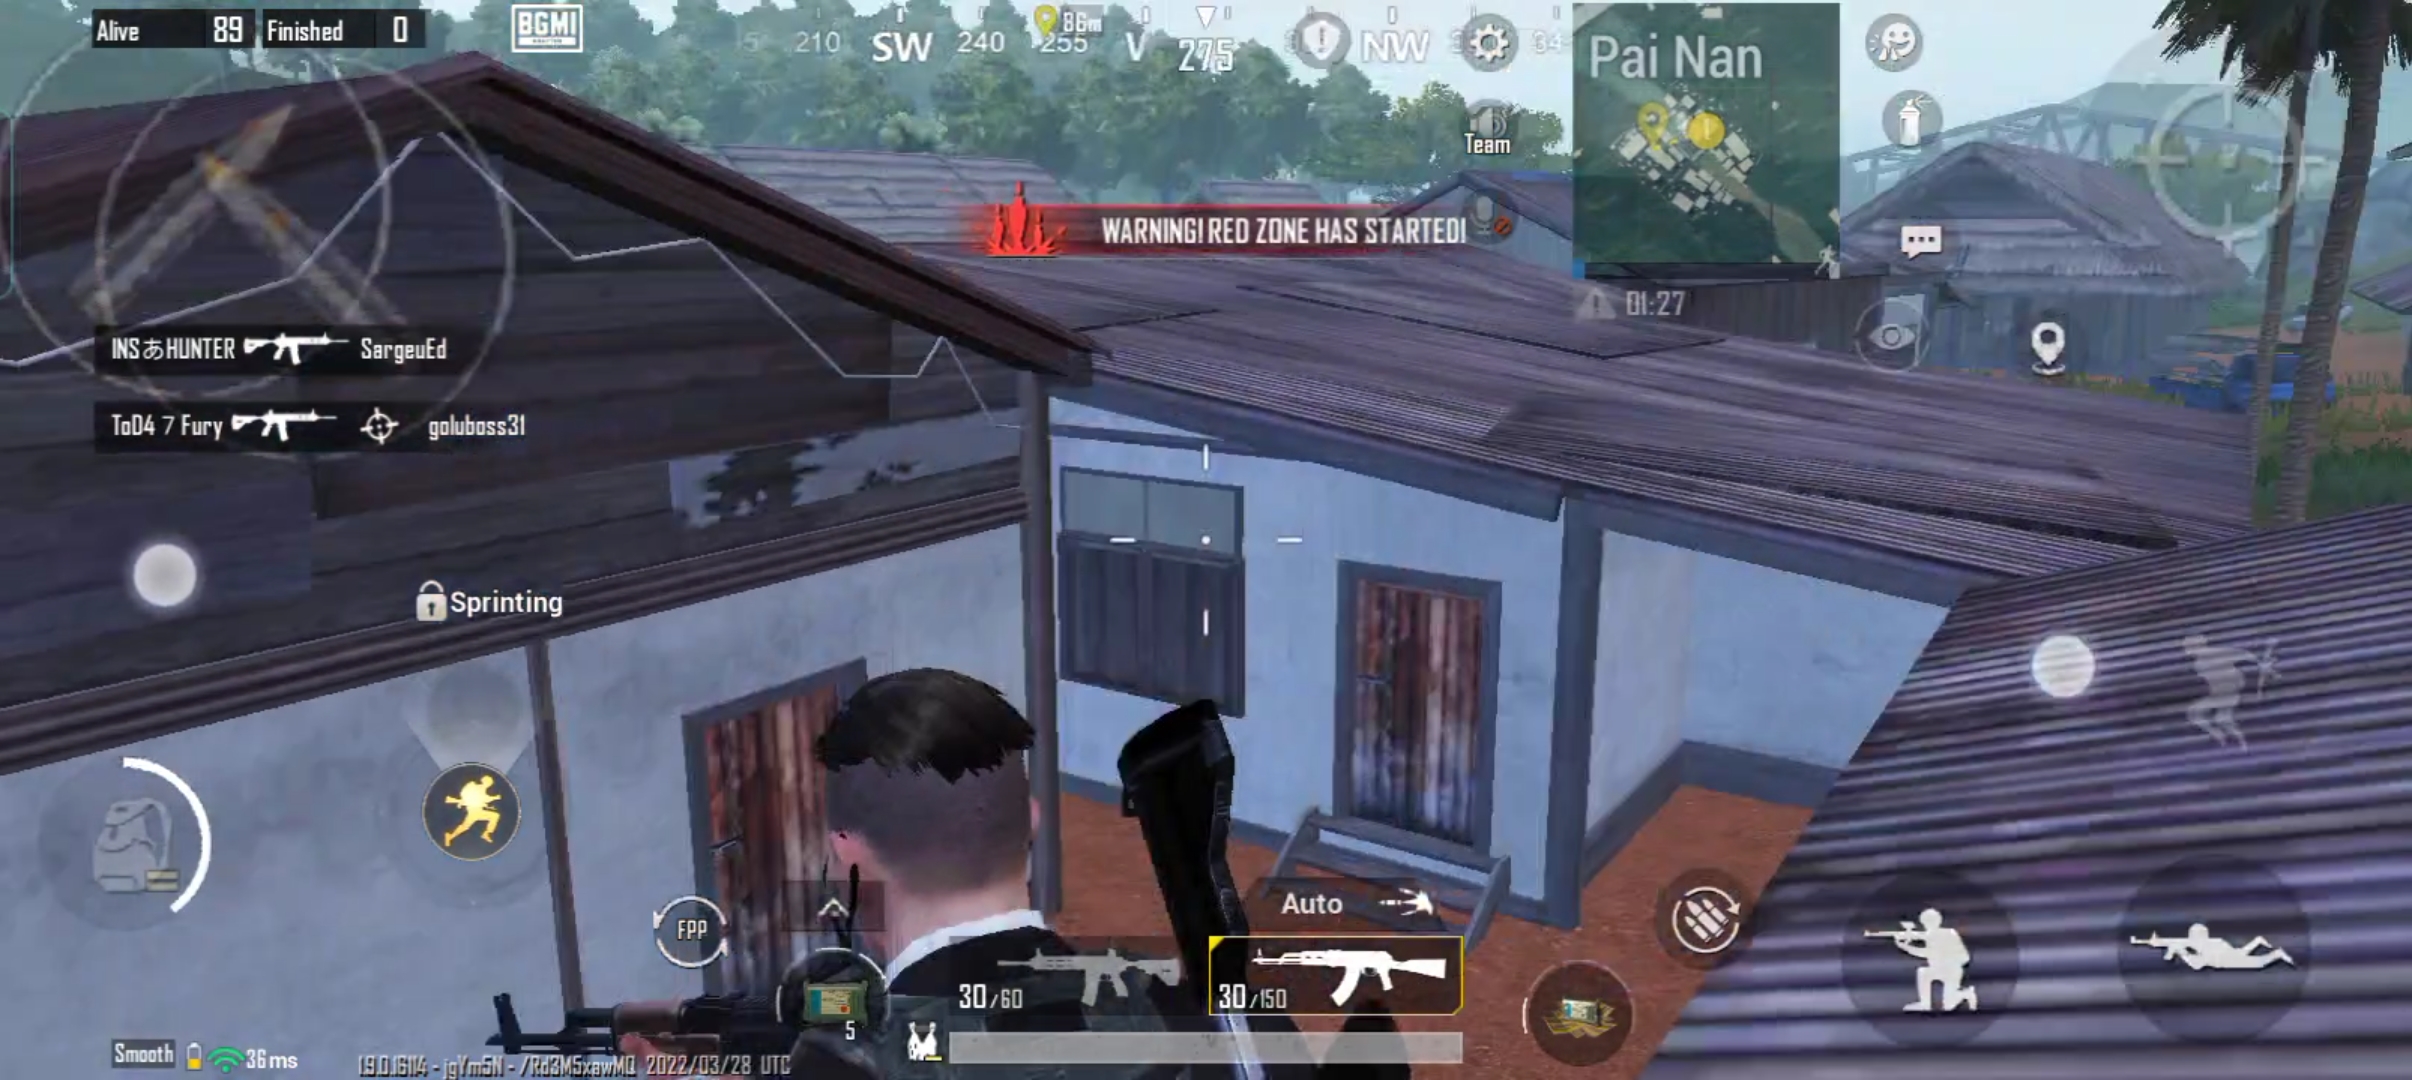
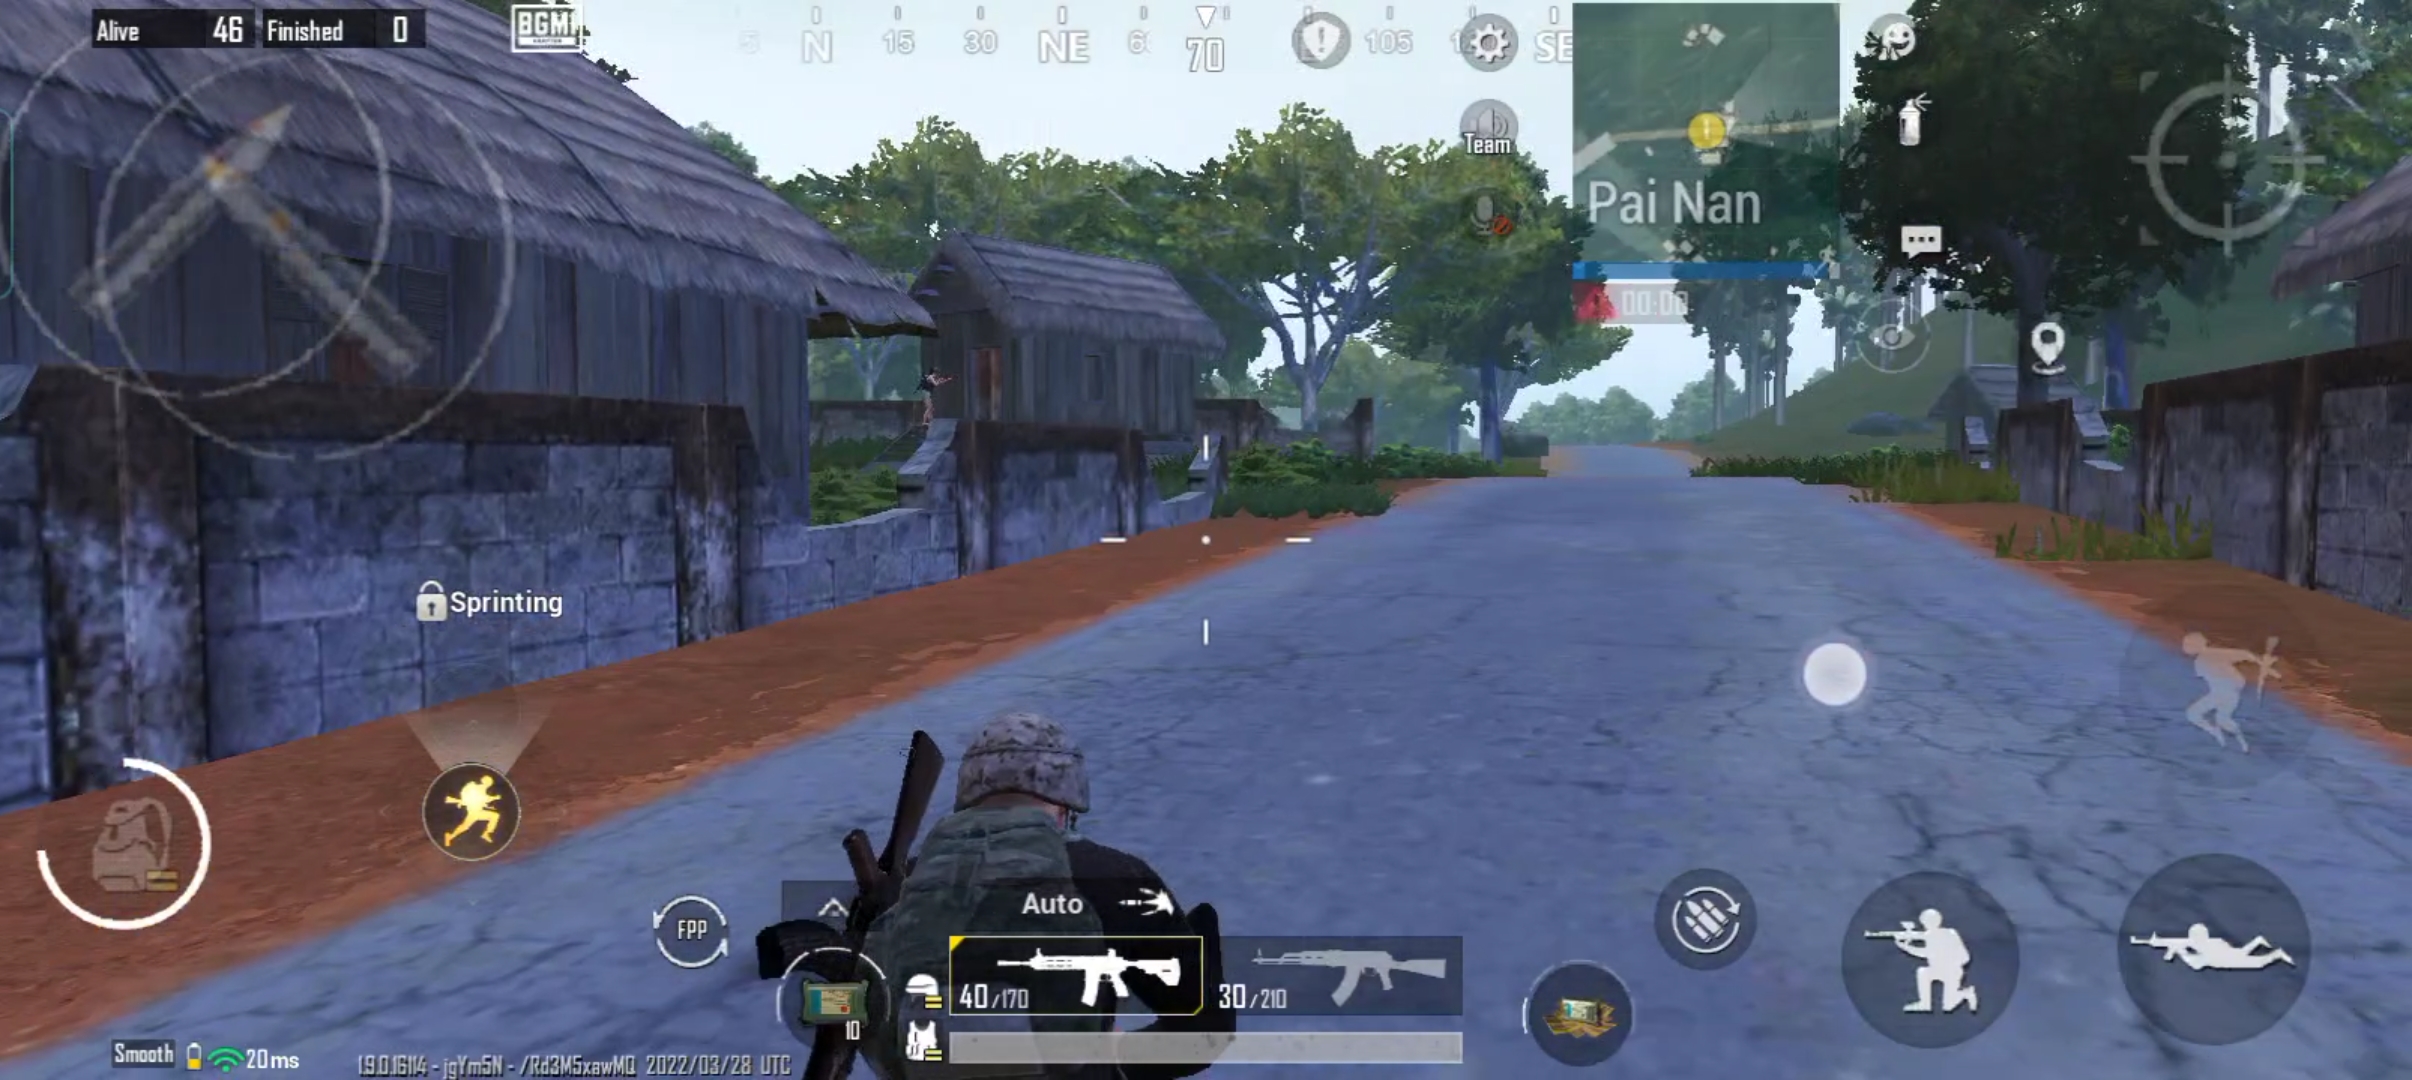
Pai Nan
Pai Nan is situated on the southern side of the map, and a water stream runs from the middle of it. This divides the area into two parts. The reason for this being a hot drop is the presence of multiple housing structures. If you see a number of players or squads landing in this area, you can choose either side of the stream to land on.
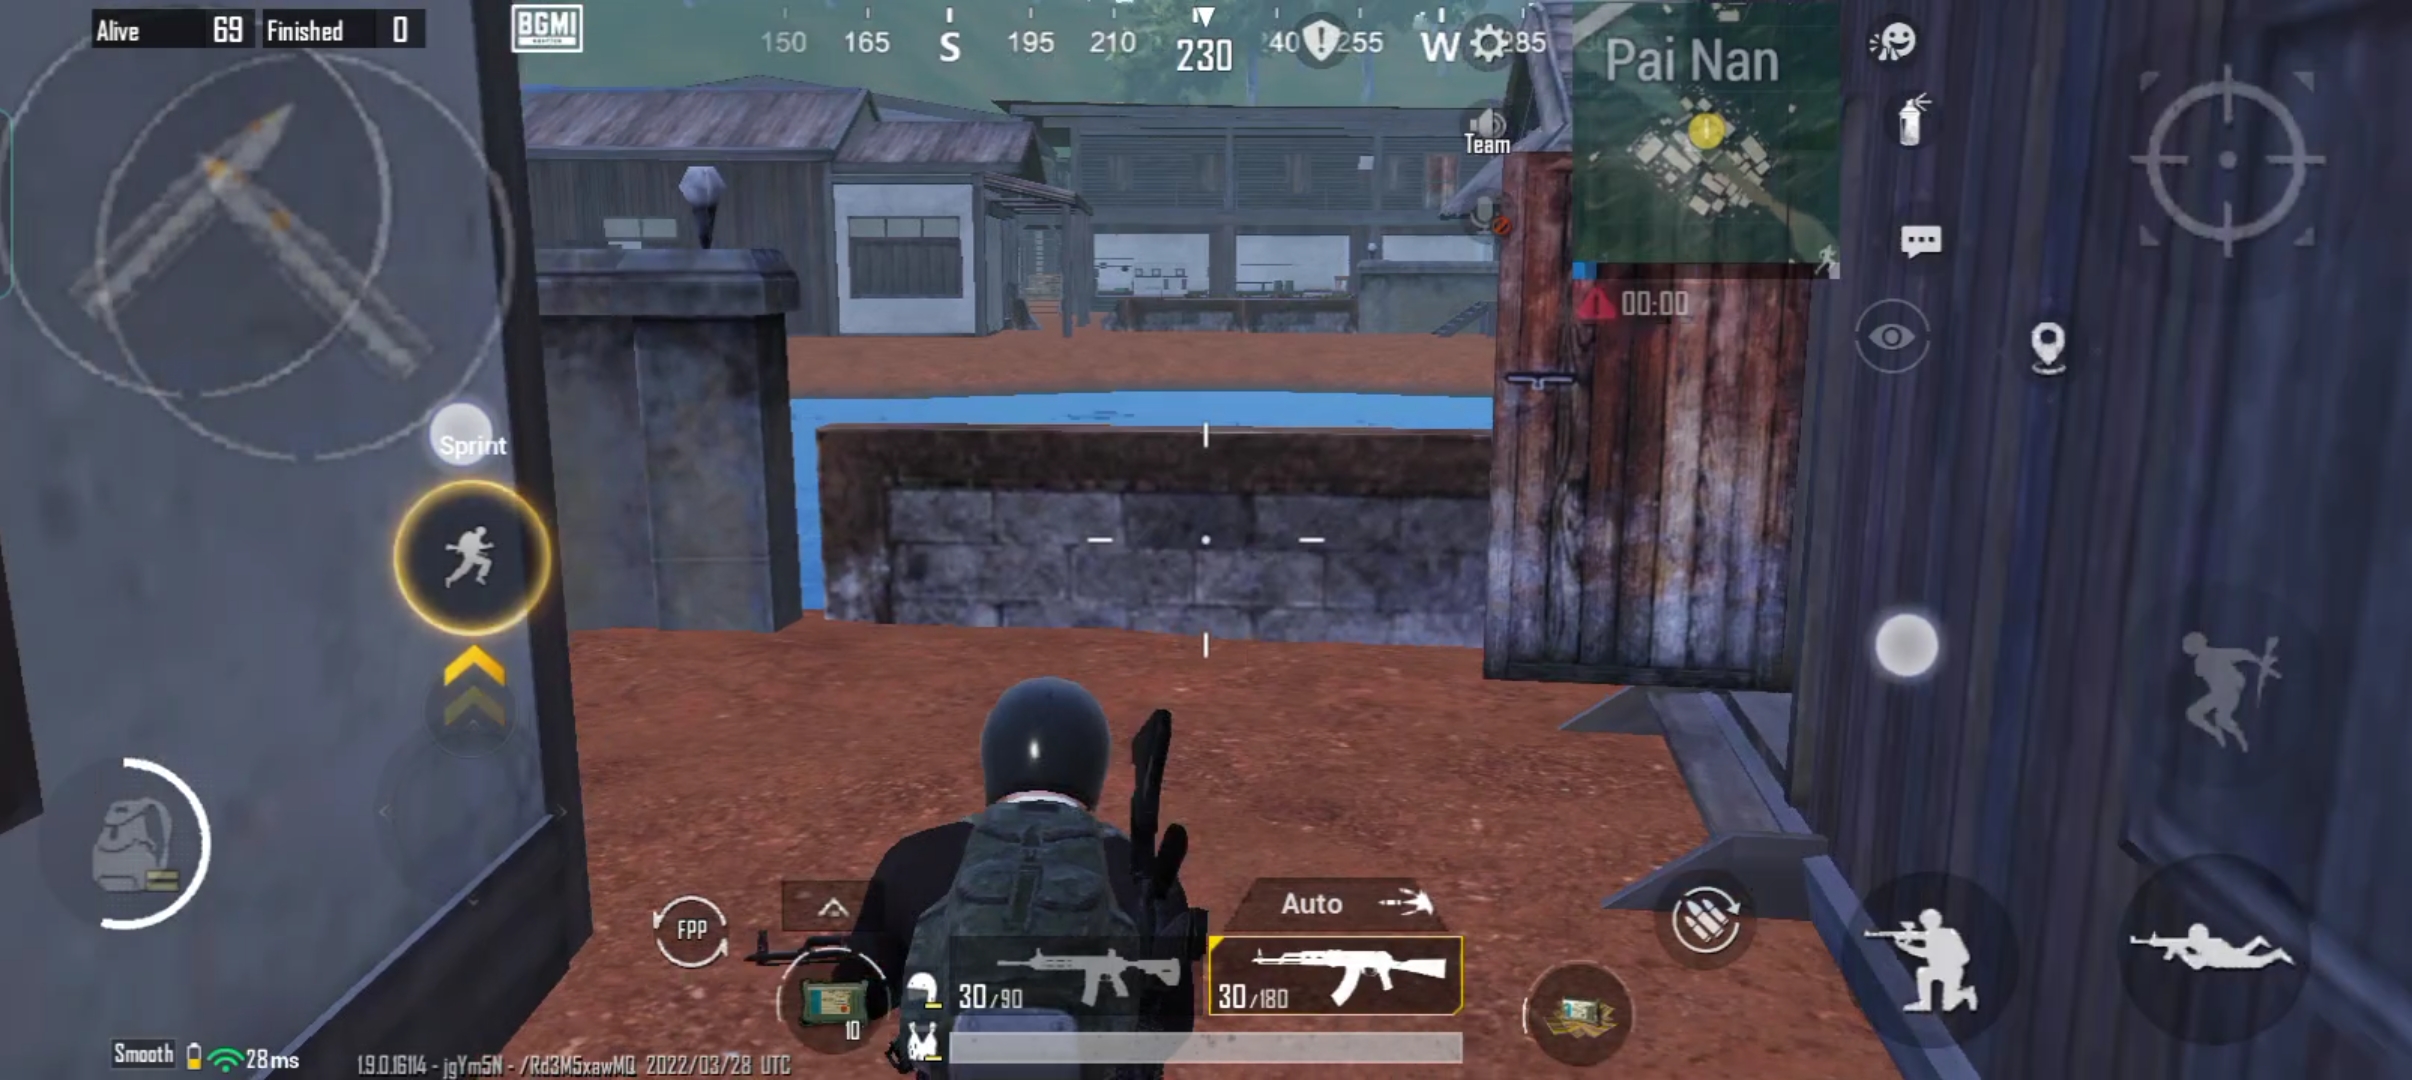
The loot in the area is good for multiple squads, and the rotation from here is also fairly easy. Pai Nan also allows you to move in the direction on the map. This location caters to every style of gameplay of the game. Whether you are a rush player, camper, or a combination of both, landing in Pai Nan is always a good idea, if the area falls on the path of the plane.
Location for Camper in Sanhok
Sanhok is a small map, and it might not be a very good idea to camp on this map. There are still multiple places on the map that can favour the campers.
Quarry
Quarry is very similar to the water city on the Erangel map. This location is situated on the water and does not have any buildings or houses. There are multiple wooden paths and small shelters, but that is it. The loot in this area is ample but scattered. Players do not usually land here as the water slows the movement of the players down.
If you see the area falling on the path of the plane, it is best to not camp. Multiple players might land here, and there is not a lot of space for players to camp. It is close to Pai Nan and Boot Camp, which will help you stay close to the action. You can also take down the enemies that are crossing the area, to increase the number of kills in a match.
Ruins
Ruins is one of the most underrated areas on the Sanhok map, and that’s what makes it a good location for campers. The area does not have any buildings and is full of old and destroyed buildings. There is abundant loot in this area, from supplies, to guns and ammunition, players can get everything that they need to survive in the game. Since the map is open with low-lying structures, players can actually bring out the stealth gameplay that is required on the map. Ruins is very close to Pai Nan and Bootcamp, this makes it a good location for players who want to camp but do not want to stay away from the action of the game.
Since it is so close to these areas, you can also reach these areas as a third party during a fight. This increases your and your team’s chances of getting more kills.
Mongnai
Most players might not have heard about this area on the map, because it is on the north-eastern corner of the map. This area is in the extreme corner of the map, and rotating from here is very challenging. If the only style of your gameplay is camping, this is a good area for you. There are very fewer buildings in this area, and the loot is also low. Not a lot of players visit here, but if you are lucky, you can get the flare gun here.
Loot Locations in the Sanhok Map
Sanhok is a small map, and there is loot available everywhere. Players can still get more loot in some areas in comparison to others.
- Boot Camp
- Paradise Resort
- Ruins
- Pai Nan
- Camp Charlie, Alpha and Bravo
This was all you need to know about the Sanhok map. The map’s size is small, but it is an equally challenging map. Surviving can be challenging, but one can always follow this guide to perform better. For more such BGMI guides, follow TechBurner.