Featured
Avenge The Fallen Editor Template Poster in Mobile without Photoshop Tutorial!
Hey, Marvel Fans around the world! We don’t actually have to ask you if you’re excited about the upcoming Avengers Endgame coming this month in 2019! That would be obvious, but what isn’t, is this exclusive article. We all know Marvel Studios posted some pictures of our superheroes with the “Avenge The Fallen” tagline embedded in them. Like which you can see in this Instagram post by Marvel Official page.
https://www.instagram.com/p/BvesNhbFMyg/
A lot of memes started to generate after these Avenge The Fallen posters came out. And a lot of people wanted to create their own! But not all of us possess insane Photoshop skills right? Neither am I. So we, at Techburner, tried to do something new and started to experiment with various apps to create the Avenge the Fallen editor template in any Android device. After a few testing with a few apps, we finally were able to create an image social media worthy! Whoof!
So, here we provide, a complete Avenge the Fallen Editor Tutorial with all the prerequisites, apps, images and full procedure! First, let’s take a look at some sample we created!
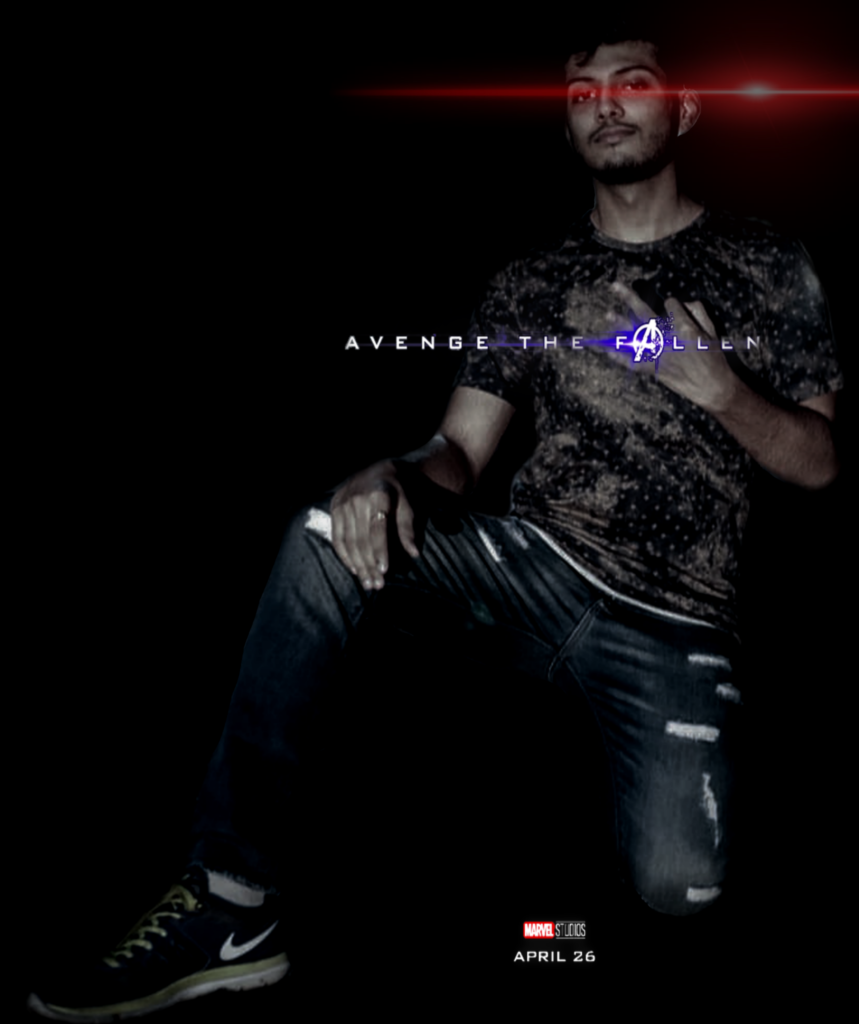
Avenge The Fallen Editor Template Samples:
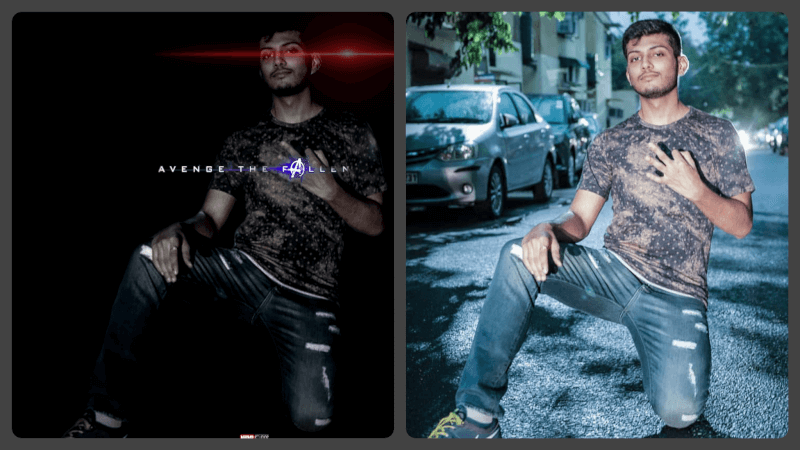
-
- That’s me from Team Techburner.in
-

- Friend of mine, she’s a born Marvel Fan!
-

- Another friend of mine, cool isn’t?
-
- Looks dope don’t you think?
Impressive ain’t they? And as I told, these are completely edited in Android. No photoshop is used and hence no Photoshop skills required. Let’s start with the Avenge the Fallen Editor using Avenge the Fallen Template then.
Download Avenge the Fallen PNG
Avenge the Fallen editor using the template in mobile:
Avenge the Fallen Editor Requirements:
- We used PicsArt, which is a powerful photo editor in Android and in our experiment with various apps, produced the best results. We will use the FREE version, so don’t worry. You can use the paid if you wish of course.
[appbox googleplay com.picsart.studio ] - “Avenge the Fallen” PNG which you can download from here. Do not worry if you see the background black or white in your gallery. That’s transparent and galleries change them to black or white. You will see while editing Avenge the Fallen editor.
- Your image to edit. I’ll suggest some criteria for choosing.
I. Choose a night shot. You’ll struggle a lot with sunlight shots.
II. Make sure you’re wearing some dark T-Shirt or Pants! Results are awful with white or light-colored T-shirts.
III. Choose some serious expression. A smiling image doesn’t justify the Avenge the Fallen tagline!
IV. Only a single image, no group pics!
That’s pretty much all. Let’s start.
Don’t miss any step or you might not get accurate results!
Avenge the Fallen editor template and PNG:
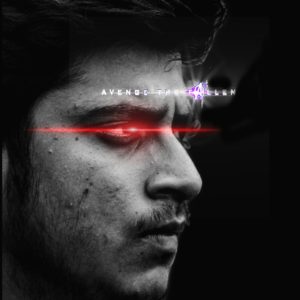
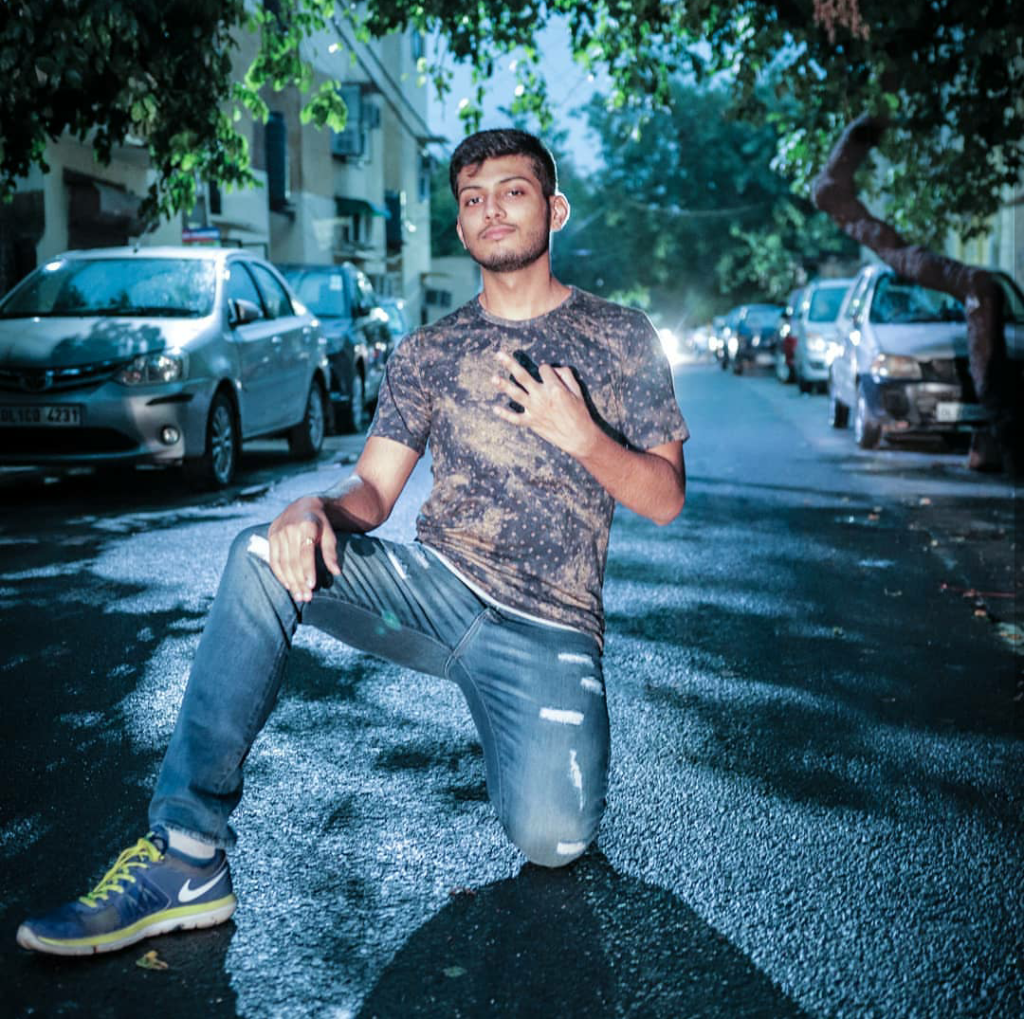
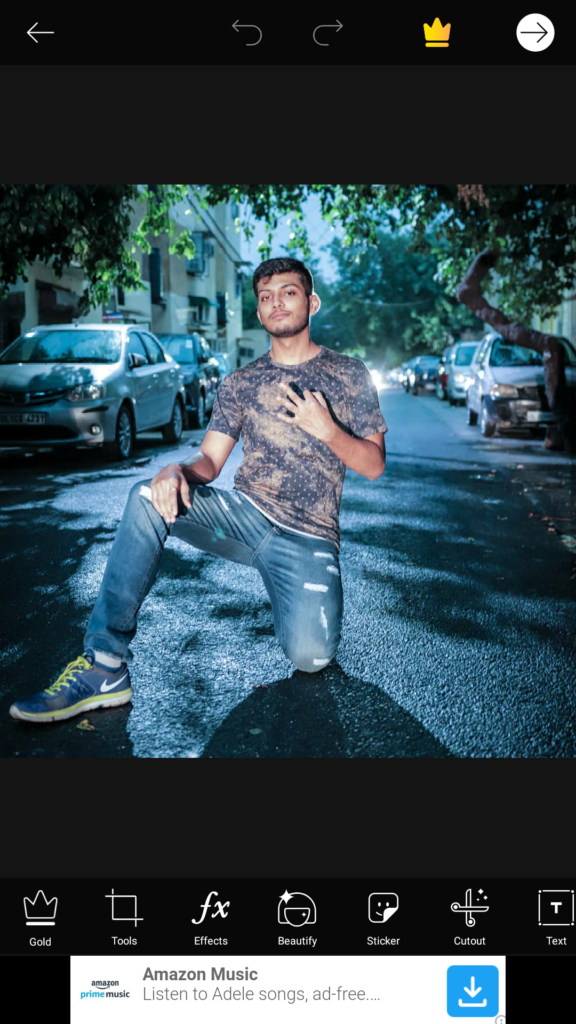
I’ll be using the image of our head of Techburner, Shlok Srivastava to demonstrate.
Step-1: Download PicsArt and open the image you want to edit.
Step-2: Go to “TOOLS“. 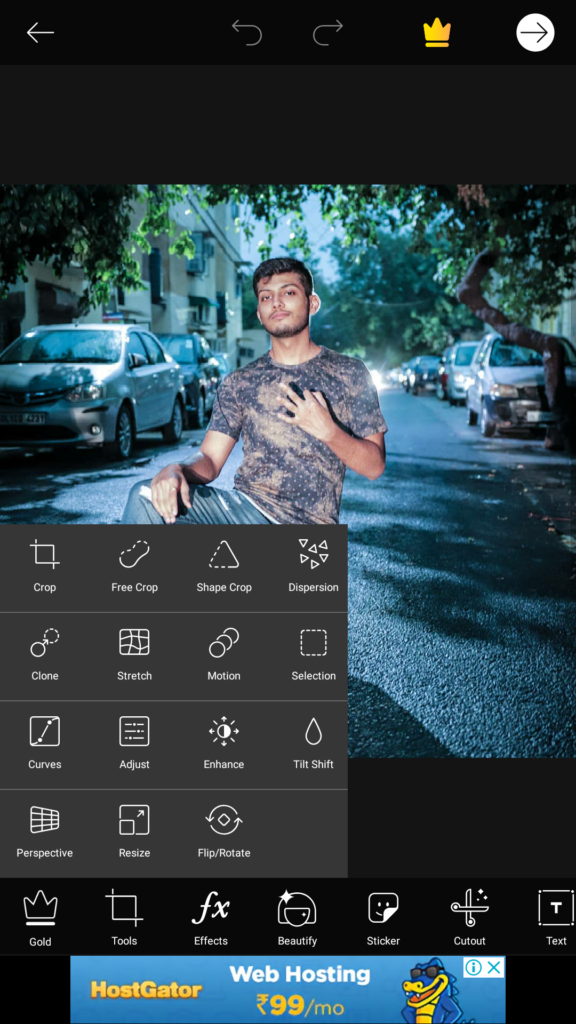
Step-3: Go to “ADJUST“.
Now make the image as dark as it fits. I’ll write the exact numbers which I used for this image for the Avenge the Fallen editor template. You’ll have to improvise according to yours.
- Brightess= -60
- Contrast= +60
- Clarify= 0 [Keep this 0]
- Saturation= -25
- Highlights= -30
- Shadows= -40
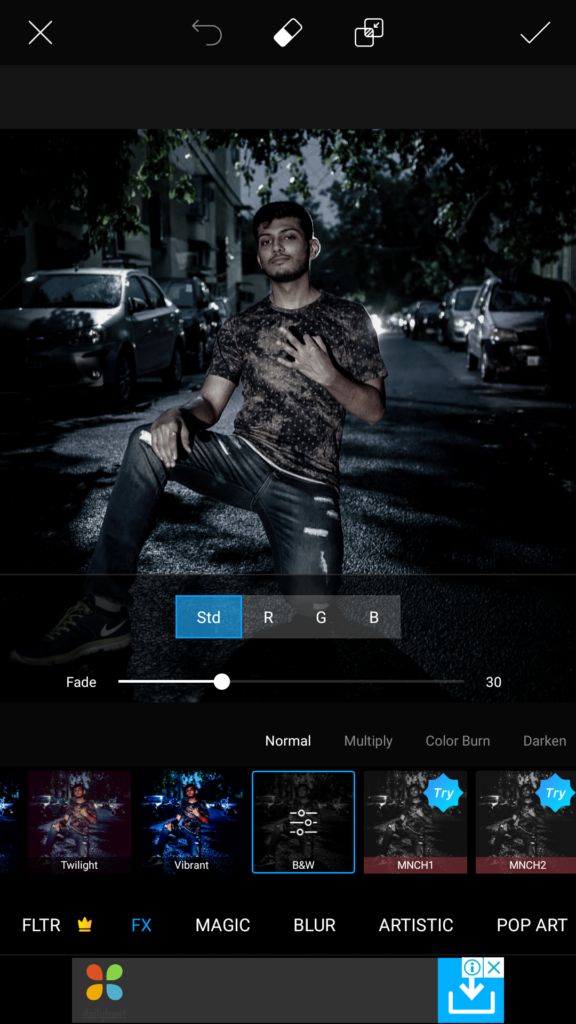
Step-4: Select the “Tick” mark and save changes. Go to “EFFECTS“.
Step-5: Scroll for “B&W” effect which is Black And White. You might go for B&W HDR also, but I would not suggest that.
- Fade= 30 [ Again, this is for my image. Adjust accordingly. The goal is to make the Avenge the Fallen editor template image dark, but to maintain visibility.]
Must Read: PROFESSIONAL PORTRAIT PHOTO EDITING TIPS: SNAPSEED PORTRAIT PHOTO EDITING TUTORIAL
Step-6: Press the “Tick” and save changes again. Go to “CUTOUT” menu.
Select the “Portrait” option. You’ll see two options below, the right one being “Free Selection”. Select the left one with an icon of a person. It’ll now highlight the portrait or YOU in the image. The detection is almost flawless in every Avenge the Fallen editor template we tested. In this one, though, it was a bit miss.
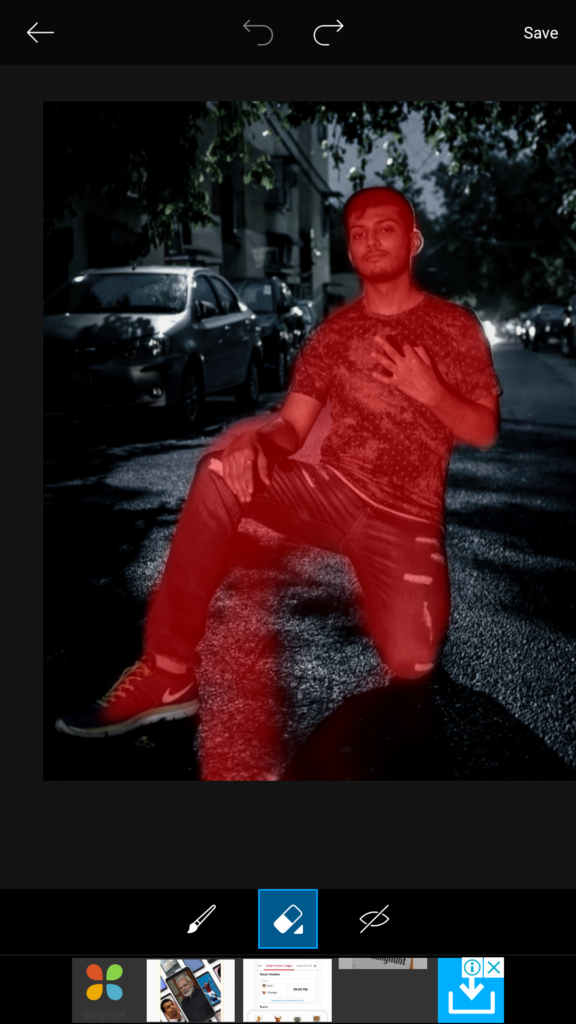
Step-7: Select the brush and eraser tool and refine the edges. This is the most time taking part. Don’t worry even if you can’t, you can fix later.
Pro Tip: If some edge is troubling you, keep the red area within the boundary. Are you going to notice if some pixels of your t-shirt or hair is missing? But you’ll notice instantly in your Avenge the Fallen editor template if you selected something extra from the background.
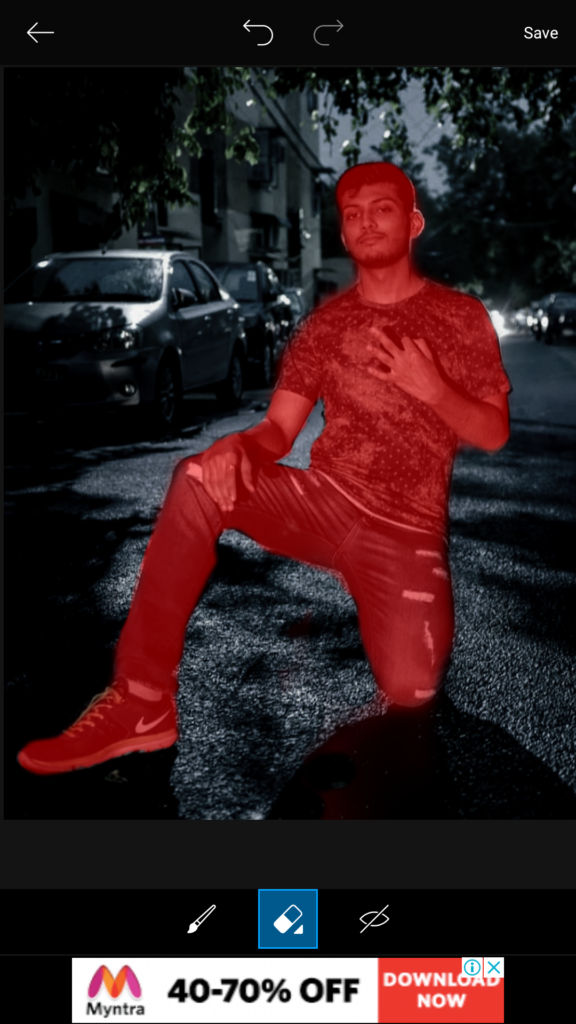
Step-8: Select the “Tick” and save changes. Go to “FIT“.
Step-9: Select “COLOR” from the bottom menu. Then select the black color. This will paint your Avenge the Fallen editor poster template’s background black. The edges are still not accurate and finicky. We’ll fix that in the next step.
Do not miss:
FREE PROFESSIONAL PHOTO EDITING APP DOWNLOAD: SNAPSEED PHOTO EDITING TIPS [LANDSCAPE PHOTOS]
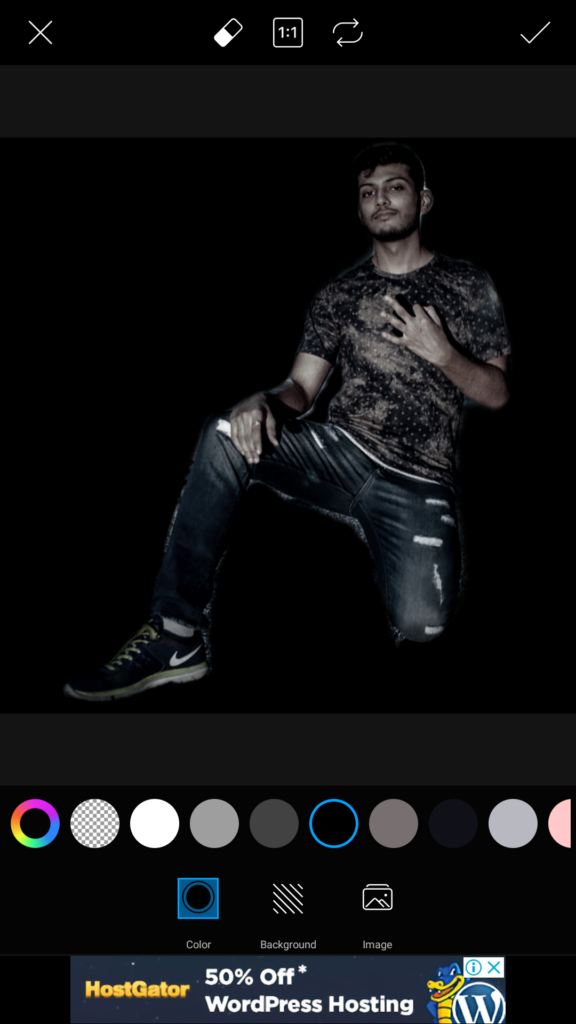
Step-10: Select the “Tick” and save again. Go to menu “BRUSHES“. Select the leftmost brush which is the flat one, and select the color, Black. You can tap on the same brush icon again to resize or change the opacity.
Color the edges with black. This black will blend with your background of the Avenge the Fallen Editor template image. Dark colored T-Shirt and black hair will come in handy here. That’s why I suggested.
Now the Avenge the Fallen editor template is ready for the template to be applied! Look at the edges now.
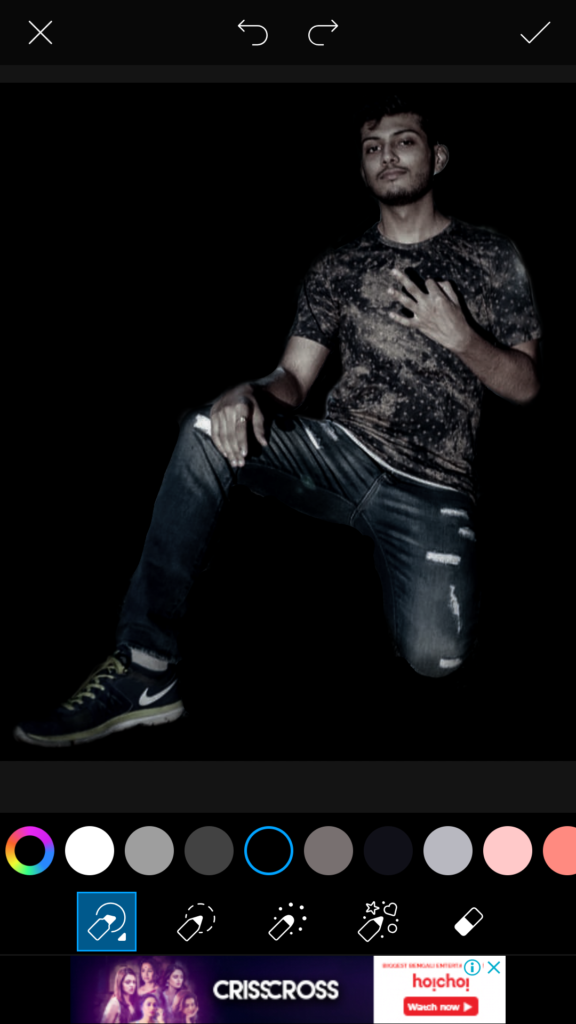
Step-11: Select the “Tick” and save again. Go to “ADJUST” again. “CROP” the image according to your choice. I suggest cropping it as the Background change sometimes makes the Avenge the Fallen editor template bigger unnecessarily.
Step-12: Select the “Tick” and save again. Go to the “ADD PHOTO” option. And select the image you downloaded from the link given above. That’s the actual Avenge the Fallen editor template.
Place that image on top of your image. Adjust the “Avenge the Fallen” text as you wish. You can crop the “26th April” release date part if you wish.
In the end, you’ll get something like this.
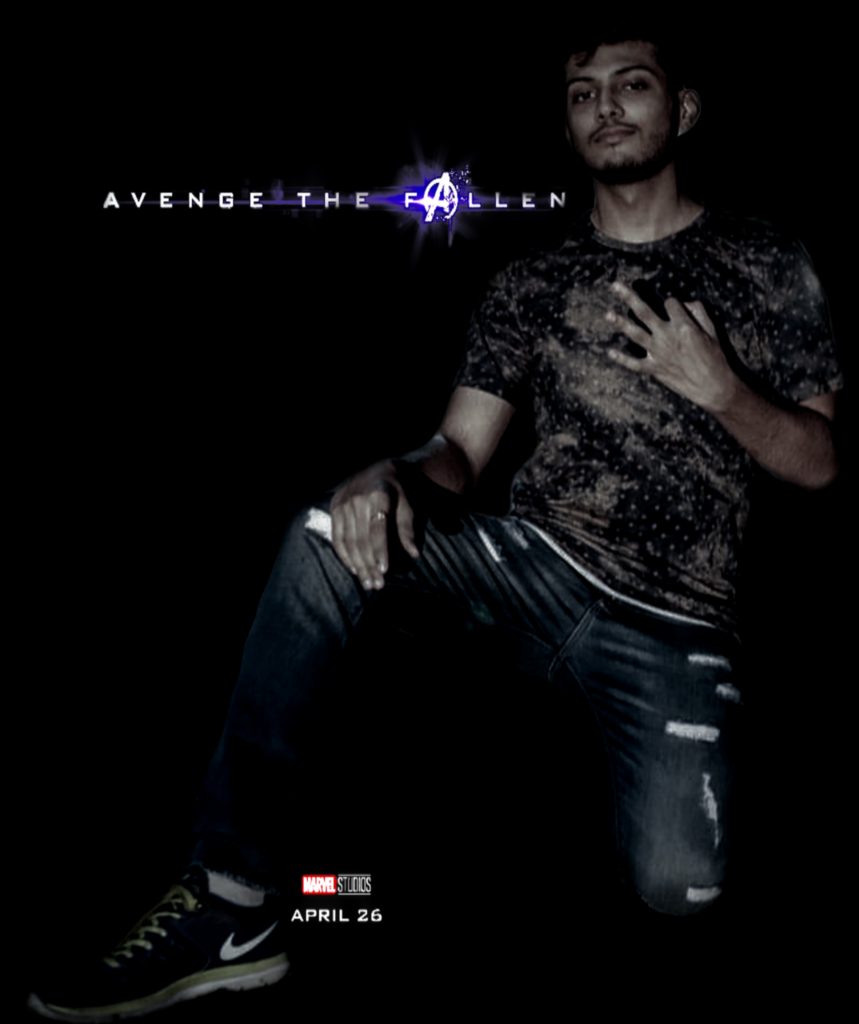
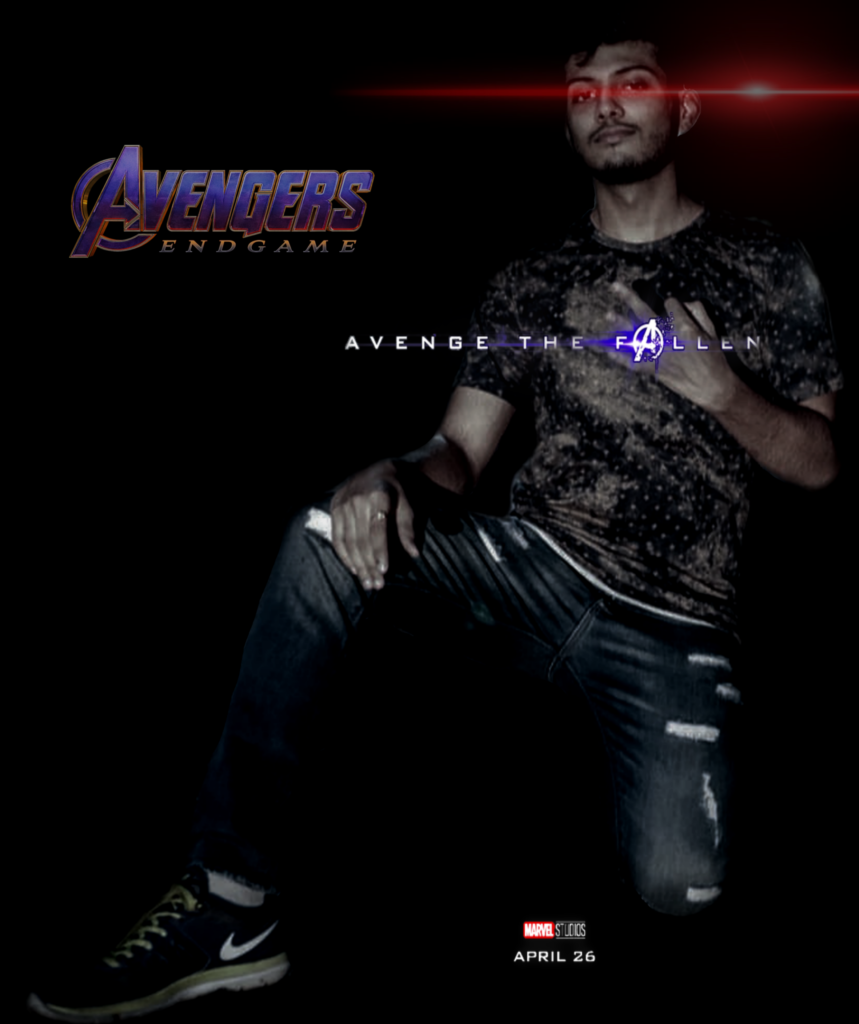
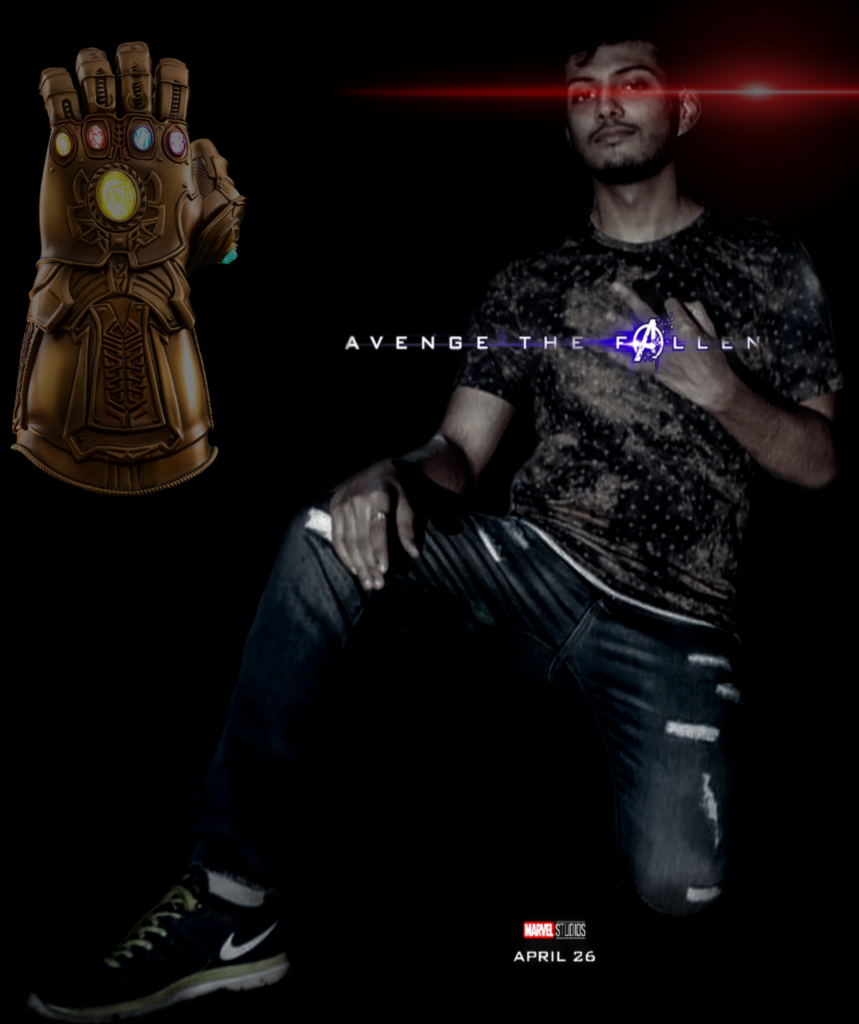
Step-13: So finally, your Avenge the Fallen Editor Template Image is ready. You can add some finishing touches by making the image darker or lighter if you wish. Or you can crop as per requirement. Also, you can add some stickers or Lens flares. You can find them in the editing menu. Search for “Avengers” in the sticker menu to find relevant stickers easily.
Avenge the Fallen editor template Sample images with Sticker and Lens Flare:
That’s All Folks!
Create some amazing “Avenge the Fallen Editor Templates” and don’t forget to tag Techburner or me.
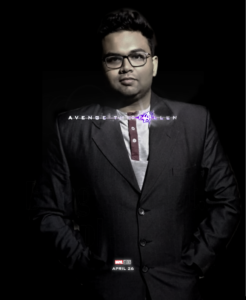
As a bonus, here’s our Senior Editor Saaquib Neyazi. He nailed the Avenge the Fallen Editor Template!

V.K. Dadhich
April 21, 2019 at 5:45 pm
Amazing tutorial. Loved the experience.