OnePlus
How to Update OnePlus Nord 2 Manually

OnePlus was loved by most of the Android users out there in the market. However, as recently OnePlus decided to adapt Color OS as their official skin over Stock Android, people have mixed reactions to it. OnePlus says that it will allow OnePlus to offer better products by merging their operating systems. Moreover, the effectiveness of OnePlus and Oppo merging can be easily noticed with recent OnePlus updates. A newly launched smartphone called OnePlus Nord 2 received an update with several fixes and improvements. In this article, we will discuss how to update OnePlus Nord 2 manually. This article will be a guide for how to install stock firmware on OnePlus Nord 2. So without any further ado, let’s head into the article.
What is Stock ROM?

The firmware installed on your device by the company is known as stock ROM aka stock firmware. The brand provides security patches, improvements, and features with each new update. So for Oppo, the stock ROM is Color OS, for OnePlus it is Oxygen OS. Now as you know what is stock ROM let us head into the article and explain how to install the stock ROM on OnePlus Nord 2.
How to Update OnePlus Nord 2 Manually
A new update has been pushed by the company to improve system stability, camera, and network. However, people who don’t like to wait for the update can do it manually via a stock firmware file. To manually update your OnePlus Nord 2 on the latest firmware, you need to follow the steps below.
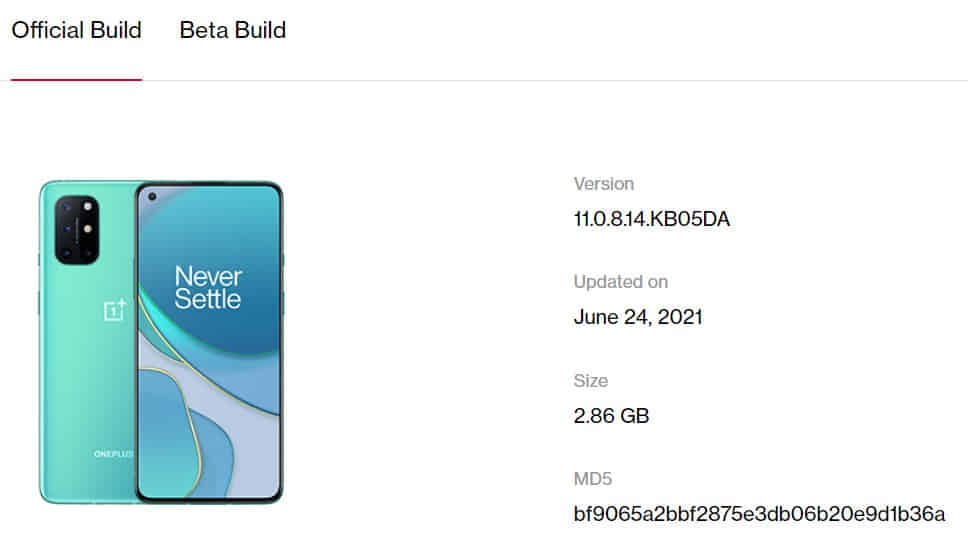
- You need to head to the OnePlus official website and then go to the support section.
OR
- You can head to the https://www.oneplus.in/support/softwareupgrade
- Then select the software upgrade option and select your device from the given list.
- You can download the official build of firmware or you can also download the open beta build from here.
- Just download the file and move it to the internal storage of your smartphone.
- Now head to the device settings.
- Then System updates and tap on the gear icon.
- Here choose the local upgrade and locate the firmware file which you downloaded.
- Then tap on the upgrade now button to start installing the firmware.
- Now your device will verify the file, and it will turn off and automatically install the upgrade.
Optional + Recommended Steps Below:
- Once completed and booted to the system, you need to switch off your device.
- Press and hold the power button and volume down button simultaneously.
- It will reboot to recovery, select Wipe data, and cache.
- Then tap on erase everything.
- Once completed, reboot your device and that’s it.
You have successfully updated your OnePlus Nord 2 manually.
That was it guys for this post. Keep an eye out on TechBurner for more such updates!!