How to
How to Convert Images into a PDF File on iPhone
The photos on your iPhone are mostly in a range of file formats. Your iPhone and iPad can contain HEIC pictures captured with the camera, PNGs from screenshots, and JPGs from the internet. For paperwork documentation, classwork, or other particular needs, you may need to save images to PDF. Do you want to convert images into PDF on iPhone or iPad? The iPhone and iPad include built-in capabilities to convert HEIC, PNG, and JPEG formats to PDF. Also, you may convert images into PDF on iPhone using the Photos app or the Files app in a variety of methods. You can also merge and convert several pictures into a single PDF file, which makes things much better. In this blog, we will show you 5 different ways to convert images to PDF on iPhone or iPad.
Use The Photos App To Convert Images Into A PDF
There are two methods of converting pictures to PDF format in the Photos app on your iPhone or iPad. The first approach requires printing a photo, while the second needs sharing the image with the Books app.
Note: Multiple pictures can be combined and converted into a single PDF file. The sequence in which they appear in the PDF will be decided purely by how they appear in the Photos app (oldest to newest). You can get around this by using the Files app (later in this blog).
Pinch Out Gesture in the Photos App
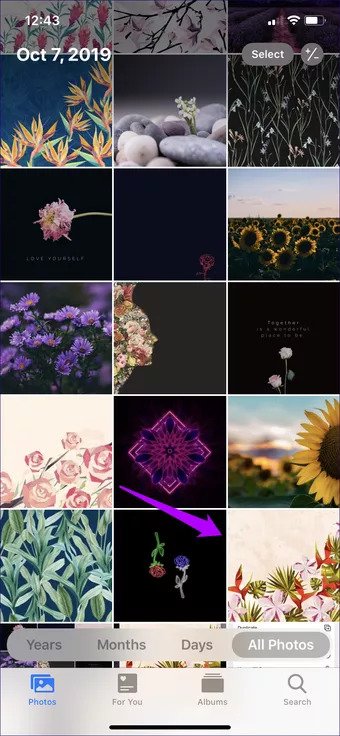
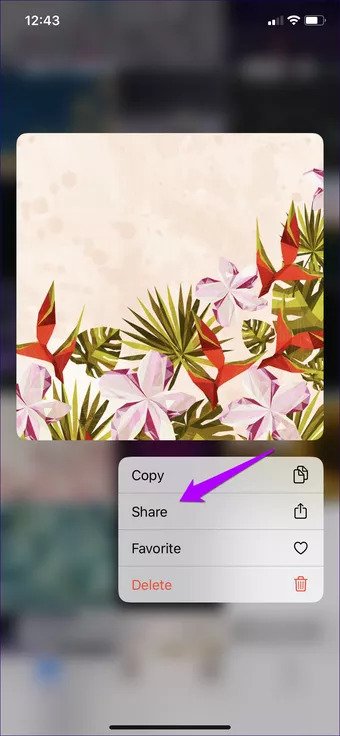
Step 1: Open the Photos app and go to the album where the photo you wish to convert is located. Then, in the context menu, long-press the photo thumbnail and select Share.
-
- Credits: GuidingTech
Enter selection mode if you wish to choose many photographs (tap Select at the upper-right corner of the screen). Then choose the items you wish to convert before tapping the Share icon.
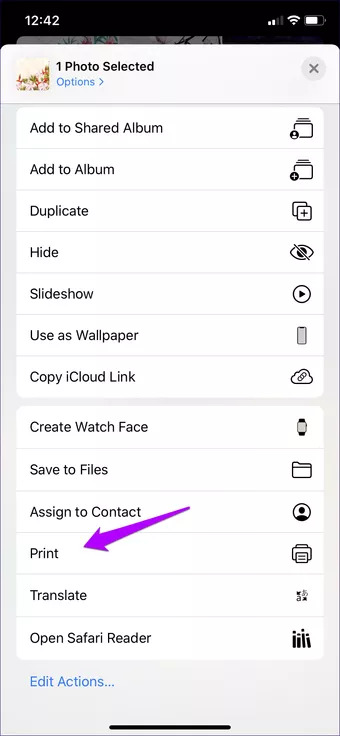
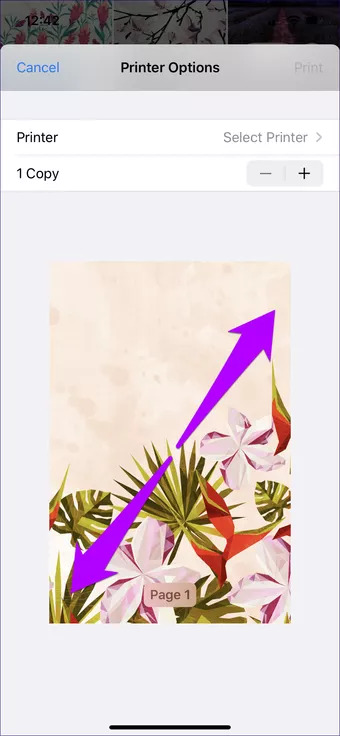
Step 2: On the Share Sheet, tap Print. Perform a Pinch Out (or Zoom In) gesture on the Printer Options screen that appears next. The image will be converted to PDF format right away. If you choose many photos, they were all transformed (and merged) automatically.
-
- Credits: GuidingTech
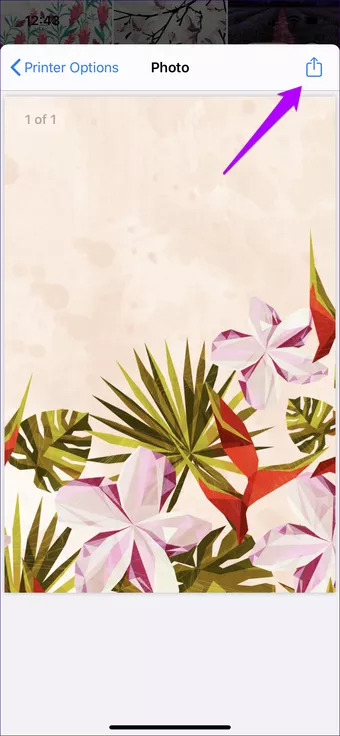
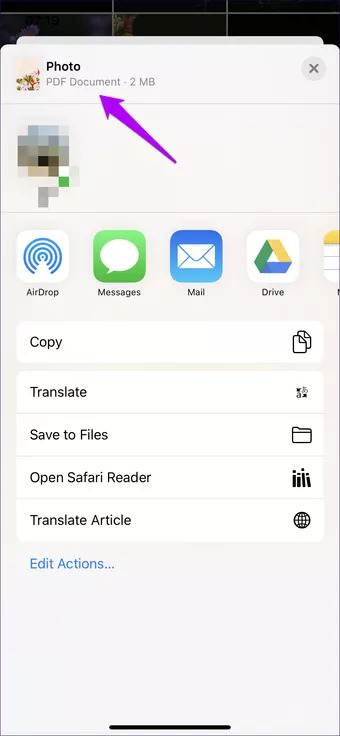
Step 3: Select the Share option. After that, you may share the PDF or store it locally (tap Save to Files).
-
- Credits: GuidingTech
Must Check | Download iPhone 13 Stock Wallpapers [High Resolution]
Copy to Books in the Photos App
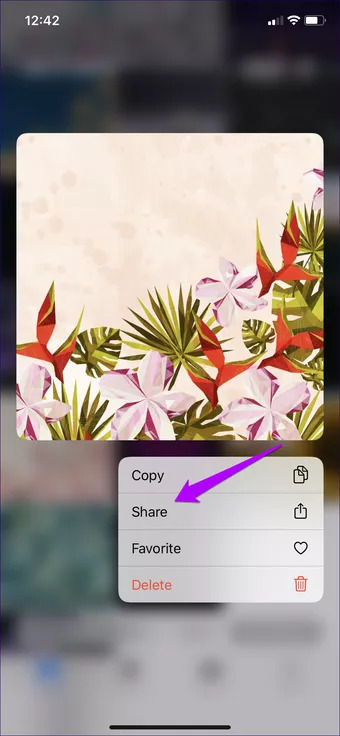
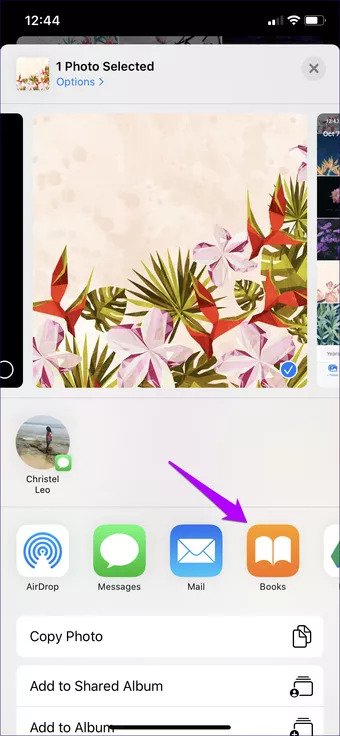
Step 1: Launch the Photos app and long-press the image you’d want to convert. Select Share from the context menu.
-
- Credits: GuidingTech
If you wish to convert many objects at once, go into selection mode, choose the photographs you want to convert. And then press the Share icon.
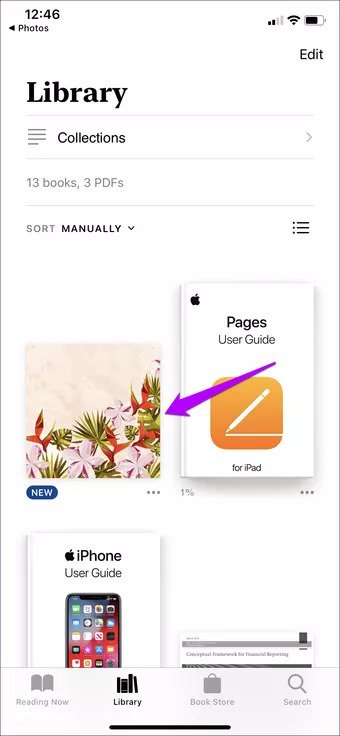
Step 2: Choose Books in the upper row of the Share Sheet. It will immediately convert the image or photos to PDF, and the PDF file will show in the Books app’s Library area.
-
- Credits: GuidingTech
Note: If the Books option isn’t available, slide to the right of the Share Sheet and select More to add it.
You may then choose from a variety of options. You may read, rename, edit, and mark up the PDF, as well as share it with other applications and contacts.
Must Check | How to Record a FaceTime Call on iPhone, iPad, and Mac
Use The Files App To Convert Images Into A PDF
Converting photographs to PDF on the Files app is far more convenient than on the Photos app. You don’t have to engage with any Share Sheets. It will keep the converted photographs in the same area as the originals, adding to the convenience.
The only issue is that the Files app does not have access to your photo collection. This method is excellent for saving downloaded photos, screenshots, and scanned documents directly into the Files app.
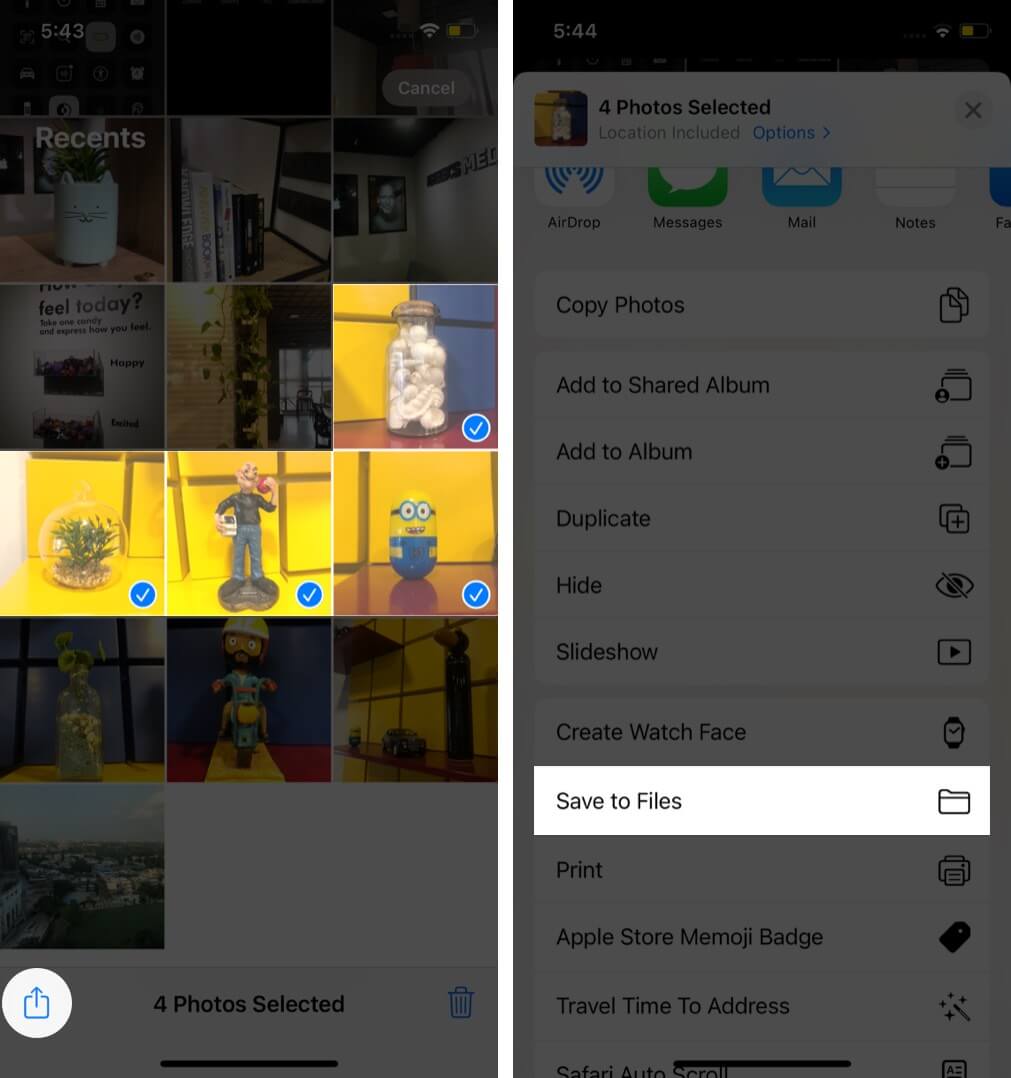
Move Your Photos from Photos to Files:
- Select the images Photos
- Tap the Share button
- Choose Save to Files.
Credits: iGeeksBlog
Single Image in the Files App
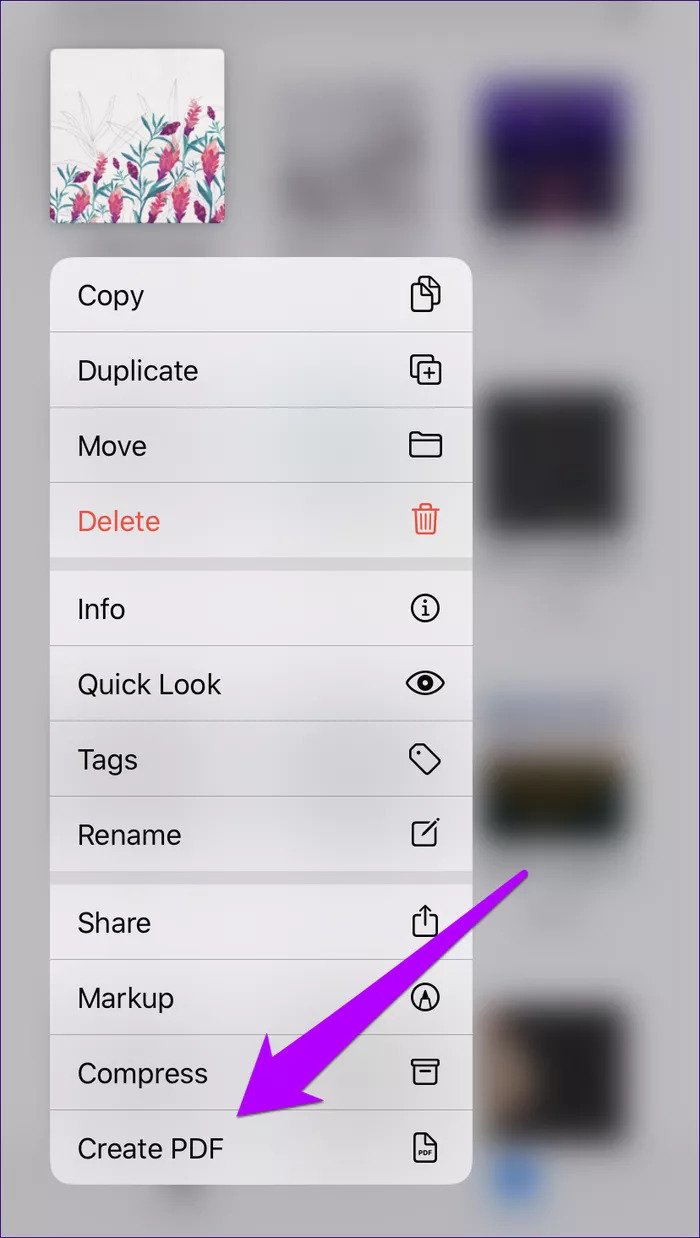
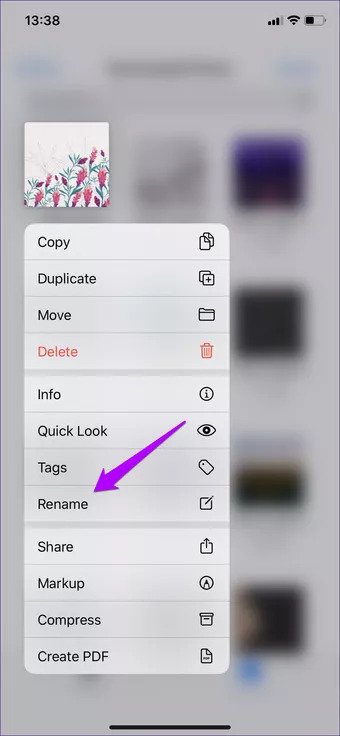
To convert a single photo, just long-press the file you wish to convert in the Files app, then select Create PDF. That’s all there is to it.
Credits: GuidingTech
It will save the converted PDF file in the same folder as the original. After that, you may preview it, email it to another app, or share it.
Must Check | How To Protect A PDF With Password: Step By Step Guide
Convert Group of Images into a PDF
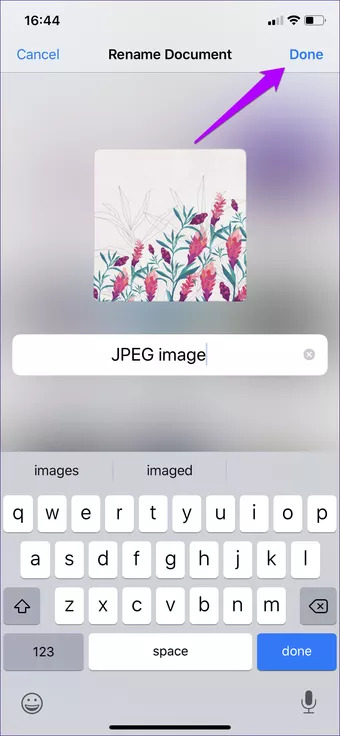
Step 1: Rename your images so that they show in the converted PDF file in the correct sequence. To rename a file, hold it down for a few seconds and then hit Rename. To apply the new filename, tap Done.
-
- Credits: GuidingTech
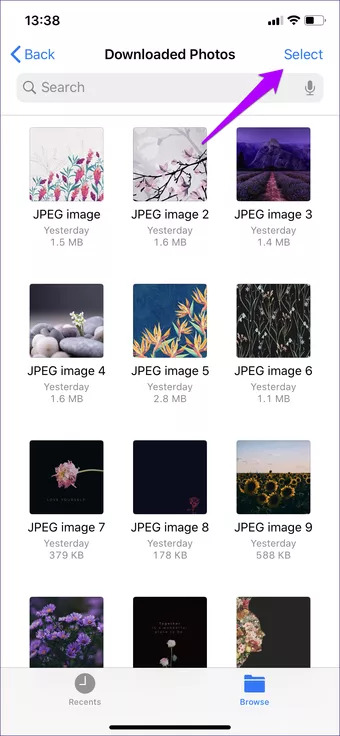
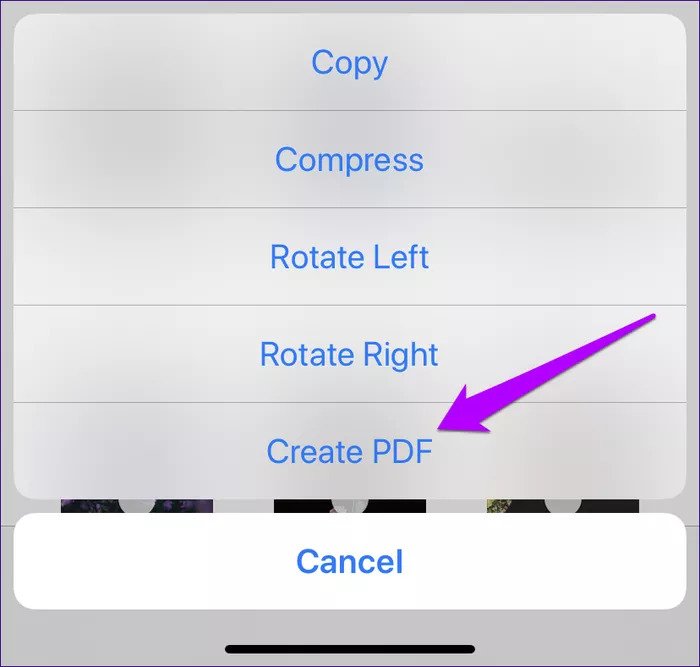
Step 2: After you’ve finished renaming the photographs, choose the photos you wish to convert in selection mode. Then, at the bottom of the screen, press the three-dot icon.
-
- Credits: GuidingTech
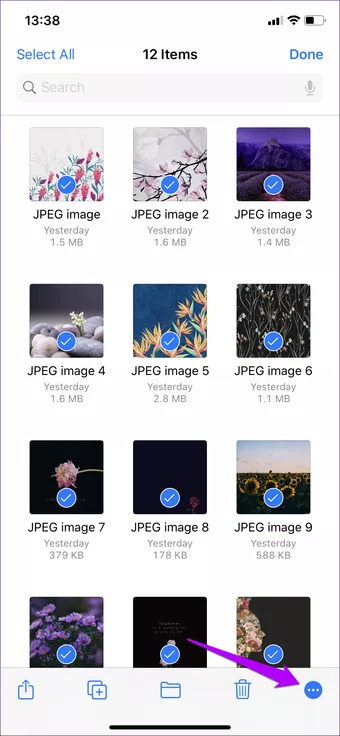
Step 3: Select Create PDF from the pop-up menu. It can subsequently find the converted PDF file in the same place. It’s possible to preview it, transfer it to a different place, or share it with other applications and contacts.
Credits: GuidingTech
Tip: Using the Photographs app, you can’t convert several photos to PDF in a certain order. Simply copy them to the Files app, rename them as needed, and convert them.
Must Check | How to Install iOS 15 on iPhone – iOS 15 Features
Convert Images into a PDF with Shortcut App
You may create a PDF file from your photos using Apple’s free Shortcuts tool. That’s something we’ll show you how to do.
Shortcuts is an iPhone or iPad app that allows you to automate a variety of chores. You may build a custom shortcut with this app to convert your images into PDF on iPhone. This shortcut will accept your photographs as input, convert them to PDF, and store the PDF in the place of your choice.
Step 1: Download and install the free Shortcuts app on your iPhone. Then launch the newly installed app.
Step 2: Select the “+” (plus) sign from the top-right corner of the Shortcuts app.
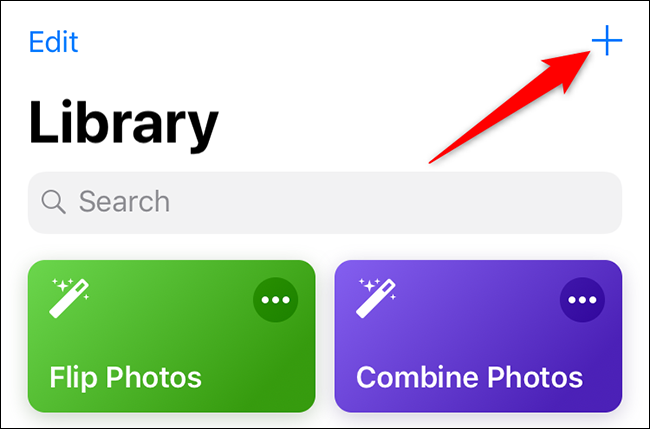
Credits: HowToGeek
Step 3: The screen “Untitled Shortcut” will appear. Select the “Search” field from the drop-down menu.
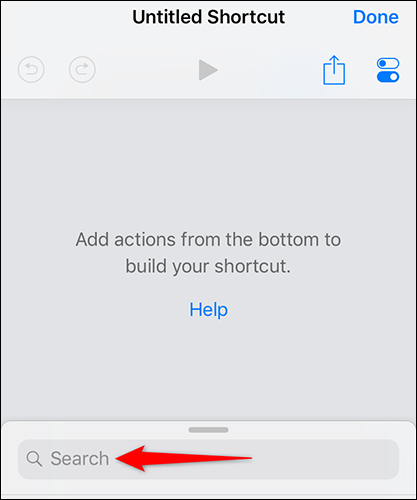
Credits: HowToGeek
Step 4: Type “Select Photos” in the “Search” section. Then, under the search results, select “Select Photos.” This action is being added so that your shortcut may take images as input.
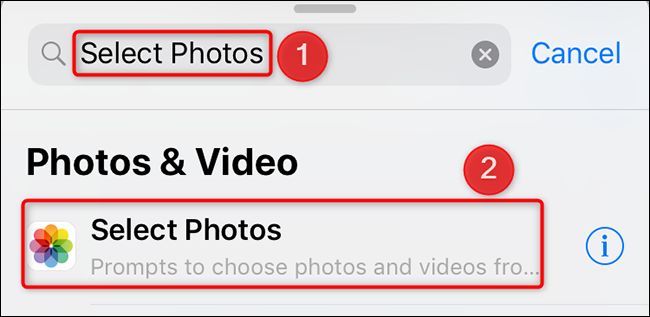
Credits: HowToGeek
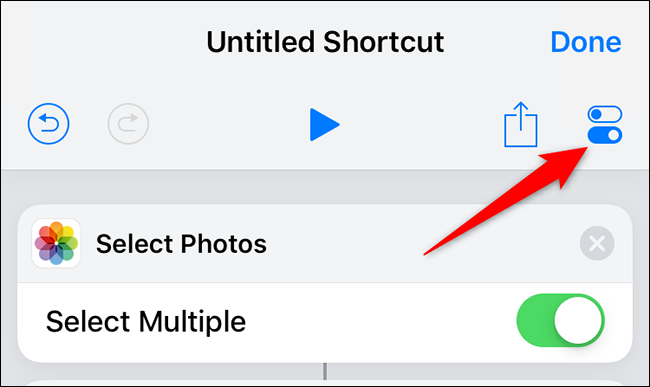
Step 5: Turn on the “Select Multiple” option in the newly added “Select Photos” section. You’ll be able to select many images to convert to PDF this way.

Credits: HowToGeek
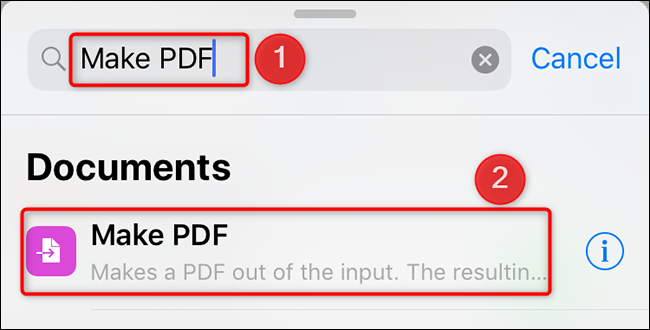
Step 6: Re-enter the “Search” field. This time, put “Make PDF” into the search box and choose it from the list of results. This activity will create a PDF file from your provided images.
Credits: HowToGeek
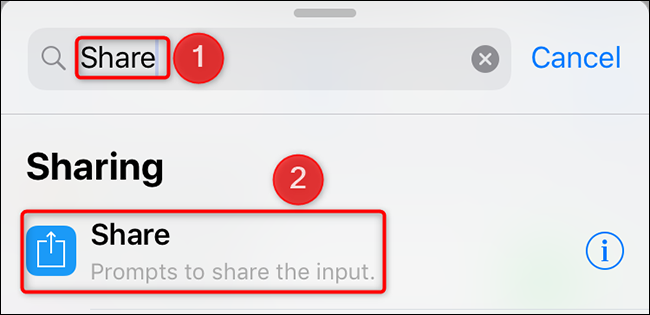
Step 7: Return to the “Search” area, type “Share.” Then pick “Share” from the search results. This step will allow you to share or save the PDF file that results.
Credits: howtogeek
Step 8: Tap the “Settings” option in the top-right corner of the same “Untitled Shortcut” screen.
Credits: HowToGeek
Creating shortcut
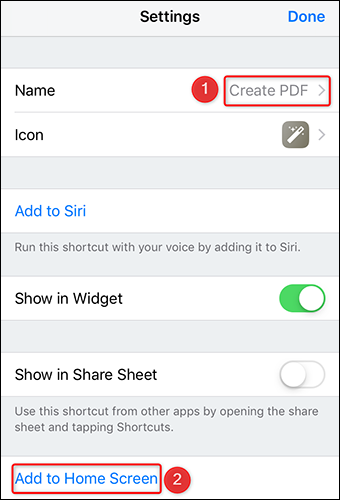
Step 9: A page called “Settings” will appear. Here, touch the “Name” column and give your shortcut a name. Then, to create this shortcut to your iPhone’s home screen, hit “Add to Home Screen.”
Credits: HowToGeek
Step 10: You’ll now be presented with an “Icon” screen. Select an icon that will display on your home screen for your shortcut. Then choose “Done” from the top-right corner of the screen.
Credits: HowToGeek
Step 11: The Shortcuts app will open Safari in a new window. Select the “Share” option from the bottom bar of this window.
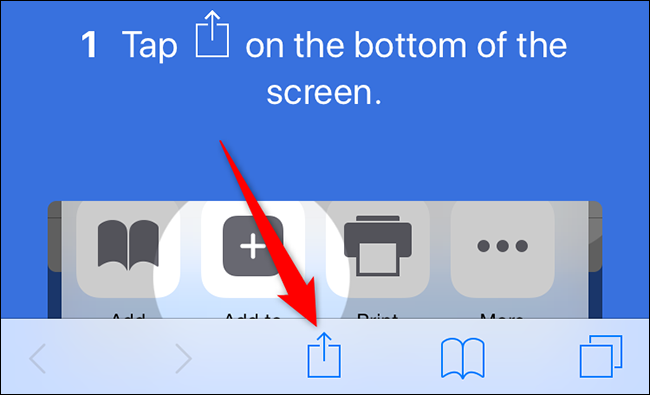
Credits: HowToGeek
Step 12: Choose “Add to Home Screen” from the Share Sheet that appears.
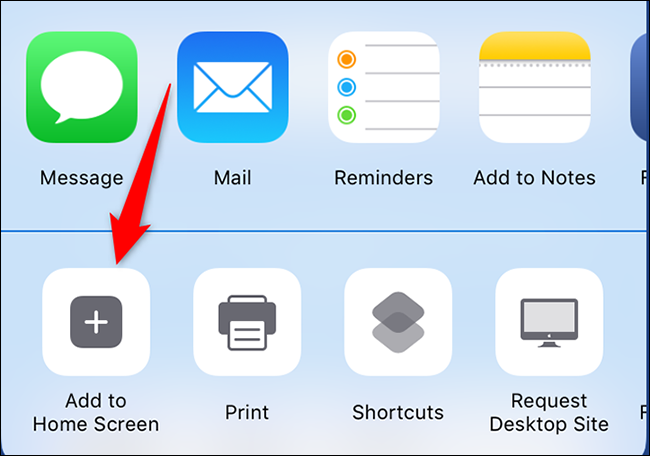
Credits: HowToGeek
Step 13: Tap “Add” from the top-right corner of the “Add to Home Screen” screen.
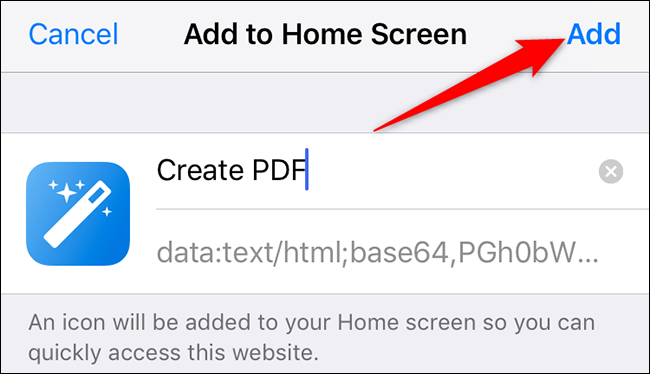
Credits: HowToGeek
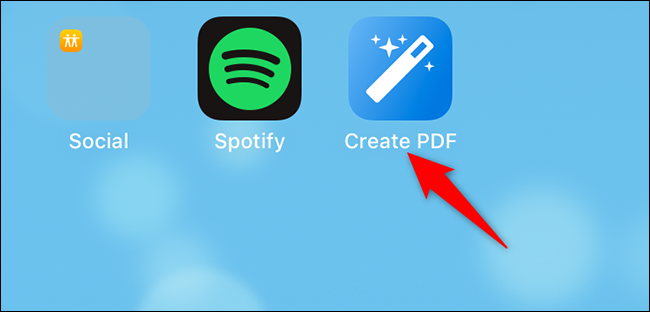
Your personalized shortcut has now been added to the home screen of your iPhone. The Safari window may now be closed.
On your iPhone, open the newly generated shortcut. To do so, go to your home screen and choose the shortcut icon.
Credits: HowToGeek
When the shortcut opens, you’ll be asked to choose whatever photographs you wish to merge into a PDF file. Pick the images on your screen, then click “Done” from the top-right area of the screen.
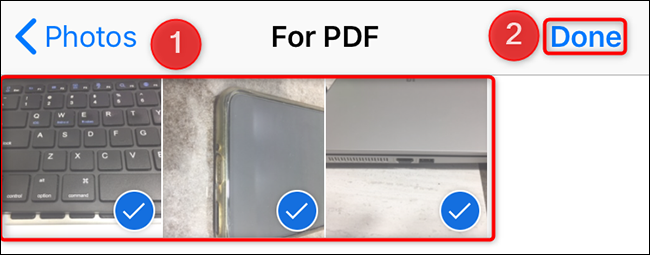
Credits: HowToGeek
Your shortcut will start converting your images to PDF files. When you’re finished, you’ll be prompted to save or share your PDF. From the menu on your screen, choose an option.
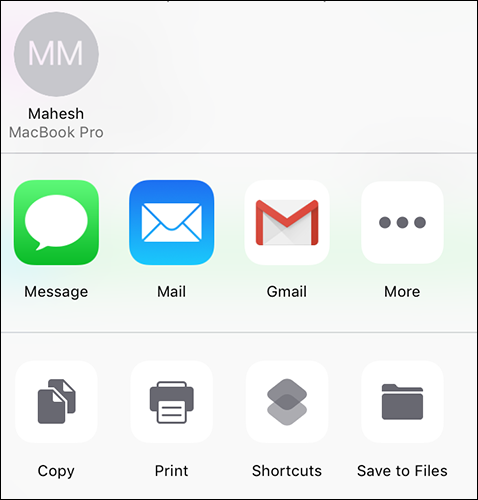
Credits: HowToGeek
Your PDF file is now complete.
You can use any one method to convert images into PDF on iPhone. Tell us which one trick you loved? Also, follow us for more iPhone tips and tricks!
That’s All For Today. Stay Tuned To TechBurner For More Stuff.
Credits: iGeeksBlog, GuidingTech